Da vida a tus fotos con efectos de imagen 3D con IA
Descubre cómo transformar fotos estáticas en videos dinámicos con impresionantes efectos de imagen 3D con IA. Una guía práctica de herramientas y consejos.
Veo3 AI · 19 min read · Dec 8, 2025
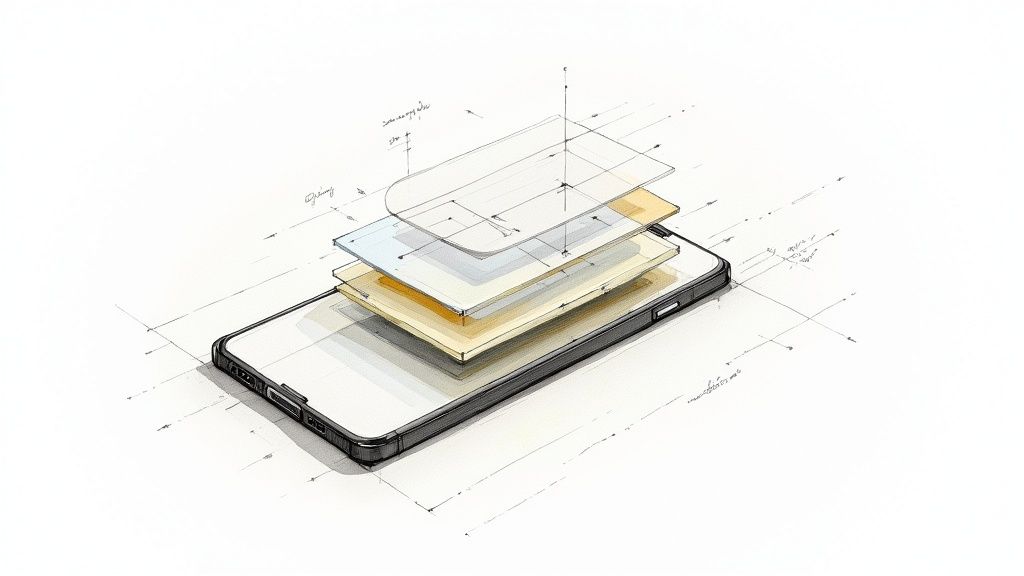
De lo que hablamos aquí no es solo un simple filtro. Un verdadero efecto de imagen 3D toma una foto plana y estática y le da vida, creando un video dinámico con una sensación genuina de profundidad y movimiento. La magia ocurre cuando la IA analiza tu imagen, separa inteligentemente el primer plano del fondo y luego crea ese clásico efecto de paralaje, donde las cosas más cercanas a ti parecen moverse más rápido que los objetos en la distancia.
Cómo consigue la IA la ilusión de imagen 3D
¿Alguna vez te has preguntado cómo una simple fotografía puede parecer de repente que se sale de la pantalla? Es un truco visual cautivador, y sus raíces se remontan muy atrás, mucho antes de las herramientas de IA que tenemos hoy. Un vistazo rápido a esta historia realmente te ayuda a apreciar la tecnología que estás a punto de dominar.
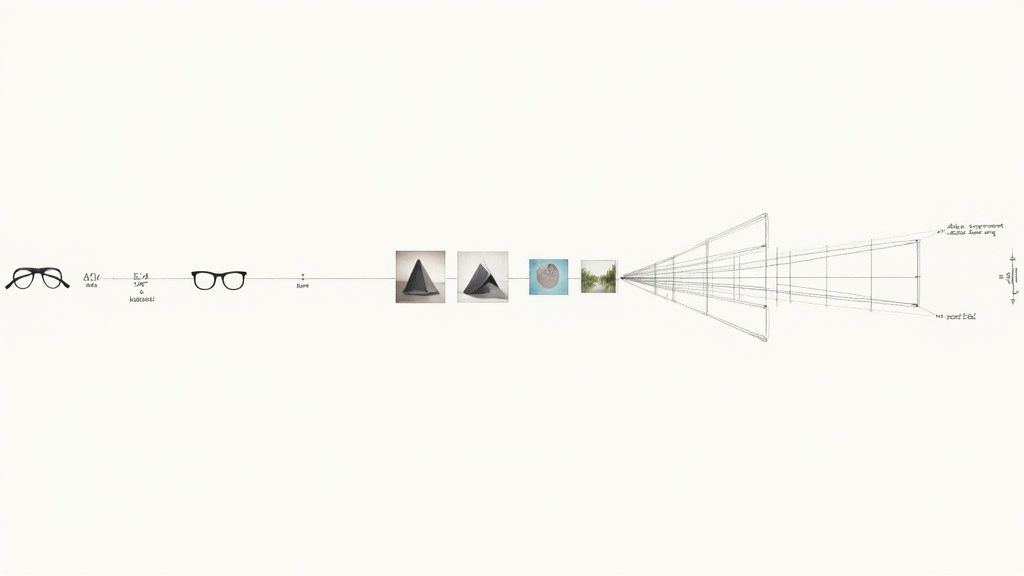
La idea central no es nueva. De hecho, se remonta a mediados del siglo XIX con la fotografía estereoscópica. El verdadero avance fue la patente de 1891 para el método anaglifo: el que usaba lentes rojas y azules para crear una sensación de profundidad. Este concepto básico fue alucinante para las primeras audiencias de cine y sentó las bases para las películas 3D modernas.
De los trucos de la vieja escuela a la IA moderna
Hoy en día, la IA hace todo el trabajo complejo por nosotros. Ya no necesitamos gafas especiales o dos imágenes separadas para crear esa sensación de profundidad. En cambio, algoritmos sofisticados pueden mirar una sola foto y generar un efecto de imagen 3D convincente por sí mismos.
Aquí hay un desglose de lo que la IA está haciendo realmente entre bastidores:
- Detección del sujeto: Primero, tiene que averiguar cuál es el sujeto principal. Aísla inteligentemente los elementos clave de tu foto de todo lo demás en el fondo.
- Creación del mapa de profundidad: A continuación, construye un "mapa de profundidad". Piensa en esto como un plano en escala de grises donde los tonos más claros representan partes de la imagen que están más cerca del espectador, y los tonos más oscuros están más lejos.
- Simulación de cámara: Con ese mapa de profundidad como guía, la IA simula los movimientos de la cámara. Puede hacer panorámicas, zoom o dolly, creando el movimiento de paralaje que nuestros cerebros interpretan naturalmente como espacio tridimensional.
En el fondo, todo este proceso trata de engañar a nuestros ojos para que vean profundidad en una imagen 2D. Para profundizar en cómo funciona esto a nivel técnico, algunas guías sobre conversión de imagen IA a modelo 3D son fascinantes.
Una vez que comprendas cómo la IA "ve" tu imagen en capas, comenzarás a tomar decisiones mucho mejores sobre qué fotos usar y cómo guiar a la IA. Convierte lo que podría ser una tarea técnica en un proceso divertido y creativo.
La buena noticia es que herramientas como Veo3 AI manejan todo este trabajo complejo por ti, permitiéndote concentrarte en el lado creativo. Esta guía trata sobre mostrarte cómo tomar el control de estos increíbles efectos de video y dar vida a tus propias fotos.
Elegir y preparar la imagen perfecta
El secreto para un efecto de imagen 3D asombroso no está enterrado en alguna configuración oscura o un prompt mágico. Todo comienza con la foto que elijas. Si le das a la IA un gran punto de partida, ya tienes la mitad del camino recorrido hacia un resultado increíble.
Piénsalo de esta manera: la IA es un artista y tu foto es el lienzo. Un lienzo desordenado y confuso dará lugar a una pintura turbia. ¿Uno limpio y bien definido? Ahí es donde ocurre la magia.
Tu objetivo principal es encontrar una imagen con una separación realmente clara entre el sujeto en primer plano y lo que sea que esté sucediendo en el fondo. Cuanta más distancia perciba el ojo entre esos elementos, más dramática y creíble se sentirá tu animación 3D final. Una foto donde todo es igualmente nítido de adelante hacia atrás puede confundir a la IA, haciendo que le cueste ver las diferentes capas.
Qué hace que una imagen sea ideal para un efecto 3D
Querrás buscar fotos que ya tengan una sensación natural de profundidad. Un retrato con un sujeto agradable y nítido contra un fondo suave y desenfocado es un candidato fantástico. Los paisajes también funcionan de maravilla, especialmente si tienes algo prominente cerca —una persona, un árbol llamativo, una gran roca— con una cadena montañosa distante o un horizonte lejano detrás.
Aquí están los ingredientes clave que siempre busco en una imagen de origen:
- Un sujeto claro: Debe haber un protagonista obvio en la toma.
- Buen contraste: Las fuertes diferencias entre las áreas claras y oscuras de tu sujeto y su entorno ayudan a la IA a ver los bordes claramente.
- Bordes definidos: Intenta evitar sujetos con detalles súper finos y difusos, como cabello encrespado contra un fondo desordenado. Esos pequeños detalles pueden ser difíciles de aislar perfectamente para la IA.
Un par de ediciones previas simples pueden marcar una gran diferencia. Antes de subir tu imagen, dedica 30 segundos en cualquier editor de fotos para aumentar ligeramente el contraste y la nitidez. Este ajuste rápido ayuda a la IA a ver los límites entre los objetos mucho más claramente, lo que se traduce en un efecto de imagen 3D más limpio y preciso. Para profundizar en esto, consulta nuestra guía sobre cómo crear animaciones a partir de fotos.
Entendiendo la importancia de un mapa de profundidad
La clave técnica de todo este proceso es algo llamado mapa de profundidad. Es básicamente una imagen en escala de grises que actúa como un plano, diciéndole a la IA qué tan cerca o lejos está cada objeto de la cámara. Los tonos más claros significan "más cerca", mientras que los tonos más oscuros significan "más lejos". Este mapa es la hoja de ruta de la IA para crear movimientos realistas.
Sin un buen mapa de profundidad, la IA está esencialmente volando a ciegas. Tiene que adivinar dónde están las capas, lo que a menudo conduce a deformaciones extrañas o animaciones distorsionadas. Una imagen de origen clara ayuda a la IA a generar un mapa mucho mejor por sí misma.
¿La buena noticia? A menudo no tienes que crear uno tú mismo. Muchos teléfonos inteligentes modernos, especialmente en Modo Retrato, generan e incrustan automáticamente estos datos directamente en el archivo de la foto.
Herramientas como Veo3 AI pueden leer ese mapa incrustado directamente. Este es un atajo enorme. Honestamente, usar una foto en Modo Retrato es a menudo lo mejor que puedes hacer para obtener un efecto de imagen 3D de alta calidad casi sin trabajo extra.
Obteniendo tu efecto de imagen 3D en Veo3 AI
Con tu imagen preparada y lista, es hora de la parte divertida: darle vida dentro de la plataforma Veo3 AI. Aquí es donde pasamos de la preparación a la creación y convertimos esa foto estática en un video con un efecto de imagen 3D realmente convincente. La interfaz es bastante sencilla, permitiéndote concentrarte en el lado creativo de las cosas en lugar de atascarte en configuraciones técnicas.
Lo primero que harás es subir tu foto preparada. Una vez cargada, se te presentarán los controles creativos principales. Aquí es donde tu visión realmente comienza a tomar forma. Los dos elementos más críticos con los que trabajarás son el prompt de texto (para el movimiento de la cámara) y el selector de estilo de animación.
Todo este proceso trata de transformar una buena foto en un recurso que la IA pueda entender, lo cual depende de generar primero un mapa de profundidad preciso.
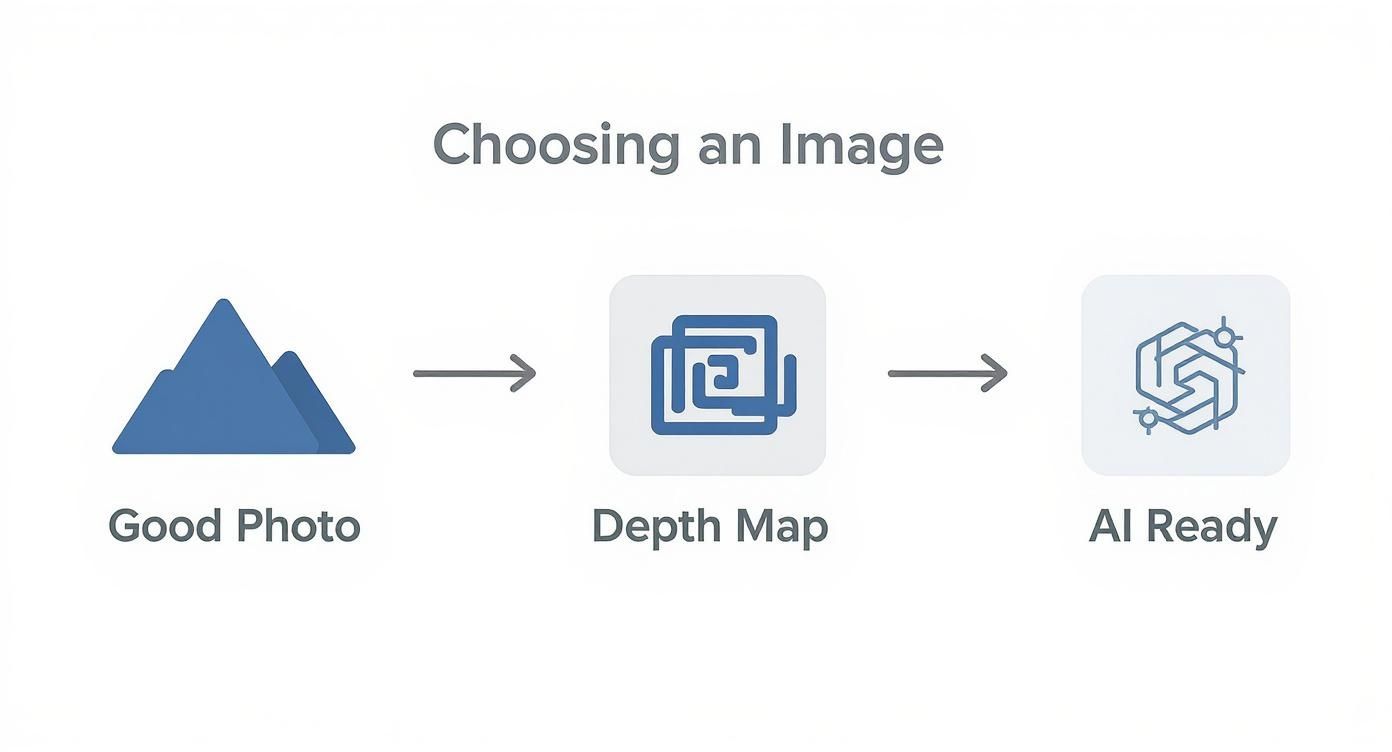
Como muestra el diagrama, un gran resultado nace de una imagen inicial de calidad y un mapa de profundidad sólido. Hazlo bien, y la IA tendrá todo lo que necesita para hacer su magia.
Elaboración de prompts de texto que realmente funcionan
Aquí tienes que pensar como un director de cine. Tu prompt de texto es la forma en que le dices a la IA exactamente cómo debe moverse la "cámara" virtual. Hacer esto bien es lo que separa una animación genérica y temblorosa de algo que se ve fluido y profesional.
No escribas simplemente "move" o "animate". Eso es demasiado vago. En su lugar, utiliza un lenguaje descriptivo que detalle tanto el tipo como la dirección del movimiento que buscas.
- Para zooms: Prueba prompts como "slow dolly zoom in on the subject" (lento zoom dolly hacia el sujeto) o "gentle zoom out to reveal the background" (suave zoom hacia atrás para revelar el fondo). He descubierto que usar la palabra "dolly" a menudo te da un movimiento mucho más fluido y cinematográfico que un "zoom" básico.
- Para paneos: Sé específico. "Subtle camera pan from left to right" (sutil paneo de cámara de izquierda a derecha) o "slow vertical pan up" (lento paneo vertical hacia arriba) hacen maravillas. Añadir calificativos como "subtle" (sutil) o "gentle" (suave) es una excelente manera de evitar que el efecto sea demasiado brusco.
- Para movimientos más complejos: Puedes combinar movimientos, pero recomiendo empezar por lo simple. Un prompt como "slight clockwise rotation while zooming in" (ligera rotación en el sentido de las agujas del reloj mientras se hace zoom) puede crear un resultado realmente dinámico, pero es mejor dominar primero los conceptos básicos.
Mi consejo: Mantén tus primeros prompts simples. Concéntrate en un movimiento claro a la vez. Si lanzas demasiados comandos a la IA al mismo tiempo, puedes obtener resultados bastante extraños e impredecibles. Domina una acción, mira cómo queda y luego construye sobre ella.
Todo este proceso se trata de iteración. Los videos se generan rápidamente, así que no tengas miedo de ejecutar algunas variaciones diferentes de prompts para ver qué captura mejor la vibra que deseas. Dominar esta habilidad es un gran paso hacia la creación de un efecto de imagen 3D verdaderamente personalizado. Puedes obtener más detalles sobre cómo la plataforma maneja estas entradas en la página principal de imagen a video de Veo3 AI.
Elegir el estilo de animación adecuado
Junto con tu prompt de texto, Veo3 AI te ofrece algunos estilos de animación preestablecidos para elegir. Estos son modificadores potentes que cambian completamente el estado de ánimo y la sensación del video final. Piensa en ellos como filtros para la física y la energía de la animación.
Elegir el estilo correcto es tan crucial como escribir un buen prompt. Por ejemplo, el estilo Cinematic tiende a producir movimientos de cámara más lentos, suaves y dramáticos, perfectos para esos paisajes amplios o retratos profesionales. Por otro lado, un estilo como Gentle o Subtle es lo que buscas para un efecto más discreto donde el movimiento se sienta orgánico y no robe el protagonismo.
Sinceramente, experimentar con esto es la mitad de la diversión. Un prompt de "slow dolly zoom" se siente completamente diferente cuando lo combinas con el estilo Cinematic en comparación con algo más enérgico. Es esta combinación —un prompt preciso y un estilo bien combinado— lo que te da un control total sobre el efecto de imagen 3D final.
Ajuste fino y exportación de tu foto animada
https://www.youtube.com/embed/NqbkCSZsOJw
Conseguir que aparezca esa primera animación es una gran emoción, pero la verdadera magia ocurre en el ajuste fino. Piensa en el video inicial de Veo3 AI como tu material bruto. Es un gran punto de partida, pero el panel de configuración es donde realmente empiezas a crear la estética final. Así es como añades esa capa de pulido que hace que el efecto de imagen 3D parezca deliberado y profesional.
Mucha gente simplemente toma el primer resultado y lo usa tal cual, pero dedicar unos minutos extra a ajustar los detalles puede marcar una gran diferencia. Aquí es donde encontrarás los controles para la física central de la animación, permitiéndote ajustar con precisión el movimiento exacto que imaginas en tu cabeza.
Piénsalo como tu propia mini suite de postproducción. Puedes ajustar la velocidad de la cámara, aumentar (o disminuir) la intensidad del paralaje y suavizar cualquier temblor. Se trata de hacer pequeños cambios iterativos hasta que se sienta perfecto.
Ajustando la configuración de animación perfecta
Los dos ajustes a los que siempre recurro primero son la fuerza de la animación y la duración. Estos trabajan mano a mano para establecer todo el ambiente y el ritmo de tu video.
- Animation Strength (Fuerza de animación): Este control deslizante es tu control directo sobre la intensidad del efecto de paralaje. Un valor más bajo te da un movimiento sutil y suave, perfecto para una sensación cinematográfica o natural. Si lo subes, obtienes un efecto mucho más dramático y enérgico que puede ser increíble para tomas de acción, pero que podría verse un poco exagerado en un paisaje tranquilo.
- Animation Duration (Duración de la animación): Esto establece el tiempo total para el movimiento de la cámara. Para un aspecto suave y elegante, a menudo combino una duración más larga, tal vez 6-8 segundos, con un prompt simple como "slow dolly zoom". Para clips impactantes en redes sociales, una duración más corta de 2-3 segundos suele ser la mejor opción.
Un pequeño truco que uso es generar el primer clip y luego duplicarlo. A partir de ahí, hago un pequeño ajuste a la vez. Podría aumentar la fuerza de la animación en un 10% y ver si añade más impacto sin verse extrañamente distorsionado. Este enfoque metódico realmente te ayuda a aprender cómo cada ajuste afecta al efecto de imagen 3D final.
No tengas miedo de llevar la configuración al límite solo para ver qué hace. A veces, subir la intensidad al máximo o crear una animación inusualmente lenta puede despertar una idea creativa que ni siquiera habías considerado.
Exportar para el máximo impacto en redes sociales
Una vez que estés contento con cómo se ve la animación, el último paso es sacarla al mundo. Tus ajustes de exportación son críticos para asegurar que tu video sea nítido y se reproduzca correctamente en diferentes plataformas. Un video que se ve increíble en una pantalla panorámica de YouTube no se verá bien como un Reel vertical de Instagram.
Cada plataforma social tiene sus propias peculiaridades y preferencias para las especificaciones de video. Si subes un archivo con la relación de aspecto o la tasa de bits incorrecta, corres el riesgo de obtener desagradables barras negras, compresión borrosa u otros artefactos visuales. Hacer esto bien desde el principio asegura que todo tu arduo trabajo valga la pena.
Para facilitar las cosas, aquí tienes una guía de referencia rápida que tengo a mano para las plataformas más comunes.
Ajustes de exportación recomendados para redes sociales
Esta tabla de referencia rápida te ayudará a optimizar tu video con efecto de imagen 3D para plataformas de redes sociales populares, asegurando la mejor calidad y rendimiento posibles.
| Plataforma | Resolución recomendada | Relación de aspecto | Formato de video |
|---|---|---|---|
| Instagram Reels | 1080 x 1920 píxeles | 9:16 | MP4 |
| TikTok | 1080 x 1920 píxeles | 9:16 | MP4 |
| YouTube Shorts | 1080 x 1920 píxeles | 9:16 | MP4 |
| Feed de Facebook | 1080 x 1080 píxeles | 1:1 | MP4 |
Afortunadamente, Veo3 AI elimina la mayor parte de las conjeturas al ofrecer ajustes preestablecidos de exportación integrados. Simplemente puedes elegir "Instagram Reel" o "TikTok", y la herramienta manejará automáticamente la resolución y la relación de aspecto por ti. Esto ahorra mucho tiempo y asegura que tu video final esté perfectamente formateado para captar la atención.
Superando los límites con técnicas creativas avanzadas
Una vez que domines los conceptos básicos, es hora de comenzar a superar los límites creativos del efecto de imagen 3D. Aquí es donde vas más allá de los resultados automatizados y comienzas a tomar el control real sobre cómo la IA interpreta y anima tu imagen. Piénsalo como pasar de ser un usuario a ser un artista de efectos visuales.
Una de las formas más efectivas de subir de nivel es creando o ajustando manualmente el mapa de profundidad. Los mapas generados por IA son un gran punto de partida, pero pueden confundirse con escenas complicadas. Al entrar en un editor de fotos como Photoshop, puedes pintar tu propio mapa de profundidad. Esto te da un control con precisión de píxel, asegurando que cada elemento se sitúe exactamente donde quieres en el espacio 3D.
Tomando referencias del CGI y el cine
La magia detrás de este efecto tiene profundas raíces en el mundo de las imágenes generadas por computadora (CGI). Las técnicas fundamentales fueron desarrolladas por pioneros allá por la década de 1970, sentando las bases para todo lo que siguió, incluida la primera película totalmente animada por computadora, Toy Story, en 1995.
Puedes tomar prestado directamente de este mundo pensando como un cineasta al escribir tus prompts. En lugar de un básico "pan left" (panorámica a la izquierda), intenta describir movimientos de cámara clásicos.
- Plano de arco (Arc Shot): Pide a la IA algo como: "la cámara hace un arco alrededor del sujeto de izquierda a derecha".
- Plano de grúa (Crane Shot): Prueba con un comando como: "la cámara comienza abajo y sube, mirando hacia abajo sobre la escena".
Usar un lenguaje cinematográfico como este produce animaciones mucho más dinámicas y de aspecto profesional que los movimientos simples y planos. No solo le estás diciendo a la IA qué hacer; la estás dirigiendo.
Ampliando tu kit de herramientas
Aunque Veo3 AI es una fantástica solución todo en uno, no es la única herramienta que existe. Los creadores inteligentes saben que diferentes trabajos requieren diferentes herramientas, y a veces los mejores resultados provienen de combinar las fortalezas de varias plataformas diferentes.
He descubierto que convertirse en un creador versátil significa comprender el panorama. A menudo, mi mejor trabajo surge al usar dos o tres herramientas combinadas, dejando que cada una haga lo que mejor sabe hacer.
Aquí tienes un resumen rápido de algunas alternativas y dónde destacan:
| Herramienta | Fortaleza principal | Ideal para |
|---|---|---|
| Veo3 AI | Plataforma todo en uno con control basado en prompts y preajustes de estilo. | Resultados rápidos y de alta calidad con una excelente dirección creativa. |
| LeiaPix | Se especializa en la creación de mapas de profundidad y ofrece herramientas de edición manual. | Ajuste fino del efecto de paralaje y la precisión del mapa de profundidad. |
| CapCut | Editor de video móvil con un efecto simple de "Foto 3D". | Animaciones rápidas y sobre la marcha para contenido de redes sociales. |
Cada una de estas puede producir un efecto de imagen 3D convincente, pero su enfoque es diferente. Por ejemplo, podrías generar un mapa de profundidad superdetallado en LeiaPix, exportarlo y luego llevarlo a Veo3 AI para aprovechar sus controles de cámara avanzados.
Este flujo de trabajo con múltiples herramientas cambia las reglas del juego. Si te tomas en serio la creación de animaciones verdaderamente sofisticadas, te recomendaría buscar recursos que te ayuden a mejorar tus habilidades de animación de imágenes con IA e ir más allá de lo básico. Abre un nivel completamente nuevo de libertad creativa.
Preguntas frecuentes sobre la animación de fotos 3D con IA
A medida que te sumerjas en la creación de estas animaciones, seguramente te encontrarás con algunas preguntas comunes. Yo he pasado por eso. Repasemos algunos de los obstáculos más frecuentes que enfrenta la gente al intentar lograr ese efecto de imagen 3D perfecto.
¿Puedo usar cualquier foto para este efecto?
Técnicamente sí, pero los resultados pueden variar enormemente. Cuanto mejor sea tu imagen inicial, mejor será tu animación final. Es la clásica situación de "si entra basura, sale basura".
Para animaciones que parezcan realmente creíbles, comienza siempre con fotos de alta resolución. Las imágenes más exitosas tienen un sujeto distinto en primer plano que se destaca claramente del fondo. Piensa en un retrato donde la persona está nítida y el fondo es un desenfoque suave; ese es el punto ideal.
Curiosamente, las fotos que has tomado con el modo retrato de tu teléfono suelen ser fantásticas para esto. A veces tienen datos de profundidad incorporados, lo que le da a la IA una gran ventaja para crear un efecto preciso y convincente.
¿Qué hace que un prompt de IA sea bueno?
El secreto de un gran prompt es ser simple y descriptivo. Piensa como un director de cine, no como un programador. Los comandos vagos simplemente no servirán.
- En lugar de "haz que se mueva", prueba con "paneo lento de cámara hacia la derecha".
- En lugar de "zoom", prueba con "suave dolly zoom hacia el sujeto".
¿Mi consejo? Comienza con una instrucción única y clara. Si intentas meter demasiados movimientos diferentes en un solo prompt, probablemente confundirás a la IA y obtendrás un desastre tembloroso e impredecible. Logra que un movimiento se vea genial, luego puedes comenzar a experimentar agregando un segundo.
Aquí tienes un pequeño truco mental que hace maravillas: describe la trayectoria de la cámara, no solo el resultado final que deseas. Este pequeño cambio en la forma de pensar sobre tu prompt conduce a animaciones que se sienten mucho más intencionales y profesionales.
¿Cómo puedo arreglar una animación distorsionada?
Si tu animación se ve deformada, borrosa o simplemente extraña, generalmente se debe a uno de dos culpables: una imagen de origen de mala calidad o un mapa de profundidad inexacto. Lo primero es lo primero: verifica que tu foto original sea nítida, clara y tenga buena iluminación.
Si tu foto es sólida, es posible que la animación sea demasiado agresiva. Vuelve a los ajustes y reduce la intensidad o la velocidad de la animación. Una intensidad más baja suele crear un efecto de imagen 3D más suave y realista, que resulta mucho más agradable a la vista.
¿Listo para convertir tus propias fotos en algo increíble? Con Veo3 AI, puedes crear un video dinámico a partir de cualquier imagen estática en solo unos minutos. Empieza a crear gratis en veo3ai.io y descubre a qué puedes dar vida hoy.
Related Articles
Continue with more blog posts in the same locale.
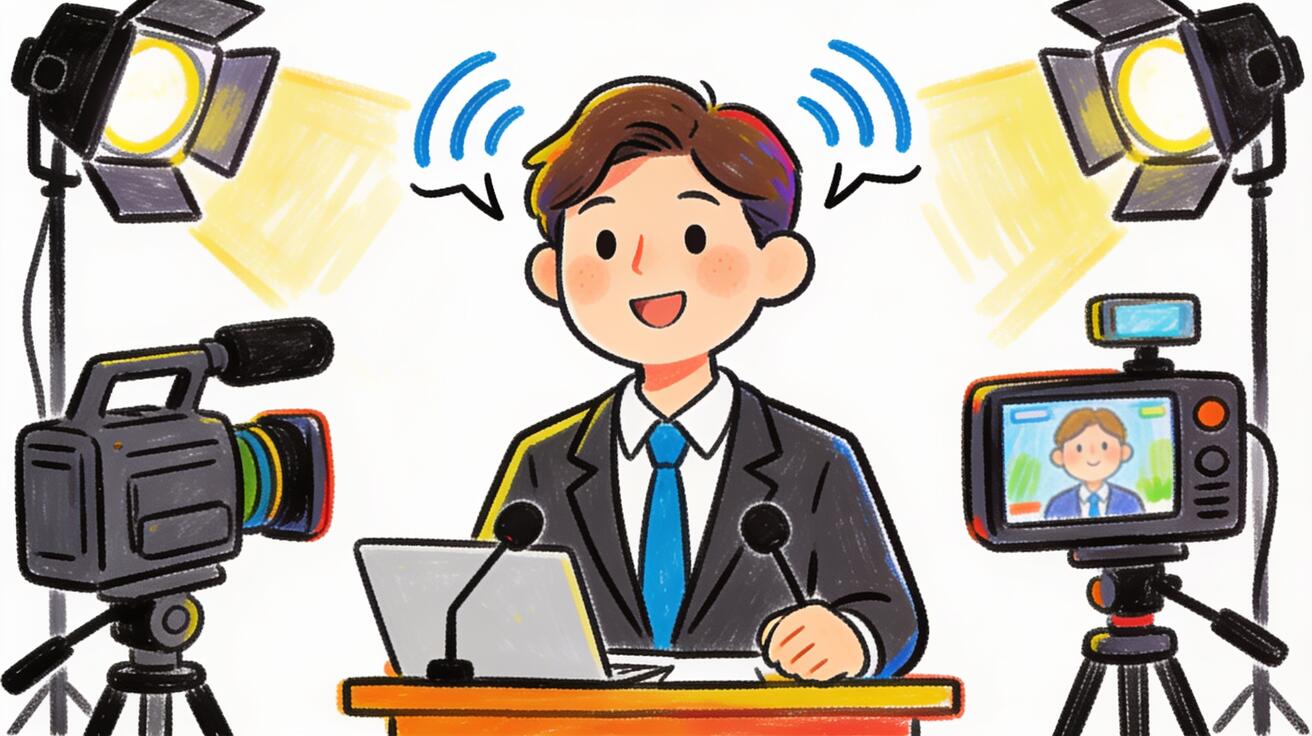
Veo 3 Talking Head Video: Cómo crear videos de presentador con IA (2026)
Crea videos de presentador con IA con Veo 3: prompts de personajes, sincronización de labios, formatos de plataforma, portavoz de marca, persona social y anfitrión de videos de capacitación, con plantillas listas para usar.
Read article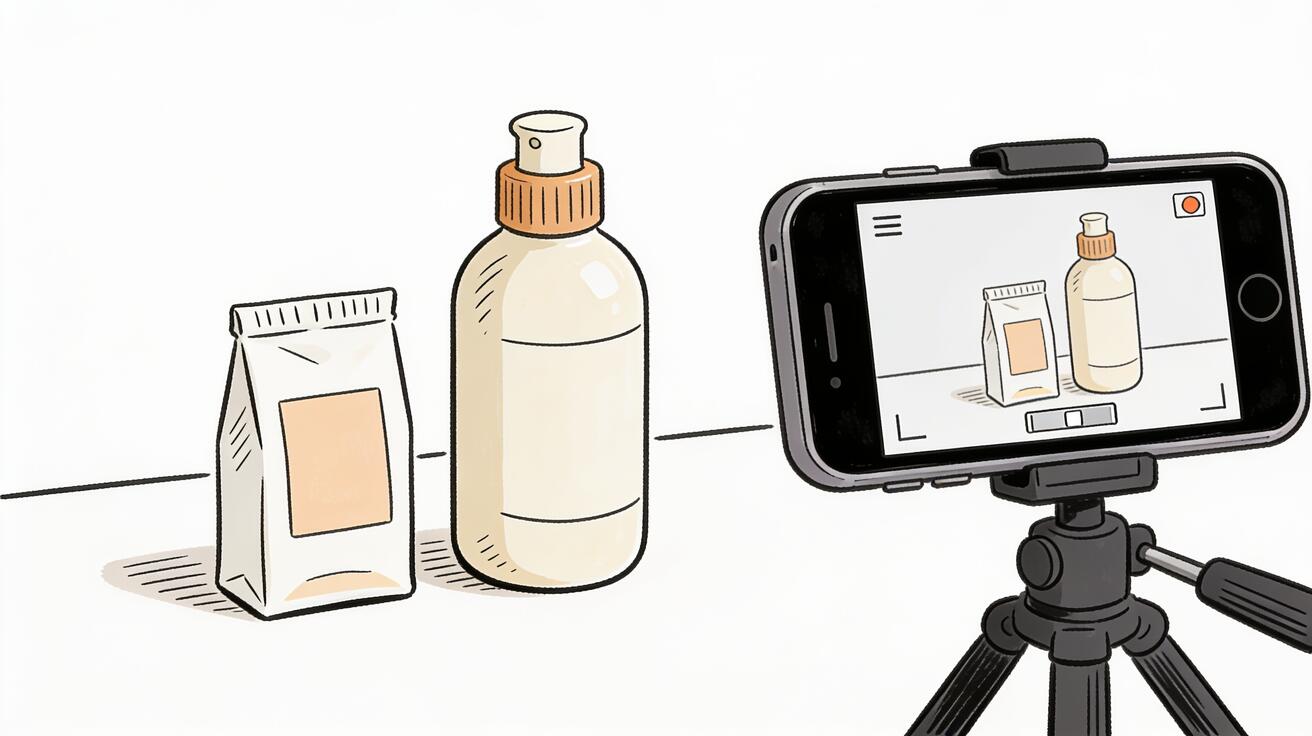
Veo 3 para E-Commerce: Videos de productos generados por IA que convierten (2026)
Aprende a usar Veo 3 para videos de productos de e-commerce: prompts de packshot I2V, especificaciones de plataforma, guías por categoría para moda, alimentos, cosméticos y artículos para el hogar, además de listas de verificación de control de calidad.
Read article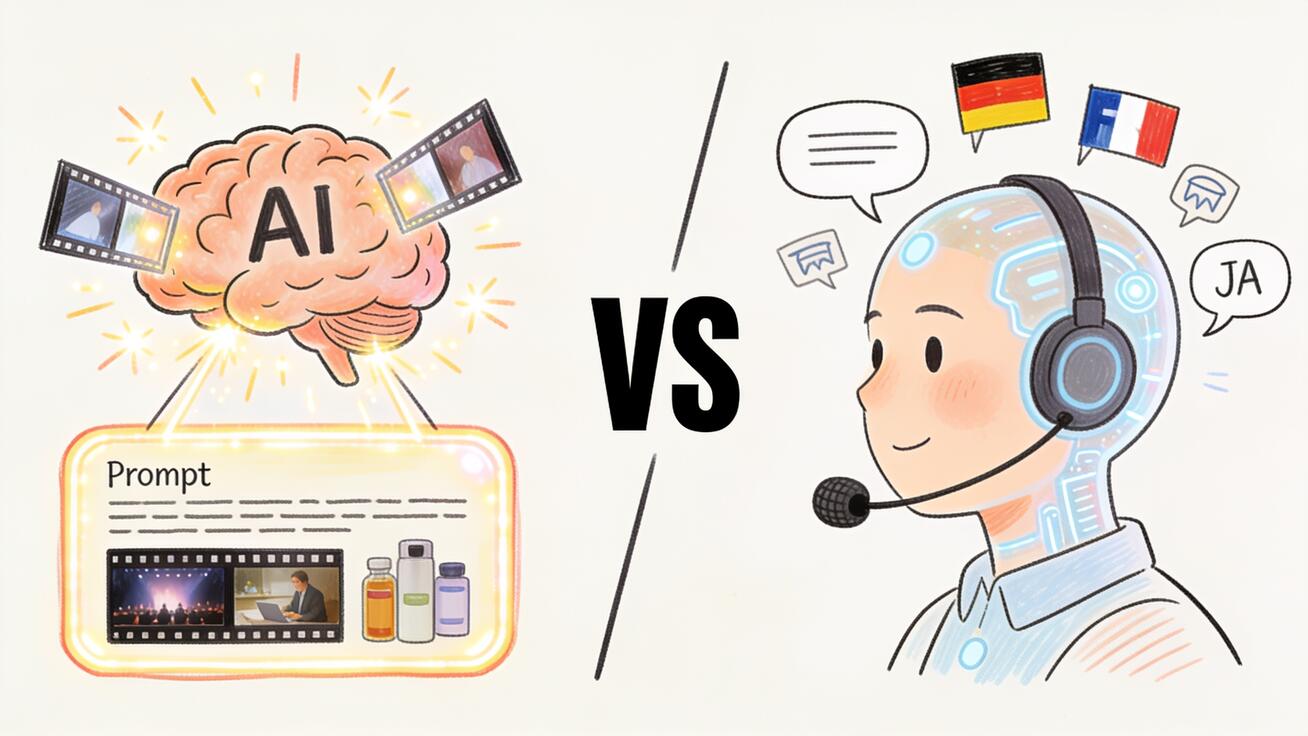
Veo 3 vs HeyGen 2026: Generación de video con IA vs Estudio de avatares con IA
Veo 3 vs HeyGen 2026: compara los flujos de trabajo de generación de video con IA y estudio de avatares con IA, observa dónde sobresale cada uno y decide cuál pertenece a tu stack de producción de video.
Read article