How to Sync Audio to Video A Practical Guide
Learn how to sync audio to video with practical methods that work. Our guide covers manual syncing, software automation, and pro tips for perfect results.
Veo3 AI · 18 min read · Sep 21, 2025
At its core, syncing audio to video is all about lining up a separately recorded sound file with your video clips. You need a common reference point to make it happen, like the classic slate clapper or even just a sharp hand clap.
Quick Answer: To sync audio to video, sign up on the platform's website, complete the onboarding steps, and follow the step-by-step workflow—upload your media or enter a prompt, configure the settings, and download or share your output. The process is designed to be intuitive for all experience levels.
You can tackle this the old-school way—manually dragging the audio track in your editor until the spike in the waveform lines up perfectly with the visual clap. Or, you can let modern software do the heavy lifting with an automated feature that matches your camera's rough "scratch" audio to the high-quality external recording.
Why Flawless Audio Sync Matters
Have you ever watched a video where someone's words are just slightly off from their lip movements? It’s jarring. You immediately notice something is wrong, and it pulls you right out of the moment. That disconnect is an audio-video sync error, and it can make an otherwise professional video feel cheap and untrustworthy.
Getting the sync right is one of those invisible details that separates the pros from the amateurs.
This is especially true for live broadcasts, where a seamless delivery is everything. Using the right church live stream software, for example, can make or break the experience for a remote congregation. But even in pre-recorded videos, tiny sync issues can kill the punchline of a joke, soften the emotional impact of a dramatic scene, or just make important information difficult to follow.
The Science Behind Sync Perception
Our brains are hardwired to notice when things don't line up. It's fascinating, really. Research shows we can generally tolerate audio that's ahead of the video by up to +45 milliseconds or lagging behind by as much as -125 milliseconds. Anything outside that razor-thin window, and our brains start screaming that something is off.
This tiny margin for error is precisely why getting it right in post-production is so critical. You can dive deeper into the technical standards and human perception limits in this detailed overview of AV sync.
The goal isn't just to avoid an obvious mistake. It's to create an experience so seamless that the audio and video feel like they were always one. When the sync is perfect, your audience doesn't think about the technicals—they just get lost in your story.
This guide is designed to help you put those sync headaches behind you for good. We’ll walk through everything from the timeless clap-sync method to the seriously powerful automated tools built into today's editing software. Nailing your audio sync is a fundamental skill, whether you're editing a feature film or figuring out how to make social media videos that stop the scroll.
Setting Up Your Files for an Easy Sync
The secret to a stress-free sync happens long before you even touch your editing software. We often think of audio sync as a post-production problem, but the truth is, a seamless sync is born out of a smart, organized workflow on set. Getting this prep work right can literally save you hours of headaches down the line.
Think of it as laying a solid foundation. A few simple actions during the shoot can transform what could be a tedious, painstaking task into a quick, almost automatic part of your edit. This is especially true when you're juggling audio and video from multiple sources.
Organize Your Digital Assets
First things first: get your files in order before you even think about syncing. A messy project folder is a recipe for disaster, and you’ll spend more time hunting for the right clips than you will actually editing. A clear, consistent naming convention is your best defense against that chaos.
For instance, ditch the generic camera-generated names like MVI_001.MOV and AUDIO_TAKE_1.WAV. Instead, adopt a structure that tells you exactly what you're looking at. A simple format can make a massive difference:
Interview-CloseUp-01_Video_CamA.mp4Interview-CloseUp-01_Audio_External.wav
This approach instantly pairs your audio and video files. It’s a small habit that becomes absolutely essential on larger projects with dozens or even hundreds of files, making your media management a breeze.
Your future self will thank you for taking thirty seconds to name a file correctly. Proper organization isn't just about being tidy; it's a core component of an efficient and professional editing workflow.
Create a Clear Sync Point
Next, you need to create an unmistakable reference point—a moment that exists on both your video and all your audio recordings. This is the visual and audible "handshake" between your camera and your external recorder. Without it, you’re just guessing.
You’ve got a few tried-and-true options for this:
- The Clapperboard (Slate): It's the gold standard for a reason. It gives you a sharp visual cue (the sticks closing) and a loud, distinct audio spike that’s impossible to miss on a waveform.
- The Hand Clap: No slate? No problem. A single, sharp hand clap in front of the camera works just as well. It’s free, effective, and creates that same crucial audio-visual peak.
- A Loud, Visible Action: In a pinch, any action that creates a sharp, identifiable sound while being clearly visible on camera can work. Think of a quick tap of a pen on a desk or even dropping a book.
The Power of Scratch Audio
Finally, here's a tip that can change your life: always record audio directly into your camera, even if the quality is terrible. This in-camera audio is what we call "scratch audio," and for modern editing software, it's an absolute game-changer.
While you'll ultimately use your high-quality external audio, the scratch audio acts as a reference map. Automated sync features in programs like Adobe Premiere Pro can analyze the scratch track's waveform and match it perfectly to your pristine external recording. This process can sync entire timelines with over 99% accuracy in just a few clicks, making it one of the most powerful time-savers in any editor's toolkit.
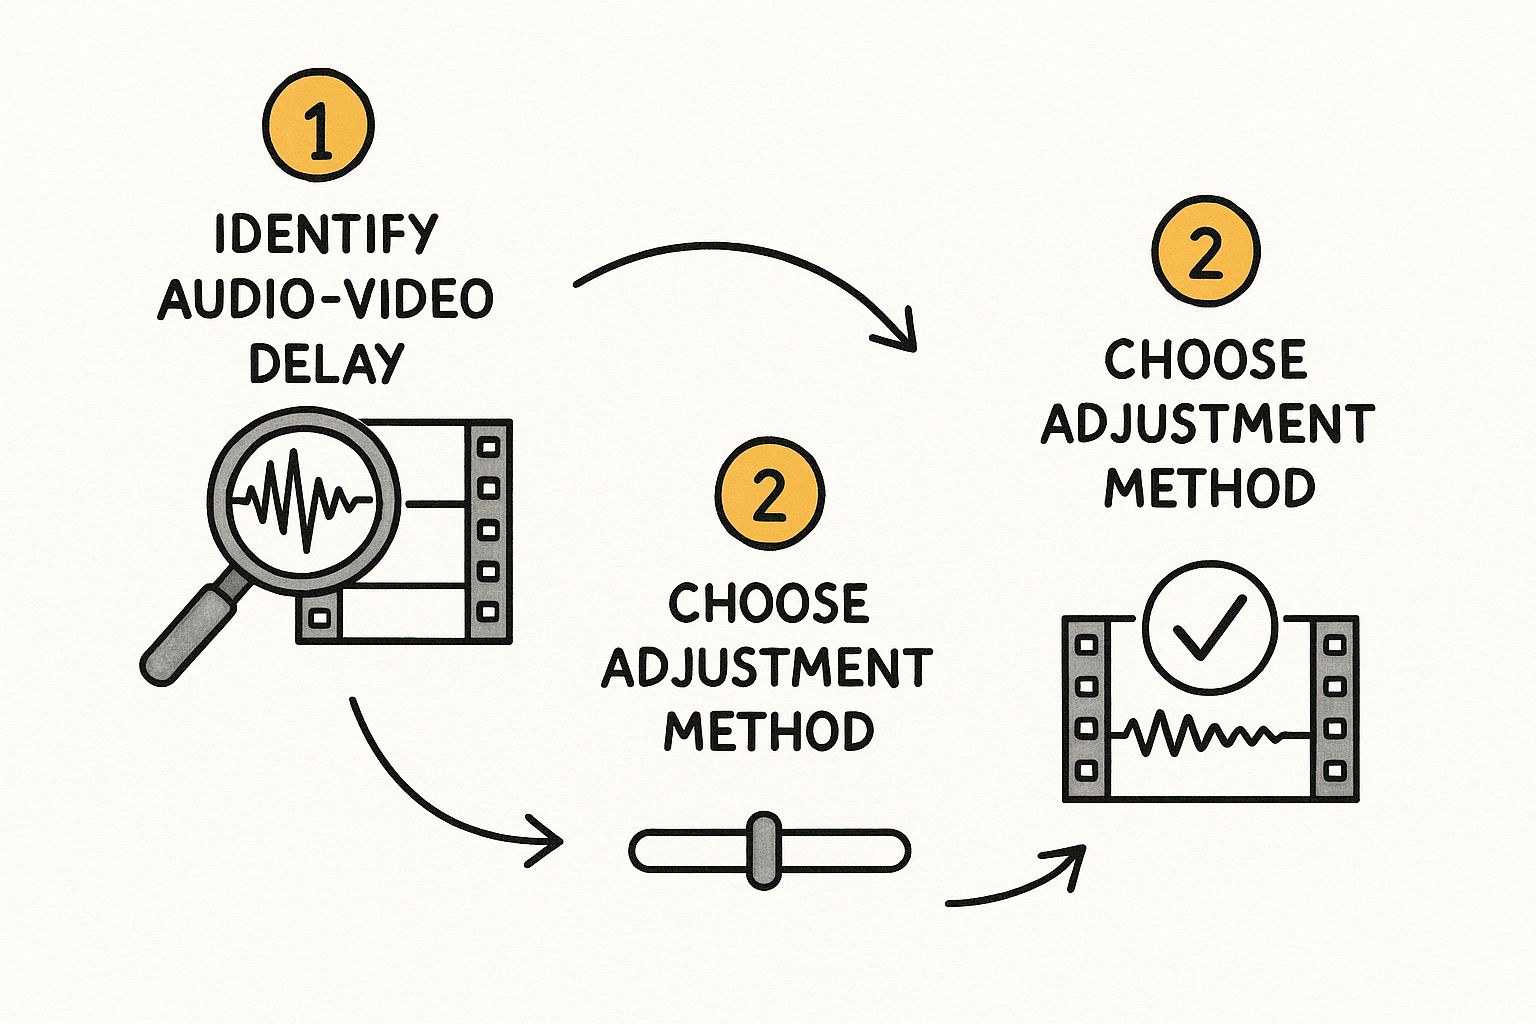
Picking Your Audio Sync Method
With your files organized and ready to go, it's time for the real work: syncing your audio to the video. This is a critical moment in the editing process, and you have two main ways to tackle it. You can go with the classic manual approach for granular control, or you can let modern software handle it automatically to save a ton of time.
Let’s break down both. Honestly, knowing how to sync audio by hand is a fundamental skill every editor should have in their back pocket. But learning to trust the automated tools is what really speeds up your workflow. The trick is knowing which one to use and when.
The Manual Sync: A Hands-On Approach
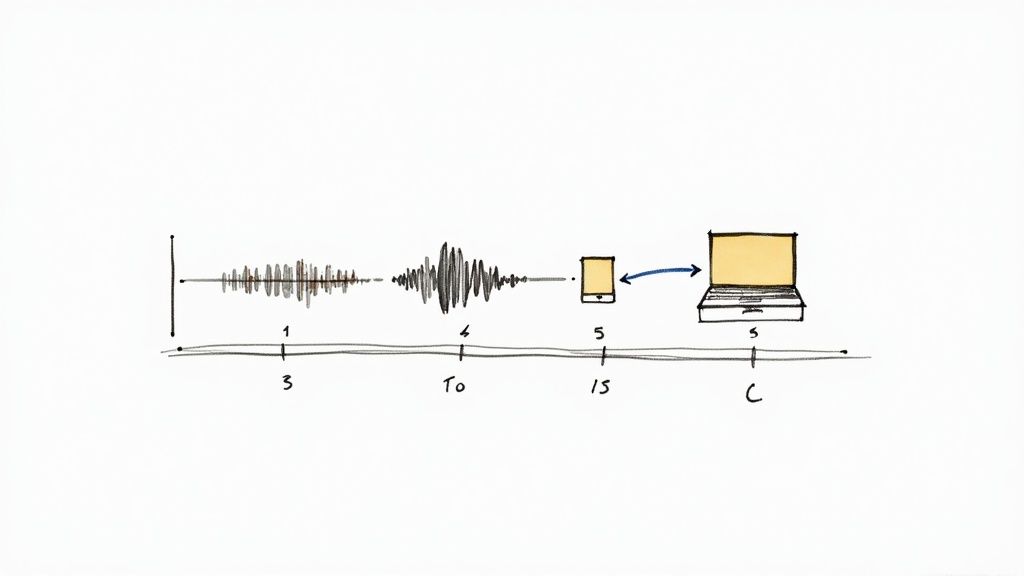
Doing it by hand is the old-school way, and it’s still incredibly reliable. This method hinges on having a sharp, clear sync point that you (hopefully) created during filming, like a classic clapperboard slate or a simple hand clap. The entire goal is to line up that visual action perfectly with the loud sound it creates in the audio waveform.
First, drop both your video clip and your clean external audio clip onto your timeline, making sure they’re on separate tracks. Now, zoom way in on the part of the timeline where the clap or slate happens. You’re hunting for two specific things:
- On the video track: Pinpoint the exact frame where the clapper sticks snap shut or your hands make contact. That’s your visual cue.
- On the audio track: Look at the audio waveform. The clap will show up as a big, sharp peak. That’s your audio cue.
All you have to do is drag your audio clip until that sharp peak on the waveform aligns perfectly under the visual frame of impact. Hit play to check your work. If you've nailed it, the sound will be perfectly synchronized with the visual.
This is a skill that saves you when technology fails.
As the visual shows, spotting the delay is half the battle; the other half is just nudging the audio into place.
The Automated Sync: Let the Software Do the Work
While manual syncing is a trusty skill, the automated features built into modern editing software can do the same job in a fraction of the time, and with stunning accuracy. This works by using the low-quality "scratch audio" recorded by your camera as a reference. The software analyzes that scratch audio waveform and intelligently matches it to the waveform from your high-quality external recorder.
It's a game-changer. For example, in a program like Adobe Premiere Pro, you can just highlight the video clip (with its scratch audio) and the separate external audio, right-click, and let the software sync them. It saves an incredible amount of post-production time.
The process is pretty similar no matter what software you're using. You select both the video and the high-quality audio clips, either in your project bin or on the timeline. Then, you look for a command like "Synchronize" or "Merge Clips," which is almost always in a right-click menu.
The software will typically ask how you want to sync. Just choose the "Audio" or "Waveform" option. In a few seconds, the clips will be perfectly aligned. This speed is a huge advantage, making it a must-have feature in the best video editing software for social media, where quick turnarounds are everything.
Once it's done, you can mute, disable, or just delete the camera's original scratch audio track. You're left with your beautiful, clean external audio locked perfectly to the picture. This is especially powerful for complex projects, like syncing multiple camera angles for a multi-cam edit.
Manual Sync vs. Automated Sync: A Comparison
So, which method is right for you? It really depends on the project, the quality of your source files, and your personal preference. Here’s a quick breakdown to help you decide.
| Feature | Manual Sync (Clapper/Waveform) | Automated Sync (Software) |
|---|---|---|
| Speed | Slower, requires frame-by-frame precision. | Extremely fast, often just a few clicks. |
| Accuracy | Highly accurate, but subject to human error. | Very accurate, especially with clear reference audio. |
| Prerequisites | A clear visual/audio sync point (clap, slate). | Decent quality "scratch audio" on the video file. |
| Best For | Short clips, interviews, or when automated sync fails. | Multi-cam shoots, long-form content, documentaries, vlogs. |
| Skill Level | A foundational skill for all editors. | Beginner-friendly but essential for professional workflows. |
| Reliability | The ultimate fallback method; always works if you have a slate. | Can fail with very windy conditions or distant scratch audio. |
Ultimately, the best editors don't choose one method; they master both. You'll rely on automated sync for 95% of your work to stay efficient, but you’ll be incredibly thankful you know how to do it manually when that other 5% comes around.
The Journey from Clapperboards to AI

If you really want to get good at how to sync audio to video, it helps to understand how we got here in the first place. This problem is as old as "talking pictures" themselves, and the evolution from clunky analog methods to today’s smart software is a masterclass in creative problem-solving.
Back in the day, filmmakers had a huge problem. They were recording sound on a device totally separate from the film camera, with no way to link the two. This gave birth to the clapperboard in 1927—a brilliantly simple tool that created one sharp, unmistakable reference point for both the visual and the audio. That iconic clap was the original sync point, a manual fix that worked wonders.
For decades, that physical method was the gold standard. Syncing was a beast of a task in early cinema, and the clapperboard was the first real breakthrough. As we moved into the digital age in the late 20th century, we started using synchronization metadata. Organizations like the Audio Engineering Society have been instrumental in setting these standards since 1948.
The Digital Revolution and Timecode
The next major leap came with digital technology and the introduction of timecode. You can think of timecode as a digital address stamped onto every single frame of your video and audio. Each moment gets a unique identifier, like 01:15:22:10, creating a universal clock that every device can follow.
This completely changed the game. No longer were editors just relying on a single clap at the beginning of a take. Now, they could lock clips together with absolute, frame-level accuracy.
Timecode brought some massive advantages:
- Perfect multi-camera sync, allowing multiple cameras to align seamlessly with one master audio recording.
- Smoother collaboration, as editors and sound designers could finally work from the exact same timing references.
- Unshakeable reliability, which is a lifesaver for long recordings where audio can sometimes "drift" out of sync over time.
Timecode was the bridge from the physical world of the clapperboard to the data-driven world of modern editing. It turned syncing from a manual art into a precise science.
The Rise of Intelligent Automation
Today, we're in the middle of another shift. While timecode is still essential for professional productions, smart software has made the whole process easier than ever. Most modern editing programs can analyze the scratch audio from a camera and automatically match its waveform to a high-quality external recording.
And now, AI-powered tools are taking it to another level. These systems don't just look at waveforms; they can analyze visual cues like lip movements or even background noise to find the perfect sync, even if you forgot to clap or don't have timecode. This whole journey—from a physical clap to a smart algorithm—shows just how dedicated we’ve been to achieving perfect audio-video synchronization.
Tackling Tough Sync Problems with AI

Sometimes, the old-school methods just don't cut it. What do you do when there's no clear clap, the on-camera audio is a mess of wind noise, or someone forgot to hit record on the external recorder for the first ten seconds? These are the real-world headaches where AI-powered tools are now stepping in to save the day.
Modern AI, like the kind built into platforms like Veo3 AI, goes way beyond the basic waveform matching you see in most editors. Instead of just listening to the audio, these tools are designed to watch the video. This tech can analyze the visual data in your footage to find sync points that would be impossible for traditional software to locate.
This is a huge step forward in figuring out how to sync audio to video when things go wrong. It's not just about lining up peaks on a timeline anymore; it's about smart, contextual analysis.
Going Beyond the Waveform with Visual Analysis
The real magic is when the AI uses visual cues to lock everything together. Let's say a lavalier mic cuts out for a few seconds, but the camera keeps rolling. An AI can analyze the speaker's lip movements and perfectly realign the audio track the moment it comes back, saving you from a tedious, frame-by-frame manual fix.
This kind of technology is a total lifesaver for rescuing projects that were recorded less than perfectly. Think about these common issues that AI can now fix for you automatically:
- No Reference Audio: It can sync footage even when the camera's scratch track is totally missing or corrupted.
- Missing Slates or Claps: The AI finds natural sync points by observing the action and dialogue on screen.
- Multi-Cam Nightmares: It can sync up dozens of clips from a multi-camera event in minutes, a job that could otherwise take hours.
AI sync tools are your ultimate safety net. They can salvage footage that would have been considered unusable just a few years ago, turning a potential disaster into a perfectly usable take.
Fixing Audio Drift the Smart Way
One of the most maddening sync issues is audio drift, where the audio and video slowly fall out of sync over a long take. Manually fixing this by slicing and nudging the audio every few minutes is an absolute grind. Fortunately, modern AI tools are brilliant at spotting and correcting this.
They can analyze an entire clip, pinpoint the subtle timing inconsistencies, and apply a non-linear time stretch to the audio. The result? It stays perfectly locked from the first frame to the last. This feature alone is often enough to make AI a non-negotiable part of a professional workflow.
This shift toward intelligent automation is also changing other areas of post-production, offering new ways to apply stunning video effects with less effort. It's about more than just speed; it's about precision and problem-solving, freeing you up to spend less time on tedious technical fixes and more time on the creative art of storytelling.
Answering Your Toughest Audio Sync Questions
No matter how experienced you are, you’ll eventually hit a snag when syncing audio. These are the little “gotchas” that pop up on almost every project, from interviews to event coverage. Knowing how to troubleshoot them ahead of time can save you hours of frustration.
Let's walk through some of the most common questions editors run into and get you the real-world answers you need.
What Is Audio Drift and How Do I Fix It?
Ever sync up a long clip, like an interview, and it's perfect at the beginning... but by the end, the audio is completely off? That's audio drift, and it's a classic problem.
It happens because your camera and external audio recorder run on separate internal clocks. Over a long take, tiny differences in timing compound, causing one device to record just a fraction faster or slower than the other.
The old-school fix was a nightmare: manually slicing the audio every few minutes and nudging it back into alignment. Thankfully, there's a much smarter way. Most editing software has a "rate stretch" tool. This lets you gently speed up or slow down the entire audio clip by a tiny amount—think 99.9% or 100.1%—to make it match the video's length exactly.
Audio drift is practically a guarantee when using separate recording gear for long-form content. It’s not an "if," but a "when." Modern NLEs have made fixing it much less painful than it used to be.
Can I Sync Audio Without a Slate or Scratch Track?
Yes, you can, but this is where you have to roll up your sleeves and go manual. Without a clear slate or any usable scratch audio from the camera, your software’s automatic "sync by waveform" feature is flying blind. It has nothing to compare the good audio against.
When automation fails, you have to get creative:
- Look for a visual cue: Scan the footage for any other sharp, visible sound. A door slamming, someone setting a glass down hard, even a sudden cough can work as a makeshift sync point.
- Sync to lip movements: This is the last resort, but it's a lifesaver. You’ll have to zoom way into your timeline and go frame-by-frame, matching the speaker's lip movements to the words in your audio. It’s tedious work, for sure, but it can salvage an otherwise unusable shot.
How Do I Sync Multiple Cameras to a Single Audio Source?
This is standard procedure for any multi-camera shoot. Whether it's a two-person interview or a live concert, the key is establishing one universal sync point that all your devices can see and hear.
The most reliable tool for this is still the classic clapperboard. Make sure it’s visible to every camera when it claps.
Back in your editing software, you'll want to use the multi-camera sequence feature. Start by dropping all your video clips and your master audio track onto the timeline. Then, select everything and use the software’s automatic synchronization function. Simply tell it to align all the clips using your main audio track as the reference. Just like that, all your camera angles will snap into perfect sync, ready for you to start cutting between them.
For a deeper dive into editing techniques and more advanced troubleshooting guides, theclipbot blog is a great resource to keep in your back pocket.
Tired of wrestling with sync points and waveforms? With Veo3 AI, you can skip the tedious manual work and let our system handle it automatically. Turn your raw footage into a polished video without getting bogged down in the technical details. Create your first video for free and see how easy it is. Learn more at https://veo3ai.io.
Our Verdict
Learning how to sync audio to video has never been more accessible thanks to today's AI-powered tools. We recommend starting with one of the beginner-friendly platforms mentioned in this guide, following the step-by-step process outlined above, and experimenting with different settings to find your preferred style. The investment of time to master this skill will pay off in consistently high-quality content.
Related Articles
Continue with more blog posts in the same locale.
How to Make Anime Videos with Veo 3 (2026 Prompts & Workflow)
A complete system for making anime and stylized-cartoon videos with Veo 3: prompt framework, copy-paste style vocabulary, five full prompt examples, character consistency workflow, audio direction, and a QA checklist.
Read article
How to Get a Cinematic Film Look with Veo 3: Color Grading & LUT-Style Prompts (2026)
Get a real cinematic film look in Veo 3 by treating color grading as a prompting problem: film-stock emulation, LUT-style looks, contrast curves, and a copy-paste grading prompt library.
Read article
Veo 3 Negative Prompts: How to Remove Unwanted Elements and Artifacts (2026)
Use Veo 3 negative prompts to remove watermarks, text, artifacts, and CGI drift. The phrasing rule that makes them work, where to put them, and a copy-paste exclusion library.
Read article