Illustrationen animieren: Praktischer Leitfaden für Einsteiger
Lerne, Illustrationen mit einfachen Schritten, praxisnahen Tipps und den besten Tools zum Leben zu erwecken.
Veo3 AI · 13 min read · Nov 10, 2025

Hast du jemals eine beeindruckende Illustration gesehen und sie dir in Bewegung vorgestellt? Dieser Funke der Vorstellungskraft ist der Anfang jeder großartigen Animation. Die Idee, ein statisches Kunstwerk in eine lebendige, atmende Geschichte zu verwandeln, kann einschüchtern – aber heute ist es zugänglicher denn je.
Dieser Leitfaden dient dir als praxisorientierte Roadmap. Wir zerlegen den gesamten Prozess und zeigen, wie du dein Artwork von einem flachen Bild in eine dynamische Erzählung verwandelst, die Aufmerksamkeit gewinnt und hält.
Eine Illustration zum Leben zu erwecken, verleiht deiner Arbeit eine ganz neue Dimension. Plötzlich kannst du starke Emotionen ausdrücken, Handlung antreiben und Persönlichkeit aufbauen – auf eine Weise, die ein Standbild nicht leisten kann. Das ist ein Game‑Changer, egal ob du einen aufmerksamkeitsstarken Social‑Clip, eine überzeugende Anzeige oder lernwirksame Inhalte erstellst.
Vom statischen Bild zur dynamischen Story
Die grundlegenden Prinzipien guter Animation haben sich kaum verändert, doch die Werkzeuge haben sich rasant weiterentwickelt. Der heutige Prozess ist eine smarte Mischung aus klassischen Kunsttechniken und leistungsfähiger Technologie.
Der moderne Animations‑Workflow
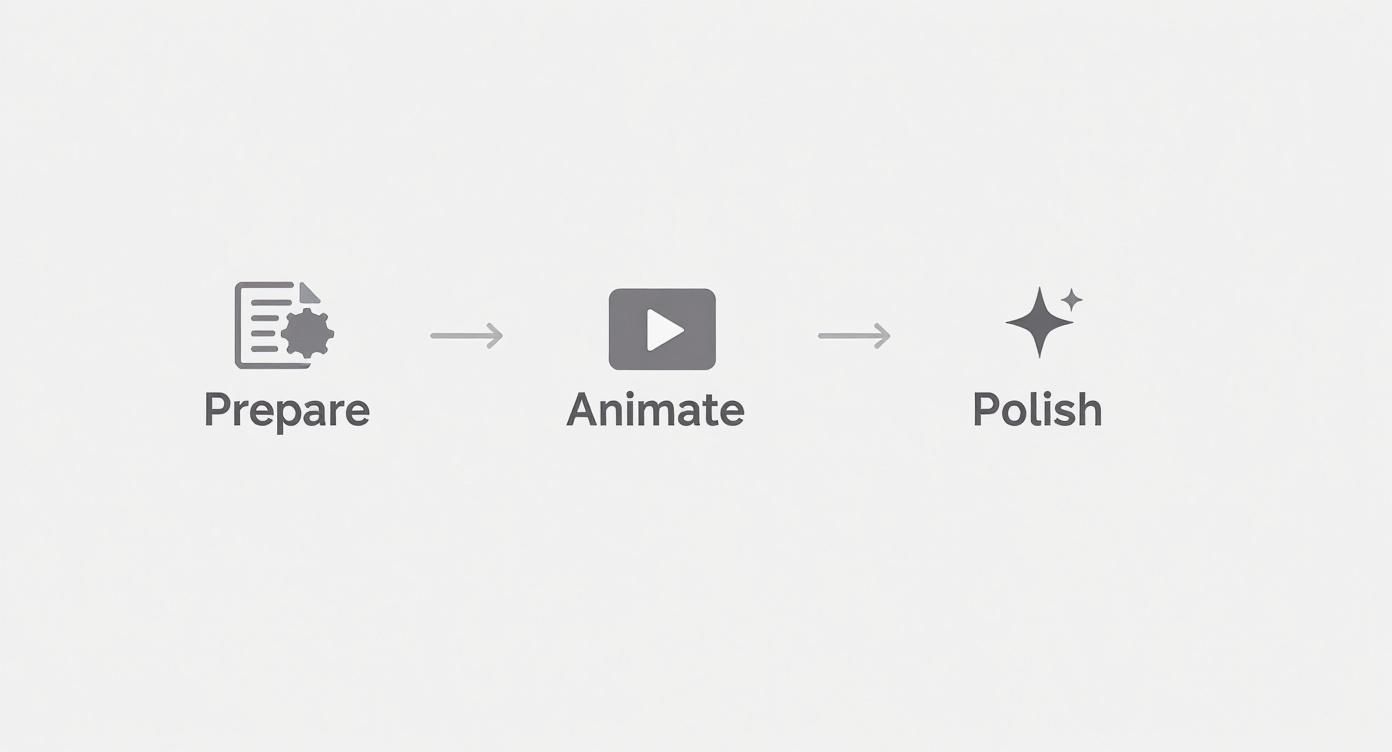
So sieht der Ablauf typischerweise aus:
- Artwork‑Vorbereitung ist alles: Diesen Schritt darfst du nicht auslassen. Bevor du an Bewegung denkst, trenne jedes Element, das du animieren willst, sauber auf eine eigene Ebene. Denk an den Arm einer Figur, ihr blinzelndes Auge und den Baum im Hintergrund – jedes Element braucht Raum, um sich unabhängig zu bewegen. Tools wie Procreate oder Adobe Illustrator sind dafür ideal.
- Wähle deinen Animationsweg: Du hast Optionen. Der traditionelle Ansatz nutzt Keyframes, um Bewegung in Software wie Adobe After Effects manuell zu setzen. Alternativ kannst du heute einen AI video generator from an image verwenden, der aus einer einzelnen Illustration automatisch Bewegung erzeugt – ein enormer Zeitgewinn.
- Feinschliff und Finalisierung: Sind die Grundbewegungen gesetzt, folgen die letzten Details. Hier fügst du Soundeffekte, Musik und ggf. Color Grading hinzu, damit deine Animation wirklich heraussticht.
Dieser einfache Workflow ist das Rückgrat fast jedes Illustrations‑Animationsprojekts.
Wie du siehst, baut jede Phase auf der vorherigen auf. Deshalb ist zusätzliche Zeit für die saubere Vorbereitung nie verschwendet – sie ist das Fundament für alles, was folgt. Ob per Hand oder mit AI: Dieser strukturierte Ansatz sorgt für einen deutlich flüssigeren und kreativeren Ablauf.
Die Magie beginnt, wenn du erkennst, dass jede Ebene in deiner Illustrationsdatei eine Puppe ist, die du zum Leben erwecken kannst. Von Anfang an in Ebenen zu denken, verändert grundlegend, wie du Kunst für Animation anlegst.
Und diese Fähigkeit wird von Tag zu Tag wertvoller. Die globale Animationsbranche steuert auf einen Marktumfang von rund 462 Milliarden US‑Dollar bis 2025 zu – befeuert durch Einsatzfelder von Werbung bis Bildung. Der Trend zeigt klar: Traditionelle Kunstfertigkeiten und neue Technologien wachsen zusammen und ermöglichen extrem reiche Erlebnisse.
Kernkonzepte der Animation auf einen Blick
Auch mit modernen Tools sorgt das Verständnis einiger Grundprinzipien der Bewegung für deutlich professionellere, glaubwürdigere Animationen. Diese Konzepte sind seit fast einem Jahrhundert das Fundament – aus gutem Grund.
| Prinzip | Wirkung | Warum es wichtig ist |
|---|---|---|
| Squash and Stretch | Verformt ein Objekt, um Geschwindigkeit, Masse und Impuls zu zeigen. | Verleiht Objekten Gewicht und Flexibilität. |
| Anticipation | Kleine Vorbereitungsbewegung vor der Hauptaktion. | Bereitet Zuschauende auf das Kommende vor. |
| Ease In & Ease Out | Allmähliches Beschleunigen bzw. Abbremsen der Bewegung. | Lässt Bewegungen natürlicher und weniger mechanisch wirken. |
| Timing & Spacing | Anzahl der Frames und Abstände zwischen ihnen. | Steuert Geschwindigkeit und Rhythmus einer Aktion. |
Wenn du diese Ideen verinnerlichst, triffst du bessere Entscheidungen – egal ob du Keyframes setzt oder eine KI mit einem Prompt steuerst. Sie sind die geheime Zutat für lebendige Bewegung.
Artwork für Bewegung vorbereiten
Bevor du überhaupt einen Keyframe setzt, beginnt die eigentliche Magie in deinem Design‑Tool. Ehrlich: Eine gut vorbereitete Illustration trennt einen reibungslosen, kreativen Workflow von einem frustrierenden Durcheinander. Die goldene Regel: sauberes Ebenen‑Management.
Denk an deine Illustration als Sammlung digitaler Puppen. Wenn der Arm einer Figur winken soll, muss dieser Arm auf einer anderen Ebene liegen als der Oberkörper. Gleiches gilt für alles – blinzelnde Augen, wehendes Haar, selbst Wolken im Hintergrund. Soll sich etwas unabhängig bewegen, braucht es eine eigene Ebene.
Das ist nicht nur Best Practice; es ist unverzichtbar, wenn du lernst, wie man Illustrationen animiert. Ob Adobe Illustrator, Procreate oder Photoshop – eine saubere Anlage spart dir später große Kopfschmerzen.
Ebenen mit klugen Namen bändigen
Okay, alle Elemente sind getrennt. Und jetzt? Organisieren. Eine Datei mit 50 Ebenen namens „Layer 1“, „Layer 2“ usw. ist ein Garant für Chaos. Du brauchst ein klares Benennungssystem, bevor es weitergeht.
Für eine Charakteranimation könnten die Ebenen z. B. so heißen:
Head_BaseEye_LeftEye_RightArm_Upper_LeftArm_Lower_Left
Siehst du, wie viel einfacher das wird? Diese Struktur erleichtert das Finden und Anpassen einzelner Teile in der Animationsphase enorm. Gutes Dateimanagement zahlt sich überall aus – selbst bei Themen wie how to name images for SEO, damit deine Arbeit besser gefunden wird.
Glaub mir: Zusätzliche 15 Minuten zum Benennen deiner Ebenen sparen dir später Stunden des Suchens. Es geht nicht nur um Ordnung – sondern um einen klaren Pfad für einen flüssigen Animationsprozess.
Leinwandabmessungen festlegen
Die technischen Einstellungen sind genauso wichtig wie der kreative Teil. Erste Frage: Wo wird die Animation gezeigt? Die jetzt gewählte Leinwandgröße bestimmt Qualität und Format des finalen Videos.
Hier sind die gängigsten Seitenverhältnisse:
- 16:9 (1920x1080 px): Standard für YouTube, Vimeo und die meisten Widescreen‑Displays. Für viele Projekte eine sichere Wahl.
- 9:16 (1080x1920 px): Ideal für vertikale Videos auf Instagram Stories, TikTok und Reels.
- 1:1 (1080x1080 px): Der quadratische Klassiker, passend für Instagram‑Feeds und einige Anzeigenformate.
Bei der Auflösung gilt: mindestens 72 dpi für Screens. Ich starte oft mit 150 dpi oder höher, um bei Zooms mehr Spielraum ohne Pixelbildung zu haben.
Wenn du deiner Arbeit einen besonderen Look geben willst, kannst du KI‑gestützte Tools für verschiedene Stile testen. Mehr dazu in unserem Guide zu style transfer AI. Die richtigen Spezifikationen von Anfang an sorgen dafür, dass deine Animation überall scharf und professionell wirkt.
Tools und Stil für die Animation wählen
<iframe width="100%" style="aspect-ratio: 16 / 9;" src="https://www.youtube.com/embed/29Toeq0oyM8" frameborder="0" allow="autoplay; encrypted-media" allowfullscreen></iframe>
Dein Artwork ist vorbereitet und in Ebenen strukturiert – jetzt kommt der kreative Teil. Die Welt der Illustrationsanimation reicht von subtilen, loopenden GIFs bis zu komplexen, charaktergetriebenen Stories.
Wichtig ist, den Stil an das Ziel anzupassen. Ein knackiger Social‑Ad braucht schnelle, auffällige Bewegung, die den Scroll stoppt. Ein persönliches Kunstprojekt darf feiner und atmosphärischer sein. Diese Wahl bestimmt Tools und Techniken.
Old School vs. New Wave: Keyframing und AI
Über Jahrzehnte bedeutete flüssige Bewegung: klassisches Keyframing. In Tools wie Adobe After Effects steuerst du jedes Detail – Start‑/Endpunkte („Keyframes“), der Rest wird interpoliert. Extrem mächtig, aber mit Lernkurve und Zeitaufwand.
Dann kam die neue Welle: KI‑gestützte Tools. Plattformen wie Veo3 AI verändern den Prozess, indem sie die Fleißarbeit automatisieren. Statt unzähliger Keyframes lädst du deine Illustration hoch und beschreibst per Text, was passieren soll. Die KI setzt es um – was Stunden dauerte, gelingt in Minuten.
Einen Überblick zu verschiedenen Lösungen findest du im Guide zu AI animation software.
Der größte Unterschied ist nicht nur Tempo. Es geht darum, worauf du dich konzentrieren kannst: Überlässt du der KI die repetitiven Bewegungen, bleibt dir mehr Energie für Story, Timing und die kreativen Details, die deiner Animation Persönlichkeit geben.
Wachsende Rolle von KI in der Animation
Der Einfluss ist enorm: KI verkürzt Produktionszeiten und senkt Kosten. Einige Expert:innen erwarten, dass bis 2025 bis zu 50 % der routinemäßigen Charakteranimationen von KI übernommen werden – die gesamte Pipeline könnte sich um rund 30 % beschleunigen.
So können Creators ambitioniertere Projekte ohne großes Team oder Budget stemmen. Für Inspiration lohnt sich ein Blick auf 2D animation prompts.
Wie triffst du die Wahl?
- Maximale Kontrolle: Für pixelgenaue, komplexe Charakterbewegungen bleibt Keyframing in After Effects der Goldstandard.
- Tempo und Effizienz: Für schnelle, hochwertige Social‑ oder Marketing‑Animationen ist ein KI‑Tool wie Veo3 ein No‑Brainer.
- Experimentieren: Für erste Schritte ohne großen Zeitaufwand ist KI ein zugänglicher, spaßiger Einstieg.
Am Ende zählt das Tool, das dich in deinem Zeitrahmen, mit deinem Skill‑Level und deiner Vision am besten vom Standbild zur lebendigen Animation bringt.
Praxisleitfaden: Animieren mit Veo3
Deine Illustration ist sauber in Ebenen angelegt – jetzt geht’s ans Beleben mit KI. Wir steigen in Veo3 ein. Die wichtigste Fähigkeit dafür: starke Text‑Prompts. Denk an Anweisungen für eine talentierte, aber sehr wörtliche Künstler:in – je klarer und bildhafter, desto näher am gewünschten Ergebnis.
Du übernimmst die Rolle der Regie. „Mach es beweglich“ reicht nicht. Vage Prompts liefern oft generische, leblige Resultate. Der Schlüssel ist, das Gefühl und die Qualität der Bewegung zu beschreiben.
Statt schlicht „Die Bäume animieren“ lieber: „Ein sanfter Wind lässt die Blätter rauschen; die Bäume wiegen sich langsam von Seite zu Seite.“ Das liefert der KI viel Kontext – und führt zu natürlicheren, glaubwürdigeren Bewegungen.
Effektive Animations‑Prompts formulieren
Veo3 zu meistern heißt, die Sprache der Bewegung zu meistern. Du übersetzt ein Standbild in eine dynamische Szene – nur mit Worten. Das ist ein kreatives Puzzle, das mit Übung schnell leichter wird.
Hier ein Blick auf die bewusst minimalistische Veo3‑Oberfläche. Die Power liegt im Prompt.
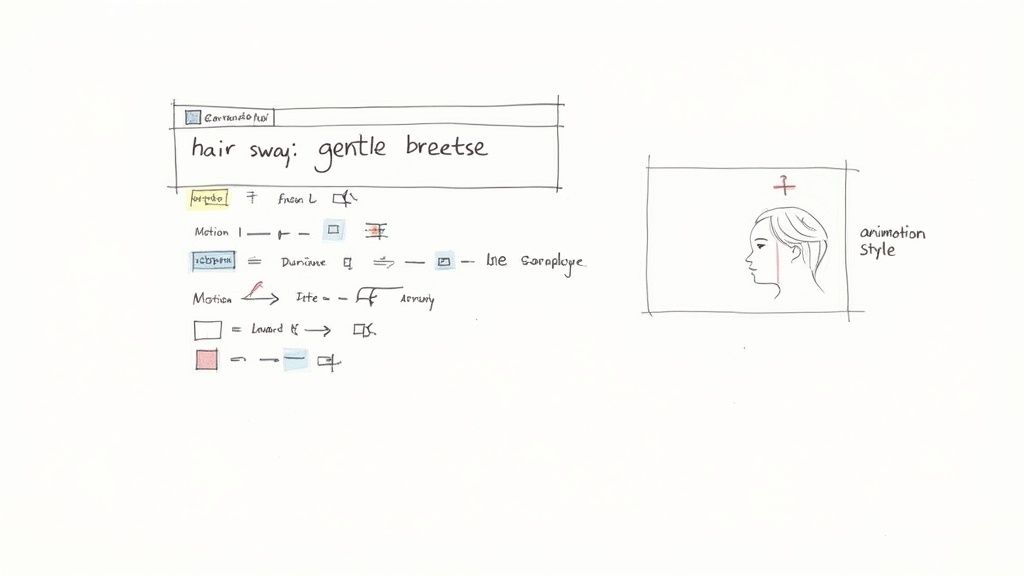
Für beste Ergebnisse zerlege ich die Szene gedanklich: Welche Elemente bewegen sich? Welche Aktion, Geschwindigkeit, Richtung und Intensität hat jedes davon?
-
Für Figurenbewegung: „Das lange, dunkle Haar der Figur weht sanft im Wind; einzelne Strähnen fangen das Licht.“
-
Für Umgebungsdetails: „Ein subtiler Schimmer spiegelt sich auf der ruhigen Seeoberfläche; feine Wellen breiten sich langsam vom Zentrum aus.“
-
Für Magisches: „Eine leuchtende, magische Kugel pulsiert mit weichem, ätherischem Licht und wirft lange, dynamische Schatten auf den Boden.“
Die ersten Versuche sind selten perfekt – völlig normal. Der Trick mit KI‑Animation ist Iteration. Behandle jedes Ergebnis als Rohfassung, erkenne, was funktioniert, und verfeinere den Prompt, bis er deiner Vision entspricht.
Gute Prompts sind essenziell – aber nicht alles. Um wirklich zu steuern, brauchst du den Unterschied zwischen einer einfachen Bitte und einer präzisen Regieanweisung.
Hier ein schneller Leitfaden, um von Basic zu Advanced zu kommen.
Veo3‑Prompting‑Guide für Illustrator:innen
| Ziel | Einfaches Prompt‑Beispiel | Erweitertes Prompt‑Beispiel | Erwartetes Ergebnis |
|---|---|---|---|
| Eine Figur animieren | „Die Figur soll blinzeln.“ | „Die Figur blinzelt langsam und nachdenklich; ihr Ausdruck wird weicher, während sich die Augen sanft schließen und wieder öffnen.“ | Das erweiterte Prompt fügt Emotion und Timing hinzu – das Ergebnis wirkt lebendiger und nuancierter. |
| Wetter animieren | „Lass es regnen.“ | „Schwere, diagonale Regentropfen ziehen von links nach rechts durch die Szene, platschen auf den Boden und erzeugen kleine Wellen in Pfützen.“ | Statt generischer Regen‑Overlay entsteht dynamischer, gerichteter Regen mit realistischen Umgebungsinteraktionen. |
| Hintergrund animieren | „Die Wolken bewegen.“ | „Feine, weiße Wolken treiben träge über den strahlend blauen Himmel und verändern dabei langsam ihre Form.“ | Erzeugt Ruhe und Realismus statt eines simplen, repetitiven Wolken‑Loops. |
Wie du siehst, bewirken Adjektive, Adverbien und Details zu Physik und Emotionen einen enormen Unterschied. Je mehr Kontext du gibst, desto gezielter und hochwertiger wird die Animation.
Wichtige Veo3‑Einstellungen
Neben dem Text‑Prompt bietet Veo3 einige zentrale Regler für den Feinschliff.
- Motion Intensity: Im Grunde ein „Drama“-Regler. Niedrige Werte für subtil‑ambiente Bewegungen (z. B. Atmung, Kerzenflackern), hohe Werte für kraftvolle Aktionen (Explosionen, Sprünge).
- Animation Style: Veo3 enthält Presets wie „Cinematic“, „Smooth Loop“ oder „Dynamic“. Teste mehrere – sie verändern die Anmutung stark, oft ganz ohne Prompt‑Umschreiben (z. B. dezenter, langsamer Zoom bei „Cinematic“).
- Auflösung und Format: Denk an das Zielmedium. Für YouTube 16:9, für Instagram Stories/TikTok 9:16. Richtig gewählt, sparst du dir späteres Umformatieren.
Mit guten Prompts plus sinnvollen Einstellungen führst du die KI zu Ergebnissen, die nicht nur technisch stimmen, sondern künstlerisch überzeugen. Der Zyklus aus Prompten, Prüfen und Verfeinern ist der Kern großartiger Animationen mit heutigen Tools.
Animation verfeinern und polieren
 Ein Clip aus einem KI‑Tool ist ein großer Schritt – aber selten das Ende. Betrachte ihn als perfekten Rohstoff. Jetzt formst du ihn zu etwas Besonderem und Professionellem. Die Kunst liegt im Feinschliff.
Importiere das Video in einen Editor wie Adobe Premiere Pro, Final Cut Pro oder das starke, kostenlose DaVinci Resolve. Hier holst du dir die volle Kontrolle zurück: Schnitte, Geschwindigkeiten, präzises Timing.
Diese Postproduktion ist auch der Ort, an dem klassische Animationsprinzipien dein Ergebnis spürbar heben.
Natürlichkeit und Leben hinzufügen
Ein schneller Weg zu weniger „Computerlook“ ist Easing. In der Realität starten/stoppen Dinge nicht abrupt – sie beschleunigen/abbremsen. „Ease‑In“ und „Ease‑Out“ an Keyframes imitieren das. Die meisten Editoren bieten das mit einem Klick – der Unterschied ist enorm.
Achte außerdem auf sekundäre Animationen. Das sind kleine Details, die die Szene lebendig machen: ein kurzer Augenaufschlag, eine minimale Gewichtsverlagerung, raschelnde Blätter oder ein Schimmer auf Wasser. Diese Nuancen ziehen das Publikum hinein.
Die überzeugendsten animierten Illustrationen leben von Details. Ein langsamer Blinzler oder das sanfte Schwanken einer Blume sind nicht nur Bewegung – sie erzählen leise Emotion und Persönlichkeit.
Solche Postproduktions‑Skills sind gefragter denn je. Die Branche schwankt: Die globale VFX‑ und Animations‑Belegschaft wuchs Ende 2024 um 9,3 %, schrumpfte Anfang 2025 um 7,6 %. Studios setzen daher vermehrt auf effiziente digitale Tools und KI. Wer KI‑Output gezielt poliert, ist extrem wertvoll. Mehr zu Branchentrends bei Animation Magazine.
Audio und finaler Export
Unterschätze Sound nicht – er macht mindestens die Hälfte des Erlebnisses aus. Die richtige Musik und Soundeffekte prägen Stimmung und Emotion.
Sind Bild und Ton final, geht’s an den Export. Achte auf:
- Format: MP4 ist der Standard für Web und Social.
- Codec: H.264 bietet starke Qualität bei moderater Dateigröße.
- Auflösung: Exportiere in der ursprünglichen Projektauflösung, z. B. 1920x1080.
Saubere Exporte sorgen für scharfe, flüssige Wiedergabe – überall.
Fragen? Animation‑FAQs
Wenn du Illustrationen zum Leben erweckst, tauchen Fragen auf – völlig normal. Denk an diesen Abschnitt als schnellen Austausch, der häufige Stolpersteine aus dem Weg räumt.
Wir behandeln alles – vom plötzlich „flachen“ Import bis zur idealen Bildrate – damit du schnell weiterkommst.
Welche Bildrate ist die beste für mein Projekt?
Die richtige Antwort hängt von der gewünschten Anmutung ab. Bildrate in fps bestimmt, wie flüssig Bewegung wirkt.
So denke ich darüber:
- 24 fps: Der klassische Filmlook – leicht träumerisch, cineastisch. Ideal für künstlerische, story‑getriebene Stücke.
- 30 fps: Der Allrounder fürs Internet – von YouTube bis Social Ads. Modern, klar, überall kompatibel.
- 60 fps: Sehr, sehr glatt. Häufig in Games oder Slow‑Motion. Für Illustrationsanimation oft zu „digital“ und zu glatt.
Meine Empfehlung: Bleib bei 30 fps. Saubere Bewegung, breite Plattform‑Kompatibilität, vernünftige Dateigrößen.
Hilfe! Beim Import wurden meine Ebenen zusammengeführt!
Klassiker. Stundenlang trennst du Ebenen in Procreate oder Adobe Illustrator, importierst – und alles ist flach. Frust pur.
Fast immer liegt es am Exportformat.
Dein Illustrations‑Tool muss die Ebenen‑Info ans Animations‑Tool übergeben – das können nur bestimmte Formate. JPG/PNG flatten alles.
Die Lösung: Exportiere dein Artwork immer als PSD (Photoshop Document). Dieses Format bewahrt alle Ebenen und sorgt für einen nahtlosen Übergang von Illustration zu Animation. Kurz checken – und der Kopfschmerz ist weg.
Wie lang sollte meine Animation sein?
Es gibt keine magische Zahl – es hängt vom Einsatzort und Ziel ab. Die Plattform definiert die verfügbare Aufmerksamkeit.
Richtwerte aus der Praxis:
- Für den Social‑Scroll (Instagram, TikTok): Sekunden zählen. 5–15 Sekunden anpeilen. Kurz, pointiert, gern als Loop.
- Für Erklär‑/Lerninhalte: Mehr Luft fürs Timing. 1–3 Minuten funktionieren, solange das Tempo stimmt und Infos fließen. Komplexes in Szenen aufteilen.
- Für Portfolio/Kurzfilm: Erzähle eine runde Geschichte – ob 20 Sekunden oder zwei Minuten. Wichtig ist ein stimmiges Anfang‑Mitte‑Ende.
Im Zweifel ist kürzer besser. Ein paar gut genutzte Sekunden wirken mehr als eine Minute Füllmaterial.
Bereit für den Sprung von Theorie zu Praxis? Veo3 AI bringt deine Illustrationen ohne technische Hürden in Bewegung. Lade dein Artwork hoch, beschreibe die Aktion – und sieh zu. Probiere es aus und create your first animation for free.
Related Articles
Continue with more blog posts in the same locale.

10 unverzichtbare Effekte für die Videobearbeitung 2026
Meistere die 10 wichtigsten Effekte für die Videobearbeitung. Dieser Leitfaden behandelt Übergänge, Color Grading und KI-Tools, mit denen du deine Videos 2026 von Amateur- auf Profi-Niveau bringst.
Read article
Video-KI hochskalieren: Praxisleitfaden für 4K mit Veo3 AI
Erfahren Sie, wie Sie Video-KI in einem Veo3 AI-Workflow hochskalieren: Material vorbereiten, 4K-Einstellungen wählen, Artefakte kontrollieren, Bewegung prüfen und sauberere Clips exportieren.
Read article
2D-Charakteranimation mit Veo3 AI meistern
Meistere den vollständigen Workflow für 2D-Charakteranimation mit Veo3 AI. Verwandle Bilder oder Prompts effizient und einfach in ausgefeilte, teilbare Videos.
Read article