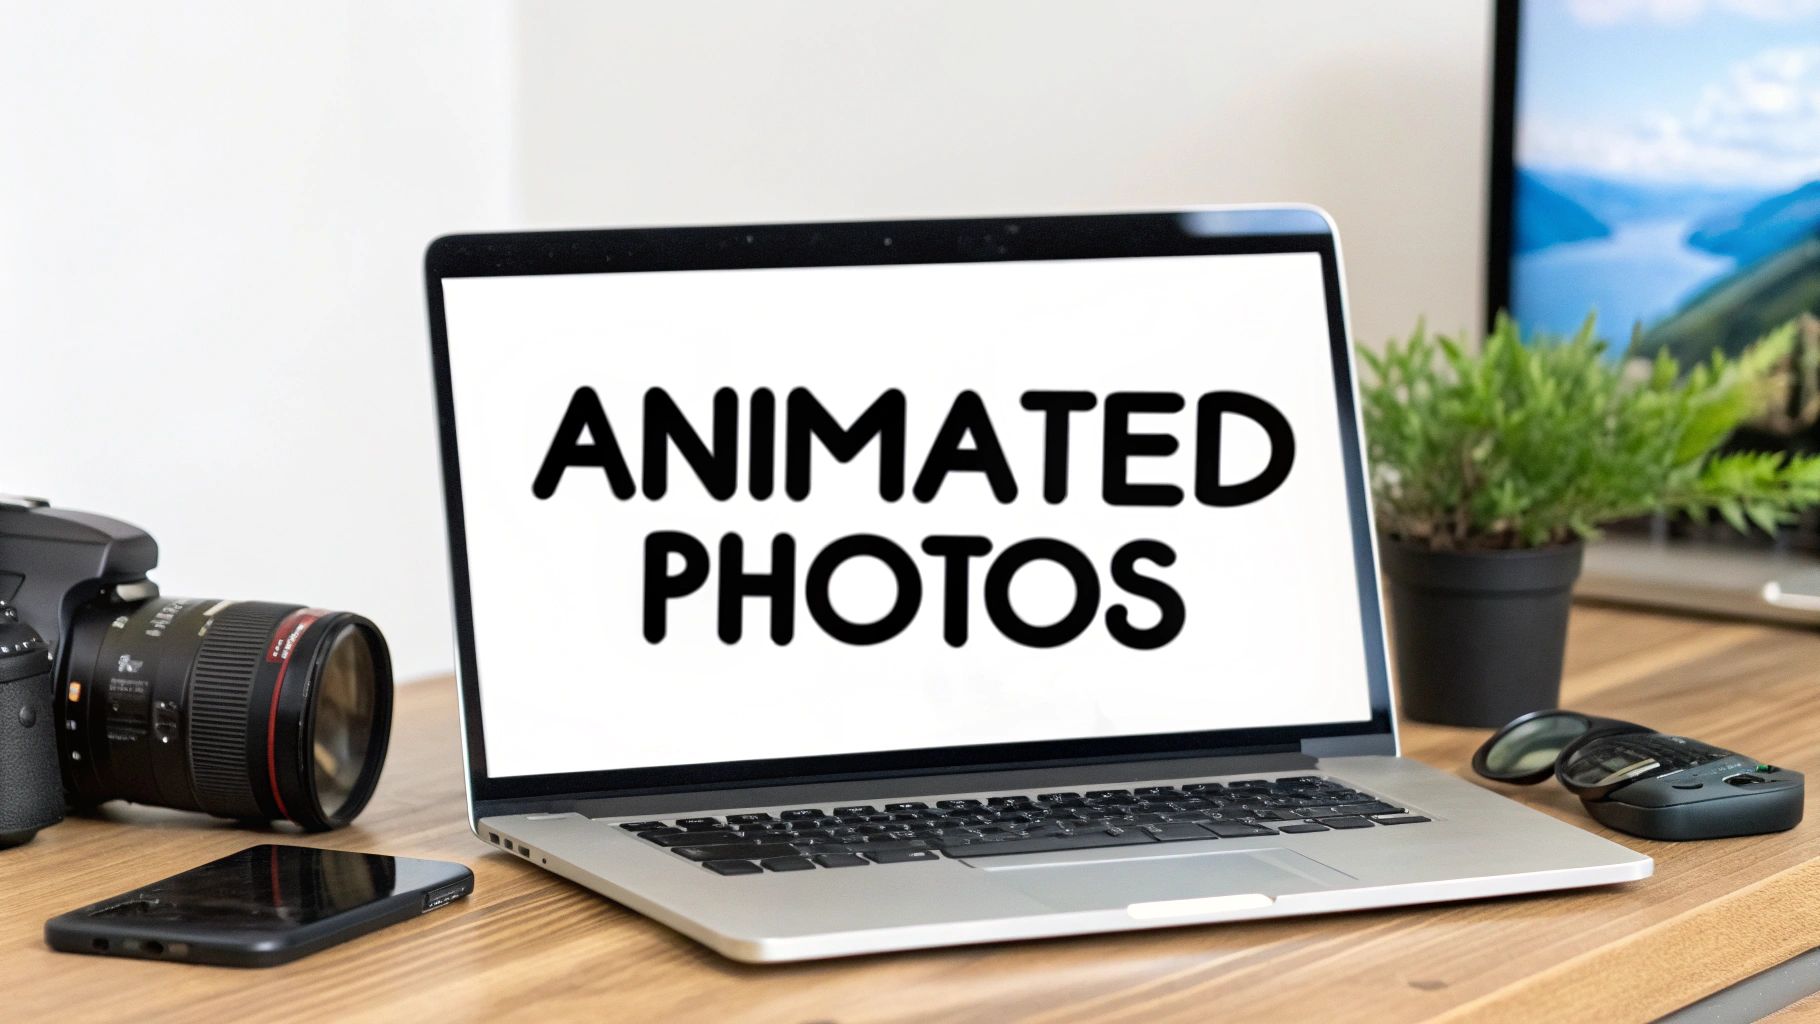
Make Animated Photos Easily with AI - Quick & Simple Guide
Learn how to make animated photos with AI in minutes. Discover easy tools to bring your static images to life and create stunning motion effects.
River · 18 min read · Sep 1, 2025
Have you ever looked at a great photo and wished you could make it move? You can, and it's easier than you think. The simplest way to make animated photos from your static images is with an AI video generator like Veo3. It can turn a still picture into a short, dynamic animation in just a few clicks—no complex software or animation skills required.
Quick Answer: You can animate photos and illustrations using AI tools like Google Veo 3, Runway, Kling, or Pika—simply upload your image, describe the desired motion in a text prompt, and the AI generates a realistic animated video in seconds. No animation experience is required.
Why Bother Animating Your Photos with AI?
Not too long ago, transforming a static image into a moving visual was a serious undertaking. It demanded specialized skills and hours of meticulous, frame-by-frame work. Today, AI has completely changed the game, making photo animation accessible to anyone.
Tools like Veo3 are designed to do the heavy lifting for you. The AI analyzes your photo, intelligently identifying elements that have natural motion potential—think clouds drifting across the sky, water rippling, or hair blowing in the wind—and then applies realistic movement automatically. This opens up a world of creative possibilities without the frustratingly steep learning curve.
The Real-World Benefits of AI Photo Animation
Beyond just being a cool trick, using AI for this has some very practical advantages for content creators, marketers, and even just hobbyists looking to spice up their photo collection.
- Insane Speed and Efficiency: A task that used to take a skilled animator hours can now be done in minutes. This kind of rapid turnaround is a lifesaver for creating social media content or marketing materials on a tight deadline.
- Total Creative Freedom: Since the AI handles all the technical details, you get to focus purely on the creative side. You can experiment with different styles and effects without getting bogged down by complicated software.
- Grabs Attention Instantly: Let's face it, moving images are just more eye-catching than static ones. Animated photos almost always lead to higher engagement rates, whether on social media, websites, or in email campaigns.
By adding just a little bit of motion, you can tell a much more compelling story and forge a deeper connection with your audience. An animated landscape feels more immersive, and a portrait with gentle movement suddenly feels more alive and personal.
For a deeper dive into the concept, this article covers AI image to video transformations for animated photos specifically for event settings. If you want to jump right in, check out our own guide on how to https://www.veo3ai.io/blog/create-animation-from-photo.
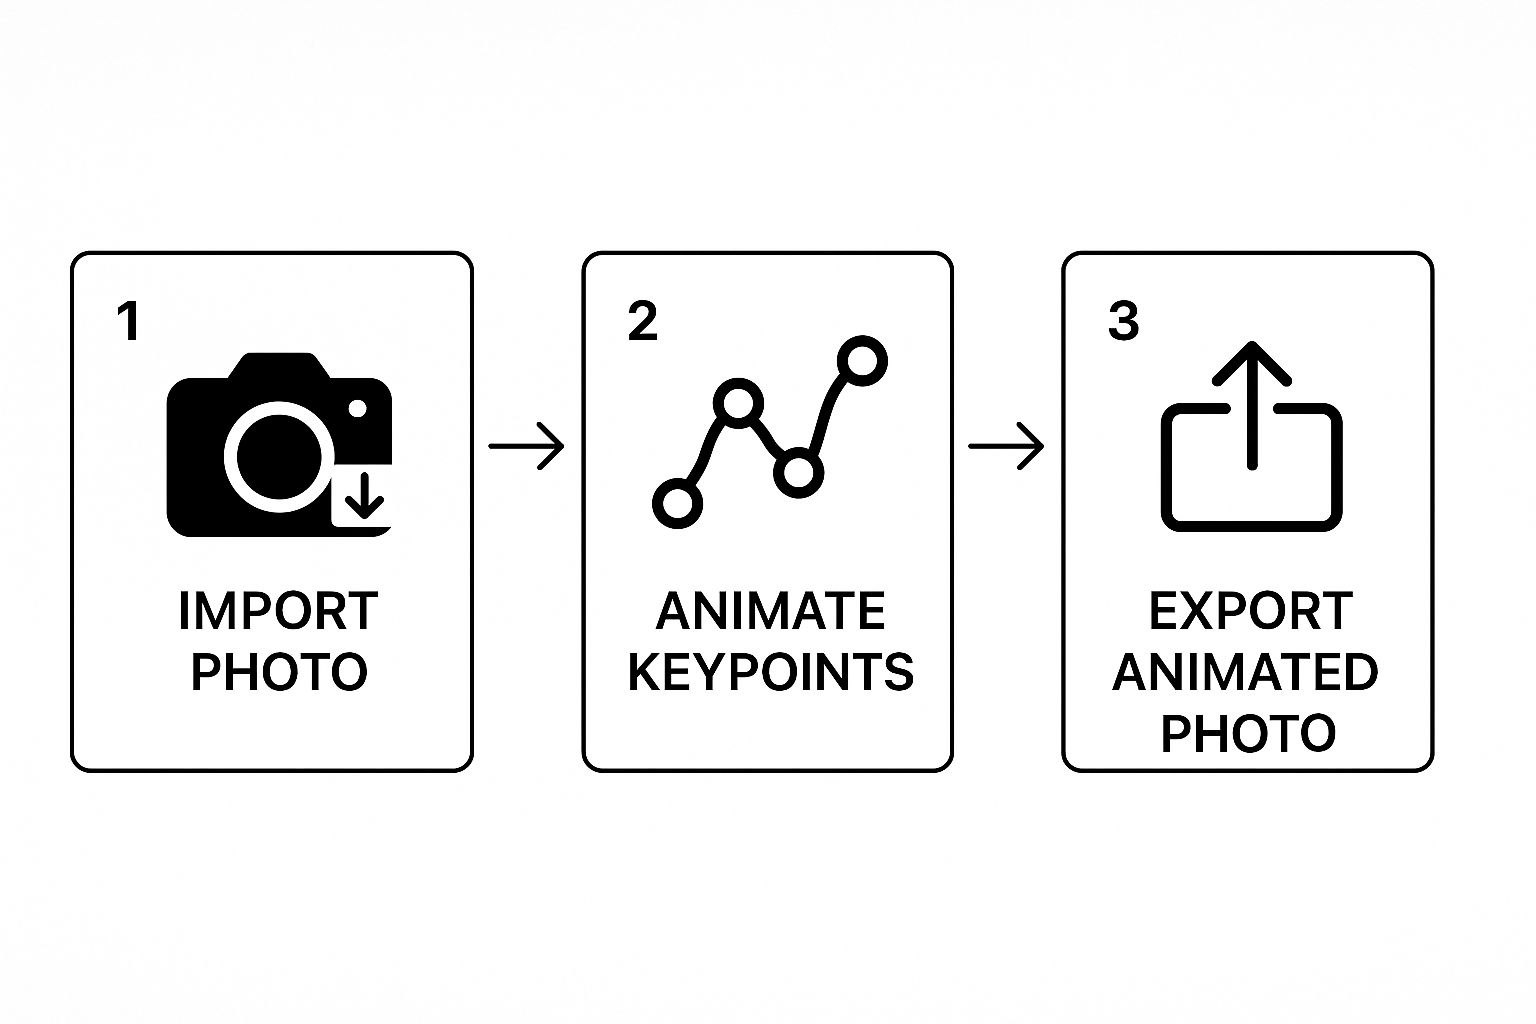
Getting Started with Your First AI Animation
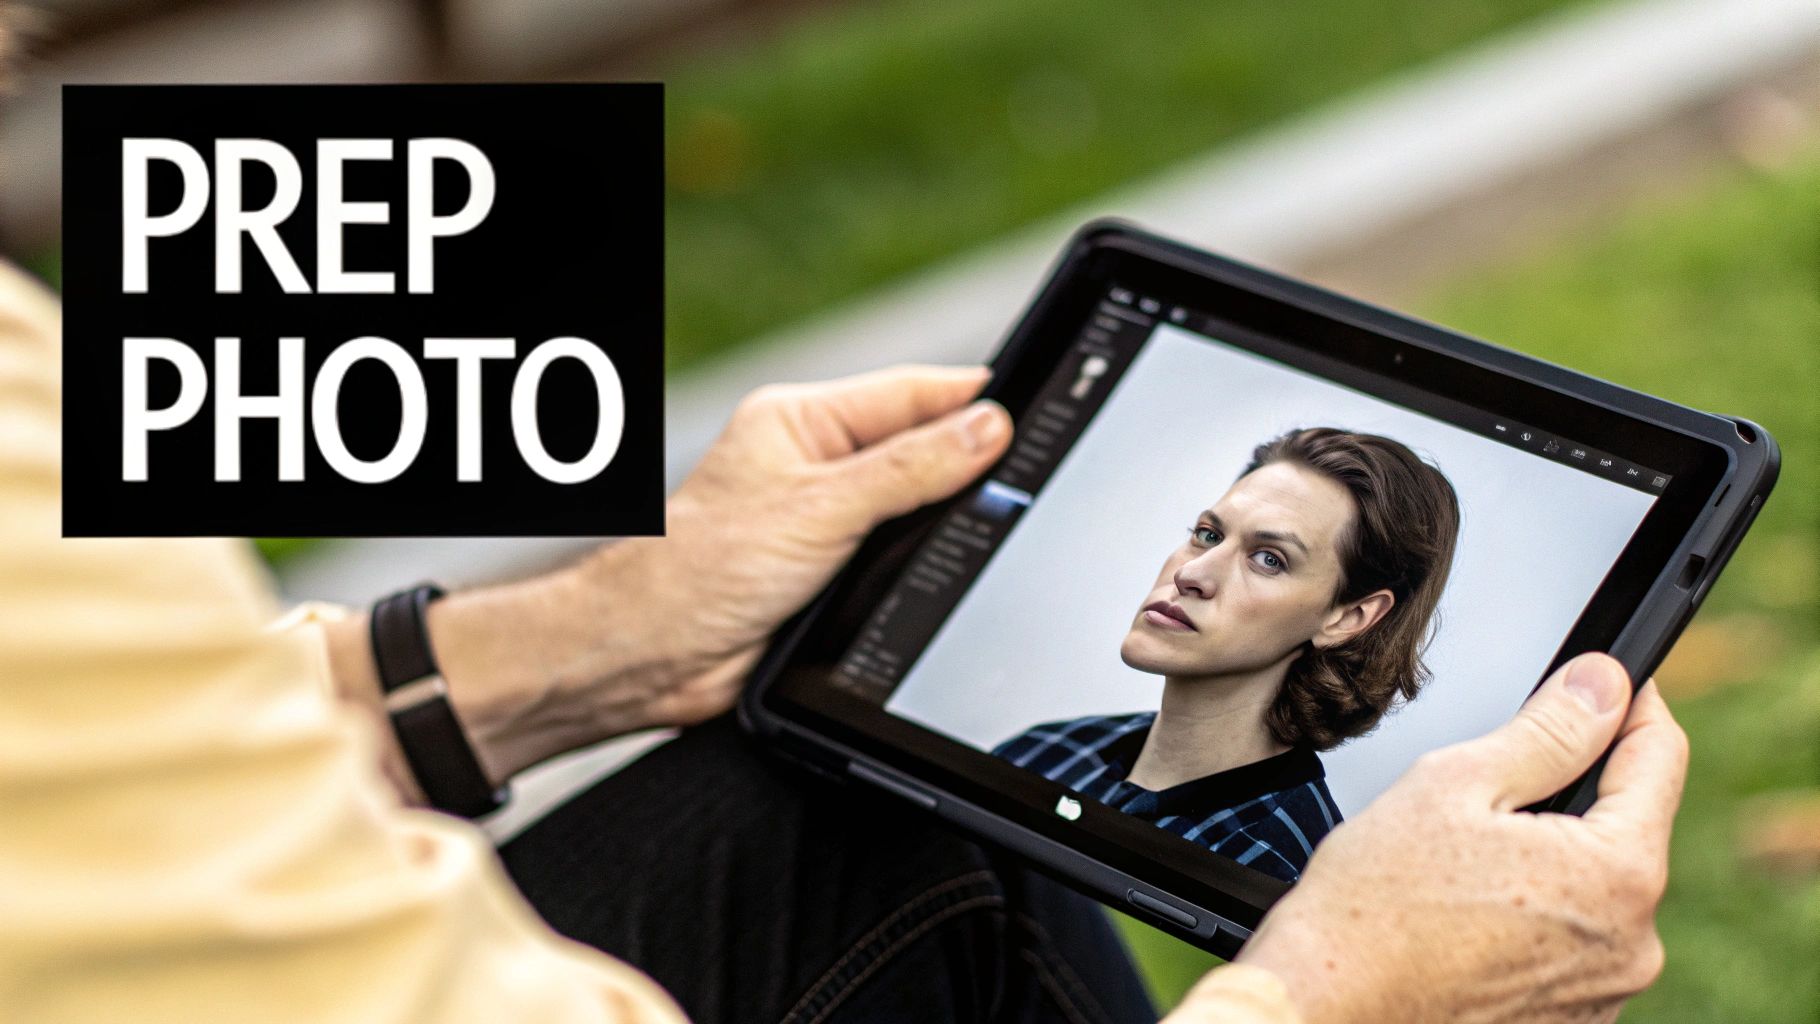
Jumping into your first AI animation project is a blast, and honestly, the tools today make it easier than ever. Your first move isn't digging through complicated settings. It’s all about picking the right photograph.
Think of it this way: the quality of your source image dictates the quality of your final animation. The AI needs good material to work with.
Photos with a clear subject and a rich, detailed background give the AI plenty to play with. A portrait where you can see strands of hair against a scenic landscape, or a wide shot of a field with clouds and trees—these are perfect. They're packed with opportunities for subtle, realistic motion. On the other hand, a blurry photo or one with poor lighting can trip up the AI, often leading to a pretty underwhelming result.
Selecting and Uploading Your Image
Alright, let's get hands-on. The first real step is getting your picture into the Veo3 AI interface. It's usually a simple drag-and-drop or a quick file upload.
Once your image is in, you'll see it on the main dashboard, likely surrounded by a few key controls. Don't let it intimidate you. For now, the most important options are the style selections and some basic motion presets. Before you try to make animated photos with a ton of custom tweaks, I always recommend just playing with these pre-set options first. It’s a great way to get a feel for what the AI can do straight out of the box.
Pro Tip: For your first few attempts, choose a photo that practically screams "animate me!" A static shot of a bare wall? Not so much. A picture of a waterfall, a flag waving in the wind, or a field of tall grass on a breezy day? Now you're talking. These are perfect starting points.
It feels like magic, turning a still photo into a living scene, but this technology is really just the next step in a long line of visual innovation. Think about it—the journey started over a century ago with things like Kodak's Brownie camera, which put photography in everyone's hands. Then came color film, which gave us the vibrant images we take for granted. This is just the next evolution.
Your First Steps Toward Motion
With your photo loaded and ready, it's time to bring it to life. This isn't about being a master animator; it's about giving the AI a little creative direction. Your main job is to tell the system which parts of the image should move and which should stay still.
Let's say you have that landscape photo. You’d probably want the clouds to drift slowly across the sky while the mountains in the foreground stay put. Veo3 AI gives you simple tools, often called masks or motion vectors, to map this out. Picking the right tool for the job is what it's all about.
Of course, using the right platform makes all the difference. To really get the creative juices flowing, it's worth checking out the best AI animation software available to see which one fits your style. Once you get the hang of these initial controls, you’re well on your way to making some seriously cool visuals.
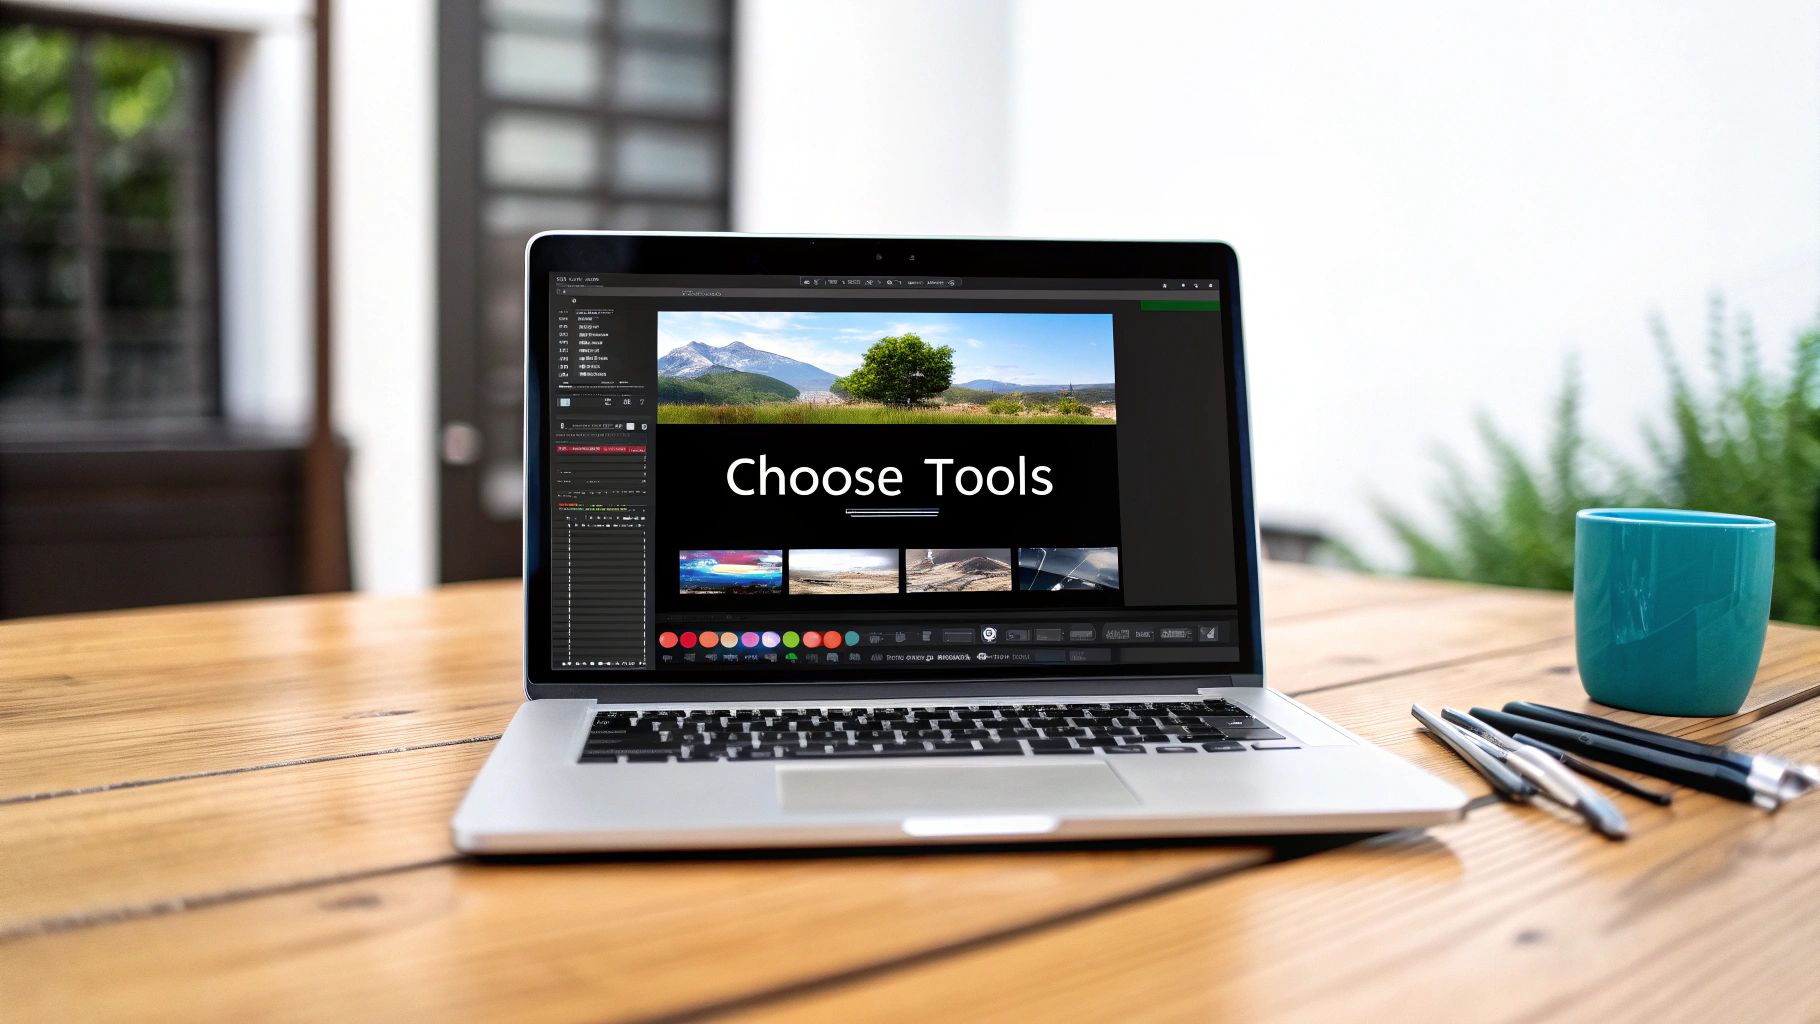
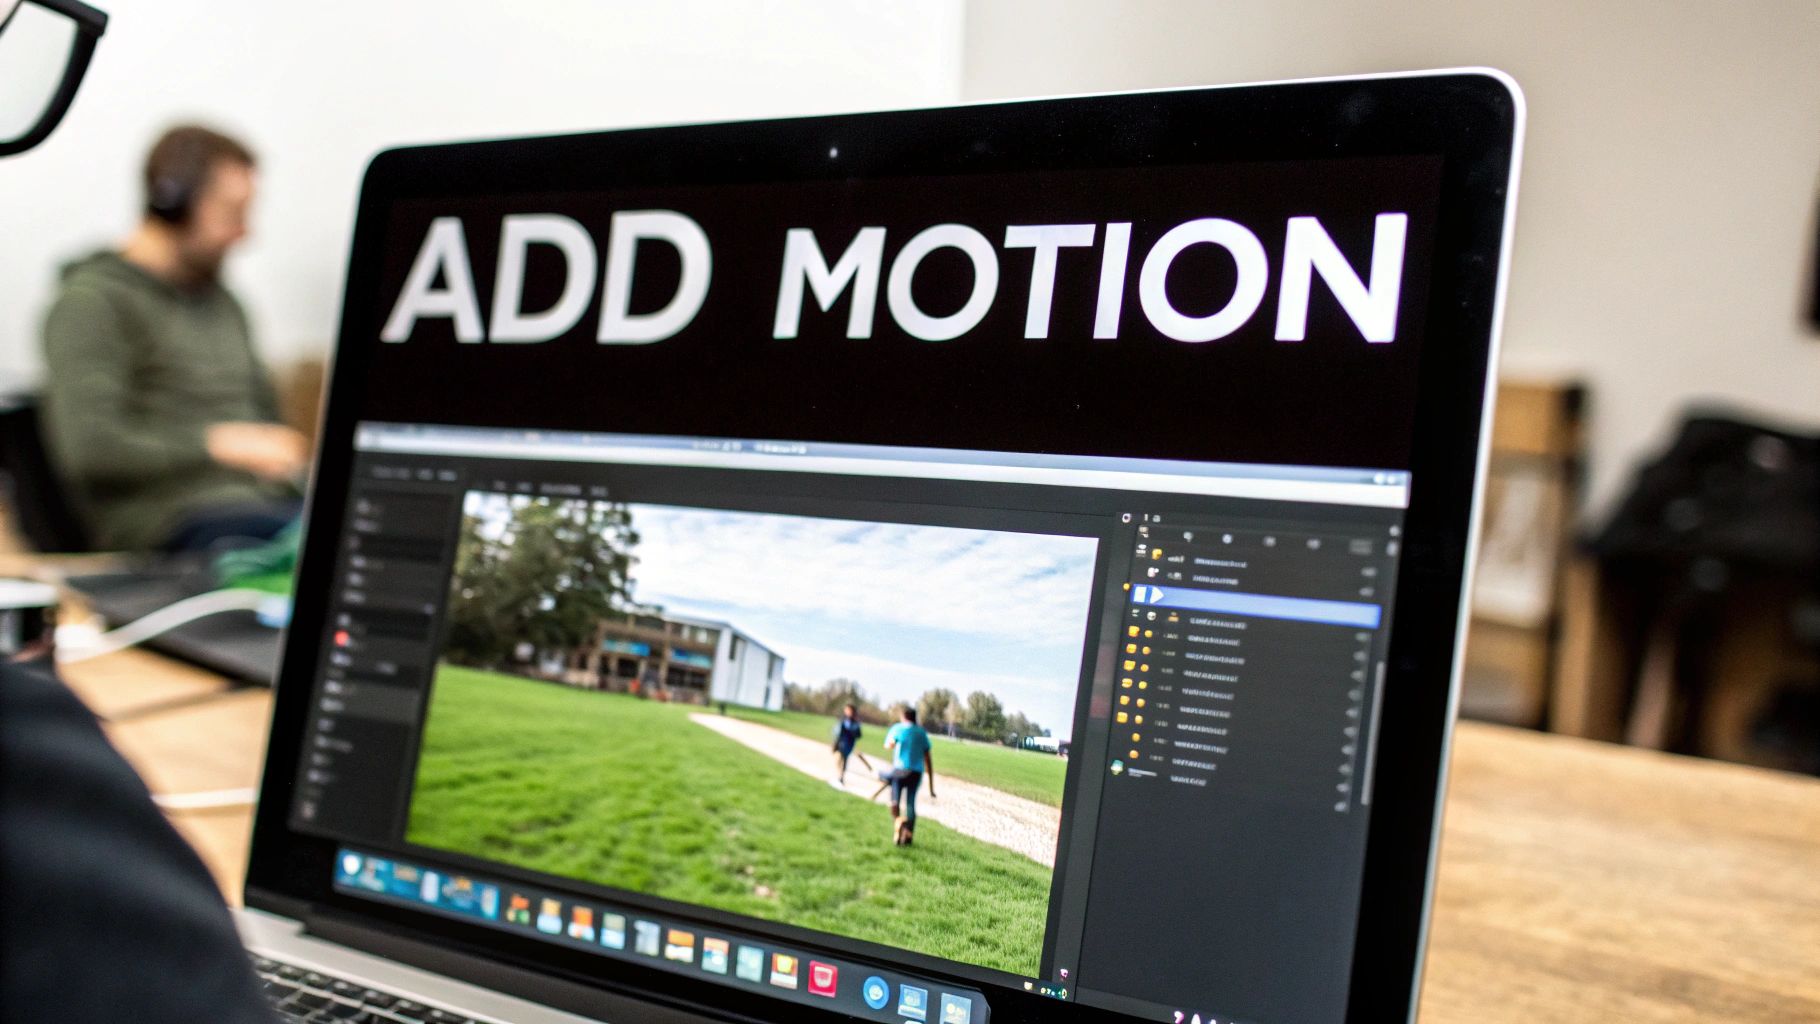
Bringing Your Image to Life with Motion
Alright, you've got your image uploaded. Now for the fun part—this is where you get to play director and turn that static shot into something that breathes. We're moving beyond simple filters and into the realm of crafting a visual story.
Veo3 gives you a powerful toolkit to control exactly how your photo moves. It's all about matching the right kind of motion to the right image. A soft, subtle drift can bring a portrait to life, while a sweeping panoramic effect might be what a landscape shot needs to feel truly epic.
This is the core creative step, sitting right between getting your image in and sending the final video out.
As you can see, this is where the magic really happens.
Choosing Your Animation Style
Veo3 offers a mix of automated presets and fine-tuned manual controls, so you can work as quickly or as precisely as you want.
If you're just starting or need a fast result, the presets are your best friend. A style like 'Parallax' is perfect for landscape photos, creating a cool 3D effect that makes the foreground pop against a distant background. On the other hand, something like 'Drift' is fantastic for portraits, adding just a whisper of movement to make your subject feel more present.
But if you really want to make your creation unique, you'll want to dive into the manual tools. This is where you can learn how to animate photos with your own signature touch.
Here are the two main tools you'll be working with:
- Motion Masks: Think of this as your "do not move" brush. You paint over any part of the image you want to keep perfectly still, like a person's face in a portrait. This is the secret to getting that professional look where the background moves but your subject stays locked in focus.
- Anchor Points: These are like little pins you stick on the image to tell the animation where to go. You can set a starting point and an ending point to create a specific path, giving you complete control over the direction of the movement.
I love using anchor points for water. On a beach photo, for instance, you can guide the waves to roll in toward the shore instead of just having them jiggle around. That small detail makes the final animation feel so much more realistic and captivating.
A Practical Example: The Portrait
Let’s put this into practice. Imagine you have a portrait of a woman with long, flowing hair standing against a dramatic, cloudy sky. Your goal is to add a sense of life and atmosphere.
First, you’d grab the motion mask and carefully paint over her face and body. This locks her in place. Next, you could add a few anchor points to the clouds, setting a path for them to drift slowly across the frame.
To finish it off, you could add a couple more anchor points to just the tips of her hair, creating a very subtle, gentle sway. The combination of these controlled movements—the steady subject, the drifting sky, and the soft hair movement—is what turns a simple photo into a living moment.
Choosing the Right Animation Style in Veo3
Selecting the right preset can save you a ton of time and give you a fantastic starting point. Each one is designed for a different kind of photo and a different kind of mood.
| Animation Style | Effect Description | Best For | Pro Tip |
|---|---|---|---|
| Parallax | Creates a 3D depth effect by moving foreground and background layers at different speeds. | Landscapes, cityscapes, photos with clear depth. | Works best when there's a distinct subject in the front and a detailed background. |
| Drift | Adds a slow, gentle, and continuous pan across the image. | Portraits, product shots, still life. | Use it to draw the viewer's eye toward the most important part of the photo. |
| Zoom | Slowly zooms in or out of a specific area of the photo. | Action shots, images with a central focal point. | Zooming in creates drama; zooming out can create a sense of scale or reveal. |
| Rotate | A subtle, slow rotation of the entire image. | Abstract photos, architectural shots, drone footage. | Keep it very slow to avoid a dizzying effect. It’s about adding atmosphere. |
Experimenting with these styles is the best way to get a feel for what each one can do. Don't be afraid to try a few different options on the same photo to see which one tells the story best.
Polishing and Exporting Your Animated Masterpiece
Alright, you’ve picked your motion and set the scene. Now comes the fun part: the final polish. This is where you transform a good animation into a great one, and it all happens in the export settings of Veo3. These last few tweaks are what make your creation look sharp and professional, whether it’s on your website or popping up in a social media feed.
Think of this as the post-production stage. You're about to dial in the speed, decide on the loop, and pick the perfect file type. Getting these details right is the key to making sure your animated photo has the impact it deserves.
Fine-Tuning Your Animation’s Pace and Loop
First up, let's talk about speed. The pacing of your animation sets the entire mood. Are you going for a slow, serene drift or something quick and energetic that grabs attention? Veo3 gives you a simple slider to control this, letting you fine-tune the vibe. I've found that a slower speed works wonders for landscapes, but a faster pace is often better for dynamic social posts that need to make an impression fast.
Next, you'll choose how your animation repeats, or "loops." This is a surprisingly critical choice that completely changes how the final piece feels.
- Continuous Loop: This is your classic, standard loop. The animation plays through and then seamlessly starts over. It’s perfect for creating a hypnotic, unending effect—think clouds drifting across the sky or water flowing in a river.
- Boomerang: We've all seen this one. The animation plays forward, then immediately reverses. This back-and-forth motion is fantastic for short, punchy clips that feel playful and full of energy.
A little pro-tip from my own experience: The loop style really depends on the platform. I almost always use continuous loops for website backgrounds where you want subtle, ambient motion. For Instagram Stories and Reels, the boomerang effect is practically a must-have.
Selecting the Best Export Format
With your speed and loop locked in, the last decision is the file format. This isn't just a technical choice—it directly affects where you can post your animation and how it will perform. Each format has its own strengths.
The two main options you'll see are MP4 and GIF.
| Format | Best For | Key Advantage | Main Drawback |
|---|---|---|---|
| MP4 | Social media, website headers, presentations | High quality and small file size | Doesn't always auto-play without specific code |
| GIF | Emails, simple web embeds, forum signatures | Universal auto-play and small file size | Limited color palette can reduce image quality |
So, if you’re creating a stunning hero video for your website, a high-resolution 1080p MP4 is the way to go. But if you're embedding an animation in an email newsletter, a lightweight GIF is the smarter choice. It will load quickly and play automatically for everyone.
Once you’ve made your pick, just hit render. Veo3 will process the file, and it’ll be ready for you to download and share with the world.
Advanced Tips for Breathtaking Animations
Alright, so you’ve got the hang of the basics and can bring a static photo to life. That's a huge step. But now it’s time to stop thinking like a technician and start thinking like an artist. The real magic isn't just making things move; it's using motion to tell a story, spark an emotion, and pull the viewer’s eye right where you want it.
The difference between a good animation and a breathtaking one is often subtlety. It's easy to go overboard with fast, dramatic movements, but that can end up looking jarring and fake. Instead, the goal should be small, intentional animations that breathe a sense of realism into the image. It’s less about making everything move and more about deciding which movements truly matter.
Layering Motion to Build Complexity
One of my favorite pro-level techniques is layering. Instead of dropping one big, sweeping effect across the whole picture, I isolate different elements and give each its own distinct motion. It’s a bit more work, but the payoff is huge.
Think about a photo of a campfire next to a lake at sunset. You could animate it by:
- Giving the flames a soft, upward flicker.
- Adding a gentle, horizontal ripple across the water's surface.
- Making the clouds in the sky drift almost imperceptibly.
None of these movements are dramatic on their own. But when you put them all together? Suddenly, you have a rich, immersive scene that feels incredibly alive. This layering approach gives your animation a depth and sophistication that a single preset just can't match.
The goal is to create a living moment, not just a moving picture. Ask yourself what in the scene would naturally be in motion and focus your efforts there. Less is often more.
Avoiding Common Animation Mistakes
As you get more adventurous, you’ll probably run into a few common traps. The biggest one I see is robotic-looking motion—where something moves at a perfectly constant speed or in a perfectly straight line. The real world doesn't work that way. Use easing effects to have the motion start slow, accelerate, and then slow to a stop. It feels so much more natural.
Another classic mistake is letting the background steal the show. If the trees behind your subject are whipping around in a frenzy, they’ll pull all the attention. Always make sure your primary subject is the star. Keep background animations understated and complementary. If you want to dive deeper into blending images into full videos, our guide on using an AI video generator from an image has some great insights.
Creative Ideas for Your Next Project
Once you nail these techniques, you can start applying them everywhere. Product photos, for instance, can become instant scroll-stoppers on social media. Imagine a simple shot of a coffee cup, but with steam gently rising from the mug. It’s subtle, elegant, and way more engaging than a static image.
This also works wonders for personal photos. You can bring a wedding portrait to life by animating the bride's veil or add a little magic to a vacation picture by making the ocean waves gently lap the shore. These small touches turn cherished memories into something truly special and dynamic.
After getting comfortable with creating these animations, the next logical step is learning how to use them for your business. For example, you can transform your sales with engaging video content by applying these very techniques to product listings or marketing campaigns.
Common Questions About Making Animated Photos
<iframe width="100%" style="aspect-ratio: 16 / 9;" src="https://www.youtube.com/embed/WDFulq13528" frameborder="0" allow="autoplay; encrypted-media" allowfullscreen></iframe>
Jumping into AI photo animation is a blast, but it's totally normal to have a few questions when you're just getting started. I've found that getting a handle on a few key concepts can make all the difference between a frustrating session and creating something you're really proud of.
Let's walk through some of the most common questions people have when they first start to make animated photos with tools like Veo3 AI.
What Kind of Photos Work Best for Animation?
This is probably the most important question. The best results almost always come from photos with a clear subject and a distinct, detailed background. When the AI can easily tell what's in the foreground and what's in the background, it has a much better shot at creating believable motion.
I always look for images that have some built-in potential for movement. Think about:
- Landscapes: Anything with clouds, water, trees, or even tall grass is a fantastic starting point. These elements are meant to move.
- Portraits: A great portrait with flowing hair or fabric against a scenic backdrop can look incredible with just a touch of subtle animation.
One non-negotiable tip: always start with the highest-resolution image you have. The AI often needs to zoom or pan, and a low-quality photo will fall apart and look pixelated in a heartbeat. It's also a good idea to steer clear of photos that are super cluttered or where your subject melts into the background—this can really confuse the software.
Can I Control Which Parts of the Photo Move?
Absolutely, and this is where the real creativity kicks in. The best AI animation tools aren't just simple filters; they give you a surprising amount of control to tell the AI exactly what to do.
For instance, a tool like Veo3 gives you masking features. This means you can literally "paint" over the parts of the image you want to keep perfectly still. Imagine you have a portrait—you could mask the person's face so it remains crisp and static while their hair and the clouds behind them gently drift. It's a game-changer.
You can also often set anchor points or draw motion vectors to define the exact direction of the movement. This is how you get clouds to drift naturally across the sky instead of just wobbling, or make a flag ripple in a believable way.
This level of control is what separates a cheap-looking effect from a polished, professional animated photo. It’s the combination of locking down static areas and directing the flow of motion that makes the final result feel alive and real.
What Is the Best Format to Save My Animated Photo?
The "best" format really just comes down to where you're going to use it. There’s no single right answer, just a trade-off between quality, file size, and how different platforms handle media.
Here's my general rule of thumb:
- For social media feeds like Instagram or Facebook, MP4 is your best friend. It offers fantastic quality without a massive file size, so your animation will look sharp on anyone's screen.
- For something like an email newsletter or a simple website embed where you need a small, looping animation, a GIF is still a great choice. The colors are more limited, but you can't beat its universal support and auto-playing convenience.
- For a big, high-impact hero image on a website, you'll definitely want to stick with a high-resolution MP4 to preserve all that gorgeous detail.
Ready to bring your own photos to life? With Veo3 AI, you can get started for free and create some seriously impressive animations in just a few minutes. Start creating now at veo3ai.io.
Our Verdict
After reviewing the available options and capabilities for make animated photos, we recommend taking a hands-on approach: start with a free trial of the leading platforms, test with your actual use cases, and upgrade to the plan that best matches your volume and quality requirements. The AI tools in this space are advancing rapidly, making now an excellent time to integrate them into your content creation workflow.
Related Articles
Continue with more blog posts in the same locale.

Animating for Beginners: Create with Veo3 AI
Learn animating for beginners with Veo3 AI. Create your first animated social clip from text & get workflow tips. No experience needed.
Read articleHow to Animate a Logo: A Practical Guide for 2026
Learn how to animate a logo from scratch. Our guide covers planning, AI tools like Veo3, pro tips on timing, and exporting for web and social media.
Read article
Minimax Hailuo AI: A Guide to Cinematic Video Generation
Unlock cinematic video with our guide to Minimax Hailuo AI. Learn its capabilities, how it compares to other models, and how to use it in your workflow.
Read article