
Video to Video AI Generator: How It Works and How to Choose
Learn how a video to video AI generator transforms existing footage, which features matter, and how to avoid flicker and rights problems.
Veo3 AI · 16 min read · Nov 11, 2026
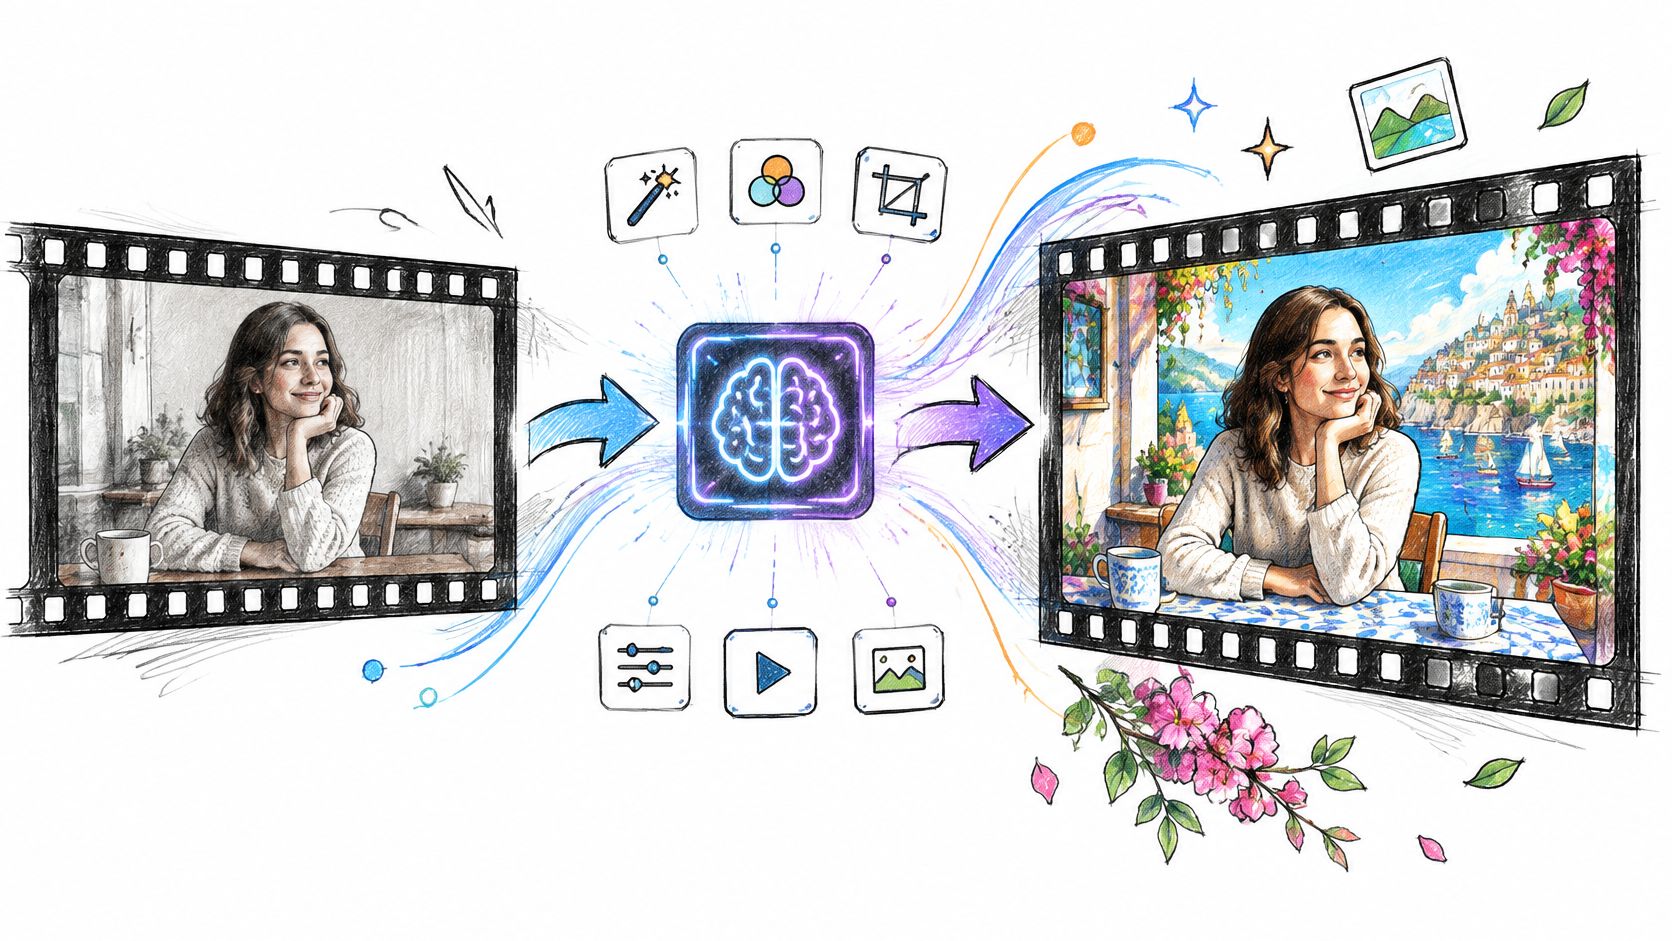
84–91% of consumers want AI-generated content labeling to be standard or required, according to industry statistics compiled by Adwave. That range lands on the step most tutorials skip: what happens after the render, when a transformed clip leaves your machine and meets an audience.
The category is no longer small. AI video generated USD 4.6 billion in global market revenue in 2025, according to Grand View Research. Tools that transform footage you already own sit at the harder end of that market, because the source carries a person, a brand and a license with it.
A video to video AI generator rewards two kinds of knowledge: keeping frames stable through a clip, and knowing what you're allowed to publish once the clip exists. Both have concrete fixes. Neither is solved by a better prompt.
Table of Contents
- What a Video-to-Video Generator Changes and Keeps
- Features to Compare Before Choosing a Generator
- How to Run a Video-to-Video Project Step by Step
- Keeping Frames Stable With Quality Checks and Fixes
- Choosing a Workflow for Your Video Project
- Labels, Consent and Rights Before You Publish
- Start Your First Video-to-Video Project Today
<a id="what-a-video-to-video-generator-changes-and-keeps"></a>
What a Video-to-Video Generator Changes and Keeps
A video to video AI generator takes footage you already own, or a single still frame, and returns a new clip that preserves chosen parts of the original (motion, framing, timing, structure) while replacing the look, the subject or the setting. Think of a set designer repainting a finished set while the actors keep their blocking. The camera moves survive. The surface changes.
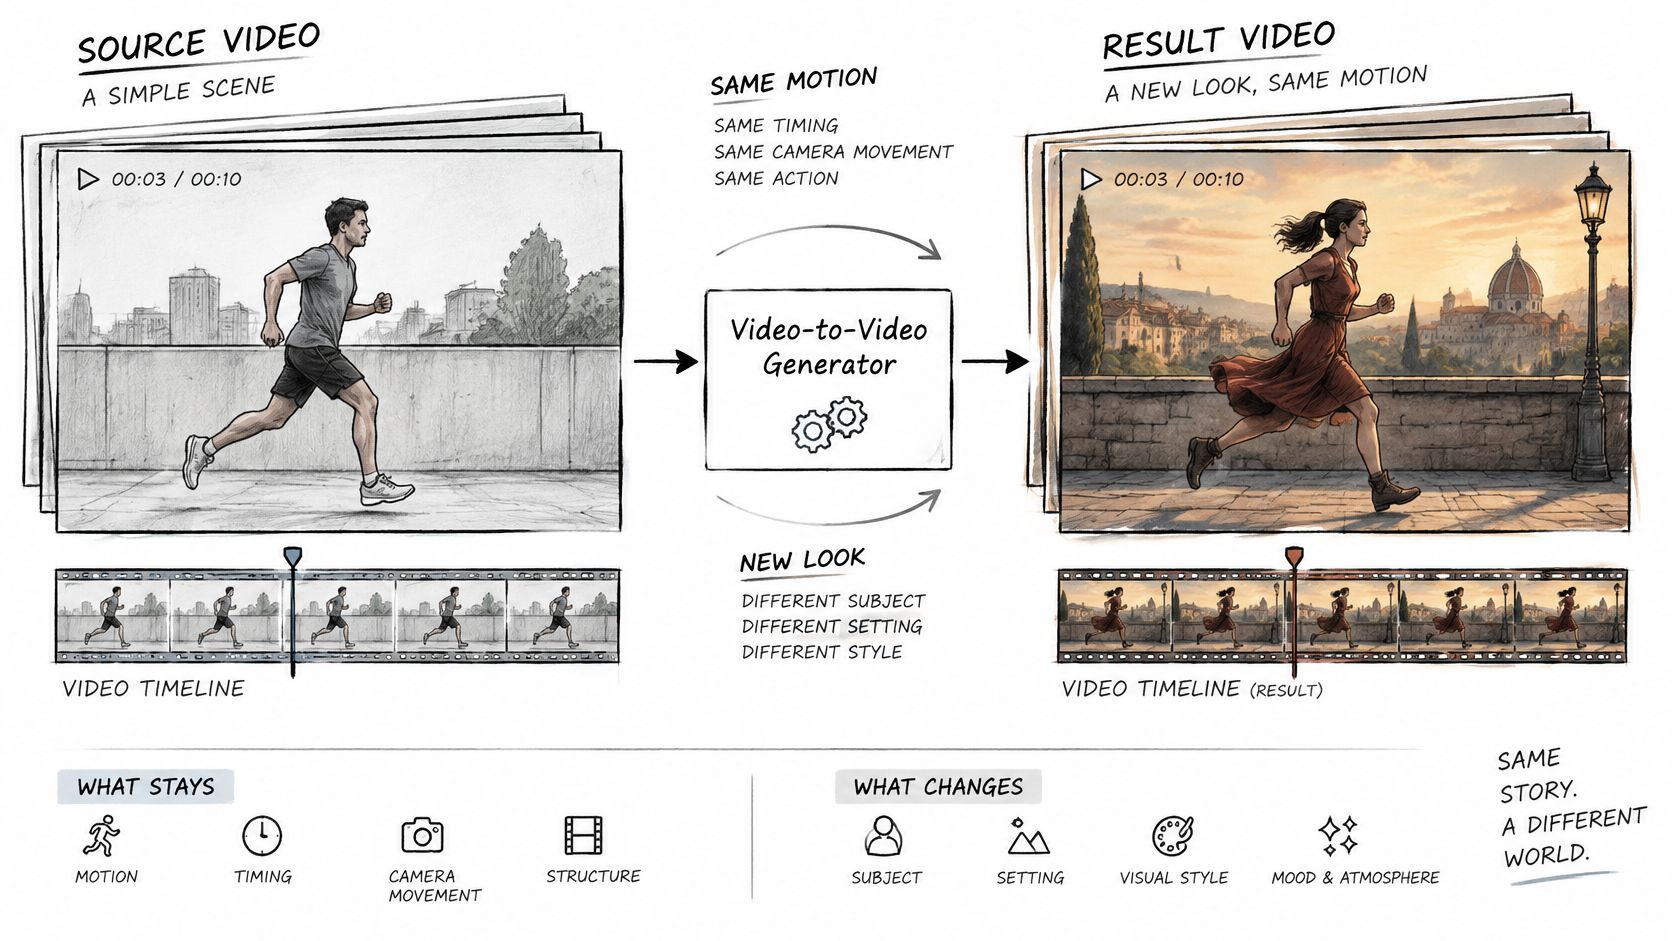
The image above is the whole promise in one frame: a pencil sketch of a runner becomes painted animation without the stride changing. Deciding which parts of your source are load-bearing is the actual work.
Adoption has caught up with that promise. AI adoption for video creation reached 41% in 2025, up from 18% in 2024, according to Wistia's analysis of more than 14 million videos, 100,000 businesses and a survey of 1,300 professionals. For a team with a drive full of footage, the question isn't whether to transform something, it's which transformation you're buying.
<a id="the-five-transformation-types-that-cover-most-work"></a>
The five transformation types that cover most work
| Transformation | Input | Usually preserved | Usually changes | Typical use |
|---|---|---|---|---|
| Style transfer | Real footage | Motion, framing and timing | Color, texture and art style | Brand looks and mood edits |
| Character or appearance swap | Footage of a person | Pose, movement and camera angle | Face, clothing and outfit | Avatars and localized presenters |
| Background or scene replacement | Footage with a clear subject | Subject motion and lighting direction | Setting behind the subject | Product demos and travel shots |
| Image-to-video animation | Single still image | Composition and subject identity | Motion added over time | Animating photos and product shots |
| Clip extension | Short existing clip | Opening frames and style | New frames added at the end | Longer social cuts |
Across all five rows the rule is the same. The more structure the source keeps, the less the model invents, and the less room there is for visible drift three seconds in. Extension is the loosest of the five, because the model invents frames with nothing to copy, and it's the row where artifacts surface first.
Style transfer is where teams often start, partly because a wrong look is obvious and cheap to correct; AI style transfer covers the reference handling and strength settings that hold a restyle consistent across segments.
The source clip sets the ceiling for every later choice. A locked-off shot of one subject in even light transforms cleanly on the first attempt. A handheld frame with three people crossing, blown highlights and hair across a face will fight you through a dozen renders, and no strength value rescues it.
<a id="features-to-compare-before-choosing-a-generator"></a>
Features to Compare Before Choosing a Generator
Eight criteria decide fit: input types, clip length, frame rate, resolution, aspect ratio, reference support, output format and provenance metadata. Style, speed and interface are taste. These eight are pass or fail. The table below puts the published limits of Veo 3.1 next to Veo 3's.
| Specification | Veo 3 | Veo 3.1 | What it means for your project |
|---|---|---|---|
| Clip lengths | 4, 6 or 8 seconds | 4, 6 or 8 seconds | Plan edits in segments of 8 seconds or less |
| Frame rate | 24 fps | 24 fps | An 8-second clip holds 192 frames |
| Resolution | 720p or 1080p | 720p, 1080p or 4K (full configuration) | 4K needs the full Veo 3.1 configuration |
| Aspect ratios | 9:16 and 16:9 | 9:16 and 16:9 | Choose 9:16 for vertical feeds |
| Input types | Text and image, image up to 20 MB | Text, image and video (full configuration) | Video input is needed to restyle existing footage |
| Output format | MP4 | MP4 | Check compatibility with your editor |
| Provenance | Not documented on the Veo 3 reference | C2PA Content Credentials | Keeps origin metadata with the file |
Read the input row first. Video input is what makes a restyle of existing footage possible at all, and only the full Veo 3.1 configuration accepts it: text, image and video inputs at 24 frames per second with 4, 6 and 8 second outputs, plus generation from a specified first and last frame, video extension, reference images, native sound and C2PA Content Credentials, per Google's Veo 3.1 model reference. The lighter Veo 3.1 Lite configuration takes text and image inputs but no video, so a project built around uploaded footage has to run on the full model.
Veo 3 is tighter: 4, 6 or 8 second clips, a maximum of four output videos per prompt, image inputs up to 20 MB, 9:16 or 16:9, and MP4 at 720p or 1080p and 24 frames per second, per Google's Veo 3 documentation.
The arithmetic matters more than it looks. At 24 frames per second an 8 second output holds 192 frames and a 4 second output holds 96, so a 30 second source becomes four or more separate generations stitched on a timeline. Every segment is a fresh chance for the grade, the face and the grain to shift.
Skip the provenance row and you inherit the labeling work at publish time. C2PA Content Credentials keep origin metadata attached to the exported file, which answers the "how was this made" question before a platform or a client asks it. A generator that strips that metadata leaves you documenting provenance by hand.
Ranking method: list the features the project cannot work without (video input, a 9:16 output, 4K delivery), delete every option that misses one, and only then compare the survivors. Subtraction first, samples second.
Published limits beat sample reels as a shortlist filter. When you compare AI video generators, check whether the model accepts the footage you need to restyle before you watch a demo, because a beautiful 720p sample says nothing about a 4K delivery or a 20 MB image input.
<a id="how-to-run-a-video-to-video-project-step-by-step"></a>
How to Run a Video-to-Video Project Step by Step
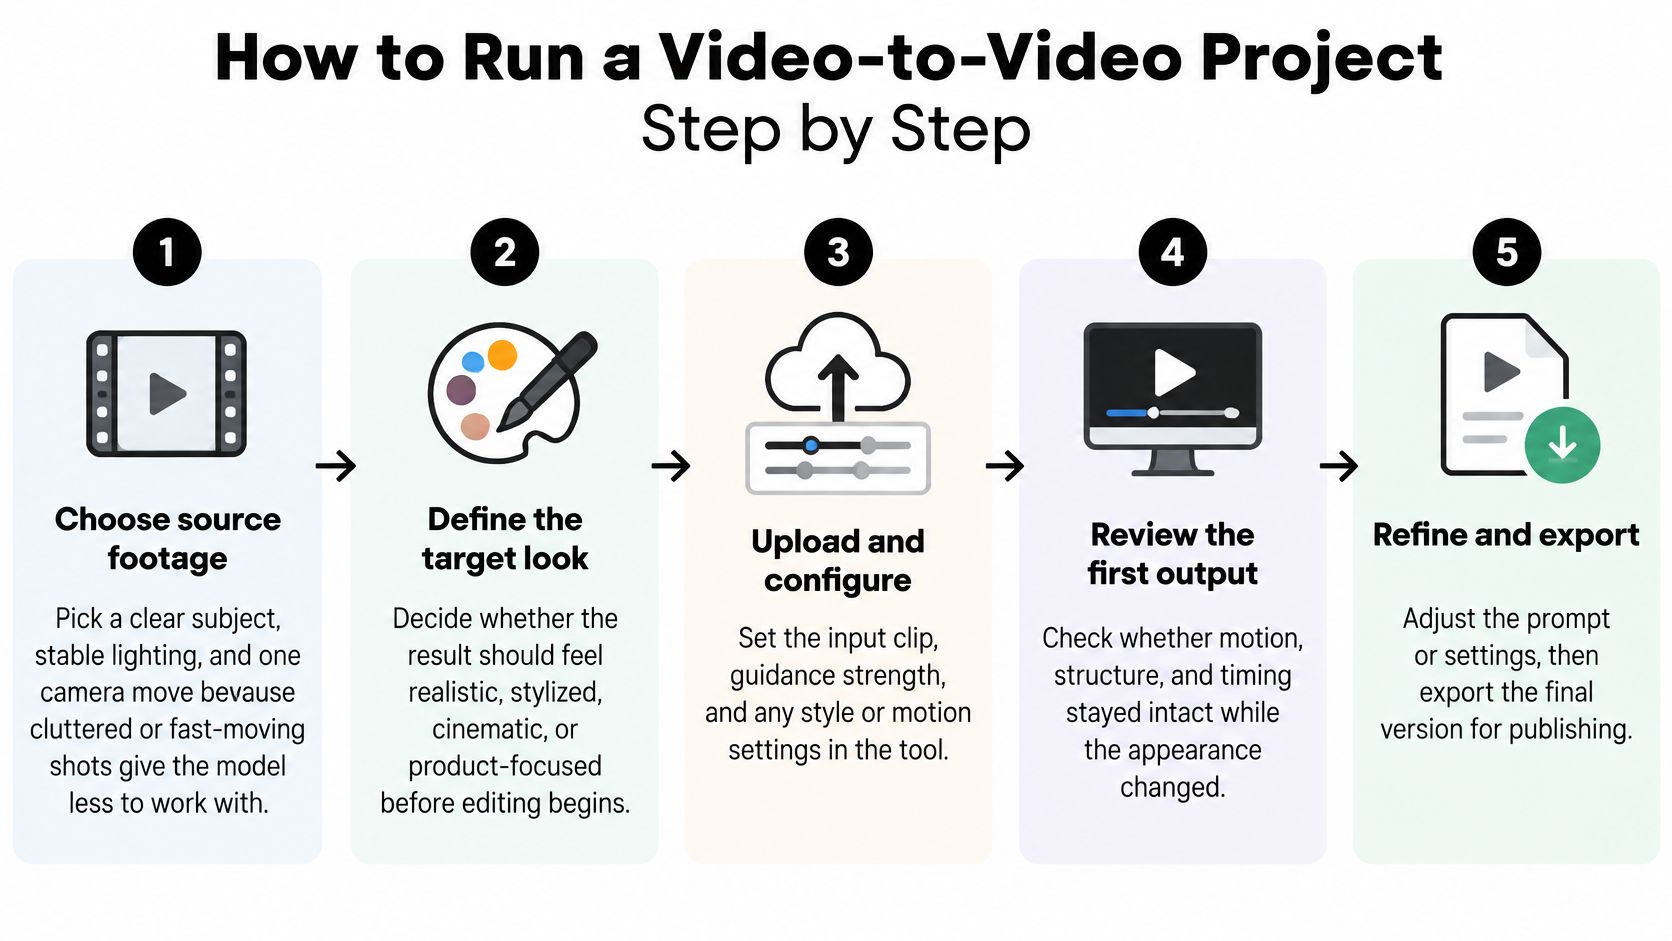
The sequence below is the one I'd run on any new source clip, in this order, because each step gives the next one something to test against.
-
Choose source footage with one clear subject and one camera move. Cluttered frames, crowds and fast pans give the model more to reinterpret and more places to lose the subject between frames. A locked-off shot in steady light is dull to watch and ideal to transform, and the video production best practices for 2026 guide covers the capture decisions that keep a source clip usable.
-
Write a one-sentence goal that names what changes and what must stay. "Turn the jacket into leather outerwear, keep the face and the walk" gives you a pass or fail test on every run. A goal that only says "make it cinematic" can't be judged, so every attempt looks equally acceptable.
-
Pick the transformation type and prepare one reference. Style transfer needs a style frame, an appearance swap needs a clean front-facing image of the person, and background replacement needs nothing extra if the subject already separates cleanly from what's behind them.
-
Describe only the change in the prompt. Restating motion the source already supplies sets up a conflict, and the model resolves conflicts by drifting. Name the material, the lighting, the palette. Leave the walking to the footage.
-
Generate a 4-second test before anything longer. At 96 frames it's the cheapest way to see whether the look holds under movement, and problems visible in the first second rarely fix themselves by the eighth.
-
Watch the test at full speed, then step through faces, hands, edges and on-screen text. Full speed exposes rhythm and flicker; stepping exposes melted fingers, a logo that reshapes, an earring that vanishes. Those four areas fail before anything else does.
-
Change one variable per run. Reference weight, prompt wording, the trim point of the source clip. Change three things and the clip improves, and you've learned nothing you can reuse next month.
-
Generate the final at the target length and aspect ratio, then export and archive. Keep the source file, the reference, the prompt and every setting in one folder. You'll need them when the same look is requested six weeks later on different footage.
A good test passes three checks: the subject stays recognizable in every frame, the motion matches the source, and no texture jump appears between the first and last frame. Fail any one and you're not scaling up, you're multiplying a defect across six segments.
<iframe width="100%" style="aspect-ratio: 16 / 9;" src="https://www.youtube.com/embed/OtbLL6OBNE4" frameborder="0" allow="autoplay; encrypted-media" allowfullscreen></iframe>
The walkthrough above shows the same loop in motion, from source selection through the final render, which is easier to follow than a written list of settings.
<a id="keeping-frames-stable-with-quality-checks-and-fixes"></a>
Keeping Frames Stable With Quality Checks and Fixes
Flicker is the first thing that goes wrong, and it shows up in flat textures: a painted wall that shimmers, a knit that crawls, a sky that pulses grain. Independently stylizing or regenerating frames leaves each frame guessing where the subject was a moment ago, so small errors compound into visible motion that isn't in the source.
The fix lives in the footage and the settings far more often than in the prompt. Temporal-consistency methods edit the first frame and propagate motion forward: FlowVid combines spatial image conditions with temporal optical-flow cues and feeds warped flow in as an additional reference so the model can compensate when a motion estimate is wrong, as described in the FlowVid research. The practical translation is blunt. Stable motion, limited occlusion and reliable tracking in the source make a coherent output far more likely.
<a id="run-the-check-before-you-rerun-the-generation"></a>
Run the check before you rerun the generation
Run the same full-speed review you used on the test clip, then put the first and last frame side by side in a viewer. If the jacket changed shade, the jawline moved, or the background texture reset, you have a specific defect and a specific fix. For a scored comparison between two models, the paper's evaluation approach pairs sequential-frame cosine similarity and a temporal-consistency score with prompt-alignment measurement instead of judging per-frame sharpness.
| Symptom | Likely cause | Fix |
|---|---|---|
| Flicker on textures | Frames regenerated independently | Lower the strength, use a stable reference and shorten the clip |
| Face or identity drift | Strong appearance change over time | Use a clear reference image and split into shorter clips |
| Wobbling edges or geometry | Weak motion tracking or fast camera move | Use steadier source footage and simplify the prompt |
| Hands or objects morphing | Occlusion and fine motion | Crop tighter or choose footage with fewer overlaps |
| Motion lost or frozen | Prompt contradicts the source motion | Remove motion words and keep the source camera direction |
| Color shifts between segments | Separate generations with different settings | Reuse the same references and grade the clips in an editor |
Sort the fixes by cost before you start. Lowering strength, trimming the clip or cropping tighter means a new render of a short segment. Reusing references across segments and grading in the editor means no render at all, just a timeline pass.
The cheapest fix on the list: lower the strength before you rewrite the prompt. Strength is the variable most likely to be wrong and the fastest one to re-test.
If a viewer can't tell the transformed subject from the original across the whole clip, it's finished. If they can, change one variable and run the 4-second test again rather than burning a full-length render on a guess.
<a id="choosing-a-workflow-for-your-video-project"></a>
Choosing a Workflow for Your Video Project
Vertical short-form is the format frequently produced each week. TikTok, Reels, and Shorts prefer 9:16, a subject that fills the frame, and a hook within the opening seconds. Start by generating the hook segment and use it as the test for everything that follows. A bakery launching a new loaf gains more from four vertical segments of the same dough-hands shot in different grades than from one polished clip nobody watches to the end.
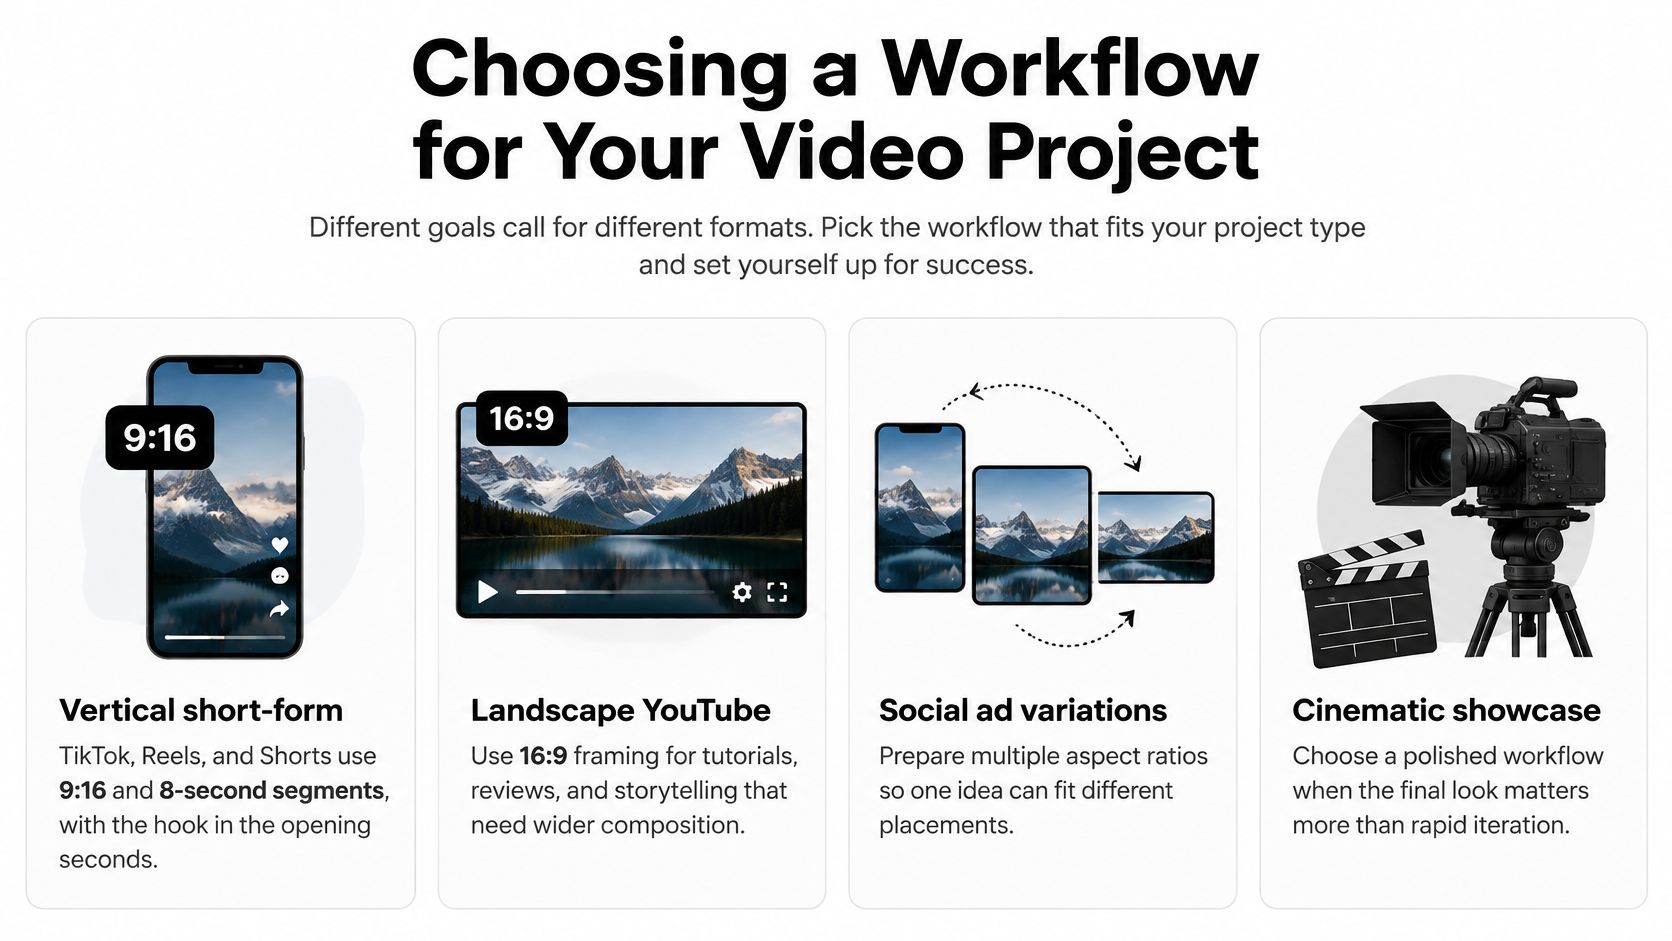
Wide explainers and YouTube videos work the other way round. Frame in 16:9, generate the segments, then stitch them with the same reference frame in every run so the grade doesn't wander between cuts.
Brand restyling of an existing film is a consistency problem, not a creativity problem. Pick one approved reference frame, lock it, and reuse it across every segment; the look is the deliverable, and a second reference is a second look. Product visuals are the lowest-risk version of the whole craft: keep the product's shape and change only the background or the lighting direction, because a static subject with clean edges gives the model almost nothing to misread.
Animating a still is a different job again. A product photo or an old family photo fed through image-to-video at a short duration reads as a memory or a demo clip rather than a synthetic scene, and audiences accept it more readily than a face swap. Storyboard prototyping has no audience at all, which makes it the safest place to experiment: transform rough phone footage into a style test before anyone books a crew.
In 2025, 86% of video-ad buyers were using or planning to use generative AI to create video advertising content, according to the Interactive Advertising Bureau. That shifts the question from whether to use these tools to which workflow fits each format.
Choose the project type first, the workflow second, the generator last. Reversing that order means picking a tool for a job you haven't defined yet.
<a id="labels-consent-and-rights-before-you-publish"></a>
Labels, Consent and Rights Before You Publish
The assumption that breaks most often is that a commercial license on the output covers the input. It doesn't. Four obligations survive the moment you press generate: consent from any real person whose face, voice or likeness you alter; a license for the source footage and any music in it; trademark accuracy for logos and products that appear; and the labeling rules of each platform you publish to.
Provenance is the part teams discover last. Google uses SynthID to embed imperceptible watermarks in AI-generated media, including video, and says the watermark leaves visual quality unchanged, according to Google's SynthID documentation. Verification runs one way: a detected watermark confirms all or part of the content was created or edited by Google AI, while a missing watermark proves nothing, because other systems mark content differently or not at all. Treat provenance as an output you check on the finished file, the same way you check grade and audio sync.
<a id="a-pre-publication-checklist"></a>
A pre-publication checklist
-
Written consent from every identifiable person in the source, naming the specific use, the channel and the duration.
-
Source and music licenses checked against the actual delivery, not the internal draft.
-
Trademark check on every logo, label and product shape the transform preserved.
-
Disclosure decision made before the edit, not after a comment thread starts.
-
Provenance check on the exported file, before upload rather than after.
-
An archive of the source clip, references, prompt and settings, kept with the final file.
Split the disclosure decision into two cases. A stylized restyle reads as creative work to almost anyone watching, and a caption noting the transformation is usually enough. A realistic change to a real person's face or voice can mislead the viewer, and there a clear on-screen label is the minimum, placed where it reads without pausing. Where the platform offers a synthetic-media disclosure setting, turn it on as well, since the platform label and your own label reach different audiences.
Viewers who recognize AI content in an ad tend to trust the brand behind it less. Speed and cost don't offset that.
<a id="start-your-first-video-to-video-project-today"></a>
Start Your First Video-to-Video Project Today
Three decisions cover the whole project: the transformation type, the limits your must-haves impose, and the size of the first test. Everything else is tuning.
Pick your transformation from the five types, check it against the input, length and aspect ratio your delivery needs, and run a 4-second test on a clip you can afford to waste. The Veo 3 AI video generator handles the input side in one place: it's an all-in-one image-to-video and video generation platform with access to Veo3, Seedance, MiniMax, Kling and Omni Flash together, and it generates videos up to 8 seconds on all plans. Current options are listed on the Veo3 AI pricing page.
Treat results as variable. Generation output isn't guaranteed, the service runs as is and as available, so keep the source file backed up and budget at least one regeneration per finished clip.
-
Run the 4-second test on the actual source, not a stand-in.
-
Review it against the pre-publication checklist while the settings are still fresh.
-
Generate the final clip at the target aspect ratio, then archive the source and settings together.
A well-chosen source clip and one clear change will do more for the result than any setting you can adjust in a generator's panel.
Veo3 AI brings several leading video models into one workspace, so you can take footage you already own and see what a restyle, a background swap or an animated still looks like without juggling four subscriptions. Start with a short test, check it against the publishing checklist, and keep the settings that worked. Visit Veo3 AI to try your first transformation.
Related Articles
Continue with more blog posts in the same locale.

Kling 4.0 vs Veo 3.1: Length, Resolution, Audio and Price Compared (2026)
Kling 4.0 makes one take of up to 30 seconds; Veo 3.1 makes 8-second clips up to 4K for far fewer credits. Compare length, resolution, audio, control and price, and see which fits your shot.
Read article
AI Shorts Generator: How Prompts Become Vertical Video
Learn how an AI shorts generator turns text prompts or images into short-form video, which features matter, and how Veo 3.1 fits in.
Read article
Veo 3.1 Fast and Quality Leave Google Flow on December 5: What to Use Now
Google Flow retires Veo 3.1 Fast, Veo 3.1 Quality and Omni Flash 1.1 on December 5, 2026. See what Veo 3.1 Lite can do, the credit costs and where to keep using Veo 3.1.
Read article