How to Create Animation from Photo with AI
Learn how to create animation from photo using powerful AI tools. Turn static images into dynamic videos with our practical, in-depth guide.
River · 21 min read · Aug 31, 2025
Ever looked at a gorgeous landscape photo and imagined the clouds slowly drifting across the sky? Or seen a portrait so vivid you could almost see the person breathe? That magic is now something you can create yourself. With the right AI tools, you can create animation from photo, turning any static image into a short, mesmerizing video.
Quick Answer: You can animate photos and illustrations using AI tools like Google Veo 3, Runway, Kling, or Pika—simply upload your image, describe the desired motion in a text prompt, and the AI generates a realistic animated video in seconds. No animation experience is required.
This guide is all about the "how." We'll walk through the practical steps to bring your favorite pictures to life.
A New Way to Tell Stories with Your Photos
Just a few years ago, turning a single photograph into a living, breathing animation was a job for a seasoned VFX artist. Not anymore. Thanks to some incredible leaps in artificial intelligence, anyone can now add realistic motion to their images using specialized image to video AI tools.
It’s a process that completely changes how you can use a picture. You’re no longer just showing a moment; you’re telling a small story.
Instead of a flat photo of a mountain range, you can make the clouds drift lazily behind the peaks. Instead of a simple portrait, you can add a subtle flicker of life to your subject's eyes or make their hair gently sway in an imaginary breeze. This ability to create animation from a photo unlocks a whole new level of creativity.
Why Bother Animating Your Photos?
Adding a little motion can make a huge difference in how people connect with an image. For anyone creating content—whether you're a marketer, an artist, or just trying to up your social media game—it's a powerful way to make your work stand out.
An animated photo can:
- Stop the Scroll: Let's be honest, dynamic visuals are simply more likely to catch someone's eye on a busy social media feed.
- Tell a Richer Story: Motion adds context and atmosphere. A simple photo of a coffee cup suddenly feels much cozier when you see steam gently rising from it.
- Feel More Real: Subtle animations, like water rippling or leaves rustling in the wind, make a scene feel more immersive and believable.
This isn't just a niche trend; it's part of a massive industry shift. The global animation software market is exploding, hitting around USD 523.2 million in 2024. It's expected to jump to USD 576.7 million in 2025, with AI being a huge part of that growth. You can dig into the numbers on Future Market Insights.
At its core, animating a photo is about extending the moment it was captured. You are not just preserving a memory; you are giving it a pulse, allowing viewers to experience the atmosphere and feeling of that single instant in a more profound way.
Whether you want to create stunning social media posts, produce unique marketing assets, or just explore a new creative outlet, learning this skill is incredibly rewarding. The tools are better and easier to use than ever, putting professional-looking effects right at your fingertips.
When you're exploring different platforms, it helps to know what features really matter for this kind of work.
Key Features in Photo to Animation AI Tools
Here’s a quick breakdown of the essential features to look for when choosing an AI tool for animating your photos. These are the things that separate a good tool from a great one.
| Feature | Why It Matters for Photo Animation | Example Use Case |
|---|---|---|
| Motion Control | Gives you precise command over which parts of the image move, how fast, and in what direction. | Making only the river flow in a landscape photo while keeping the mountains and trees perfectly still. |
| Style Presets | Offers pre-configured animation styles (e.g., zoom, pan, dolly) that you can apply with one click. | Applying a "slow zoom" effect to a portrait to create a dramatic, cinematic feel without manual keyframing. |
| Camera Path Customization | Allows you to define the virtual camera's movement, creating complex pans, tilts, and zooms. | Simulating a drone shot that starts low on a subject and then pulls back to reveal the entire scene. |
| Masking & Region Selection | Lets you isolate specific objects or areas to animate, protecting the rest of the image from unwanted motion. | Making the flame of a candle flicker while the rest of the room remains static. |
| High-Resolution Export | Ensures your final animated video looks crisp and professional, suitable for large screens or high-quality posts. | Exporting your animated photo in 4K to use as a dynamic background for a website or a presentation. |
Having these features at your disposal gives you the creative control needed to turn a simple idea into a polished and compelling animation. Now, let's get into how to actually do it.
Selecting and Preparing Your Image
The image you start with is everything. Think of it as the foundation for your final animation—if it's weak, the whole thing will crumble. To create animation from photo that looks incredible, you absolutely have to begin with a high-quality, well-composed picture.
The AI works by analyzing pixels to figure out depth, textures, and different objects within the frame. If you feed it a blurry, low-resolution photo, you're not giving it much to work with. The result? A muddy, distorted animation. Always, always start with the highest resolution version of your image you can get your hands on.
Finding the Ideal Photo for Animation
So, what makes a photo a great candidate for animation? You're looking for pictures that have clear, defined elements that would naturally be in motion. This gives the AI a logical and believable starting point.
Keep an eye out for images that feature:
- Dynamic Natural Elements: Landscapes are a goldmine for this. Think dramatic clouds skudding across the sky, flowing rivers, waterfalls, or ocean waves. These elements have predictable movements that the AI can replicate beautifully.
- Distinct Subjects and Backgrounds: A clean separation between your main subject and the background is a game-changer. It helps the AI instantly understand what should move and what needs to stay put. A portrait against a simple backdrop, for instance, is far easier to animate well than one taken in a busy, cluttered room.
- Subtle Textures: Don't forget the little things! Elements like flowing hair, a waving flag, or flickering candlelight offer amazing opportunities to add subtle, lifelike motion that makes a static image feel incredibly alive.
The secret is to pick a photo where the intended animation feels believable. Trying to animate a brick wall will probably just look strange. Instead, focus on enhancing the motion that’s already implied in the scene.
Simple Steps to Prepare Your Image
Before you even think about uploading your photo, a few quick tweaks can dramatically improve your final result. You don't need to be a photo editing wizard; most of the time, some basic adjustments are all it takes.
Here's a quick pre-flight checklist I run through:
- Minor Color Correction: I often bump up the contrast or saturation just a little. This helps make different elements pop, making it easier for the AI to tell them apart.
- Sharpening: A touch of sharpening can work wonders. It enhances the details, especially around the edges of the objects you want to bring to life.
- Remove Distractions: Got a stray piece of trash on the ground or a distracting sign in the background? Use a simple spot-healing tool to clean it up. A clean canvas gives the AI the best shot at success.
This prep work isn't just a nice-to-have; it's a crucial step. It's part of a massive market, too. The 2D animation software market, which includes these photo animation tools, was valued at a whopping USD 35.64 billion in 2022 and is only getting bigger. Taking a minute to prep your image sets you up to create something truly impressive.
Alright, you've got your image prepped and ready to go. Now for the fun part: bringing it to life. This is where we step into the AI's world and turn a static picture into a moving scene. Don't worry, today's AI tools are surprisingly straightforward, but knowing your way around the core features is what separates a basic effect from a truly captivating animation.
Most of these platforms work in a similar way. You'll start by uploading your image, which then becomes your canvas. From there, it's less about manual animation and more about giving the AI smart directions. Your job is to tell it what to move, what to keep still, and the overall vibe you're going for.
This visual breaks down the typical process you'll encounter.
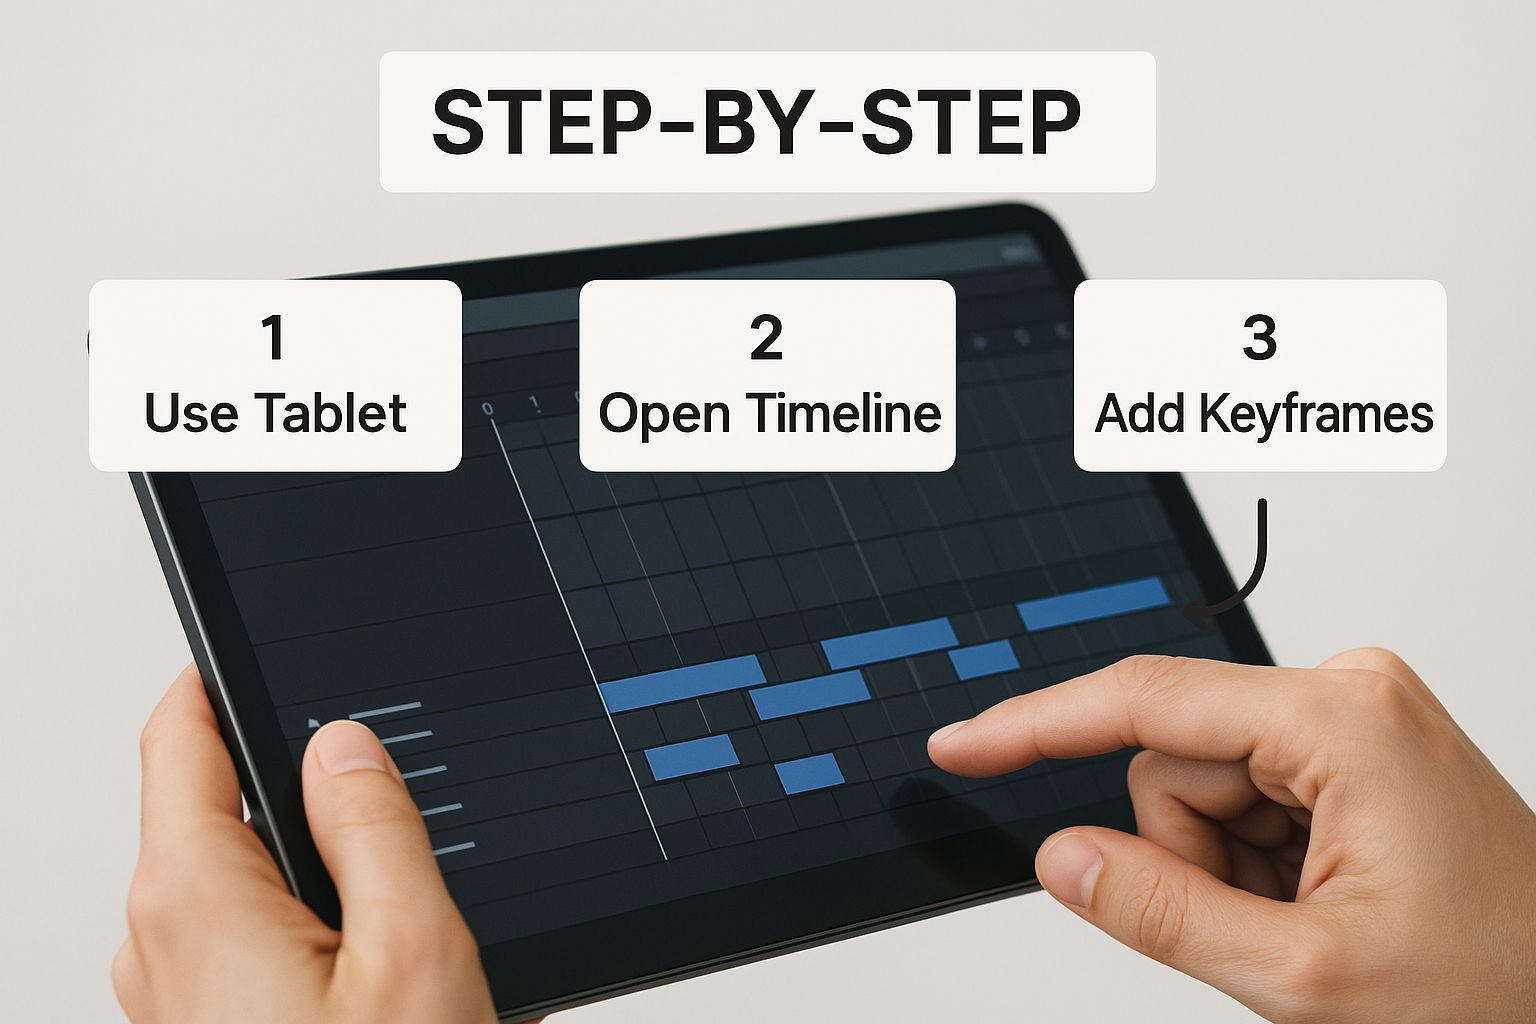
As you can see, it’s a feedback loop: you define motion, lock down static areas, and then refine the results. You're always in the driver's seat.
Directing The Motion In Your Scene
The first tool you'll get to know is the motion path. It’s exactly what it sounds like. You draw arrows on your image to tell the AI, "Hey, make this part move in this direction."
Let's say you're working with a landscape photo of a waterfall. You’d draw a series of arrows that trace the path of the water as it cascades down the rocks. This simple instruction is all the AI needs to generate the illusion of flowing water.
Pro Tip: Avoid the temptation to draw one single, long arrow. I've found that using a chain of shorter, connected arrows that hug the natural curves of an object—like the bend in a river or the folds in a dress—creates a much more organic and believable movement.
Keeping Things Still With Anchor Points
Directing movement is only half the battle. Telling the AI what not to move is just as critical for a clean result. That's where anchor points come into play. Think of them as pushpins that you stick onto the parts of your image you want to remain completely frozen.
Picture a shot of clouds rolling by behind a skyscraper. You’d use motion paths to guide the clouds, but you’d also place a bunch of anchor points along the edges of the building and the street below. This is key. It ensures the building stays rigid while the sky moves, creating a polished, professional effect. Without those anchors, you often get a weird, wobbly distortion across the entire image. For more on this, check out our deep dive into using an AI video generator from an image.
Isolating Elements With Masking
When you need even finer control, you'll want to reach for the masking tool. This feature lets you essentially paint over a very specific part of your photo, telling the AI to only animate what's inside that painted area. Everything else is off-limits.
Here are a few situations where masking is an absolute game-changer:
- A Waving Flag: You could paint a mask over just the fabric of a flag. This lets it ripple and wave realistically while the flagpole and the building it's attached to stay perfectly still.
- Steam from a Coffee Mug: Want to make the steam rise from a fresh cup of coffee? Just mask the steam. This keeps the animation from accidentally warping the mug or the hand holding it.
- Subtle Hair Movement: For portraits, I sometimes draw a soft mask over a person's hair and apply a very gentle motion. It creates a subtle, lifelike sway that adds a ton of realism.
Getting comfortable with these three core tools—motion paths, anchor points, and masking—is what gives you the power to truly create animation from photo projects with precision and artistry. If you're looking to see how these techniques fit into the bigger picture, this list of the 12 best AI tools for content creators is a great resource. Once you get the hang of it, you can bring just about any creative idea to life.
Adding Advanced Effects and Camera Motion

Alright, once you've gotten the hang of basic motion, it's time for the fun part—adding the effects that really make your work pop. This is where you graduate from simple movements and start to create animation from photo projects with a genuine cinematic feel. The goal here is to layer in depth and atmosphere, transforming your static image into a living scene.
Think of your original photo as a stage. Basic animation makes the actors move, but these advanced effects are the lighting, sound, and camera work that truly bring the performance to life. These additions, while often subtle, are what separate a good animation from a great one.
Simulating Realistic Camera Movements
One of the most powerful ways to add a professional touch is by faking camera motion. Instead of just animating the objects in the photo, you’re moving the viewer’s entire perspective through it. This simple shift creates an incredible sense of scale and immersion.
Most solid AI animation tools will give you a set of camera controls. Here are a few of my favorite techniques to experiment with:
- Panning and Tilting: This is your classic slow, steady horizontal (pan) or vertical (tilt) movement. Got a wide landscape shot? A slow pan from left to right can gradually reveal the scene, making it feel absolutely massive.
- Dolly Zoom (The "Vertigo" Effect): This is a killer cinematic trick. You zoom in on your subject while the "camera" moves backward (or vice versa). The subject stays the same size, but the background warps and stretches around them. It's a fantastic way to create a feeling of unease or high drama.
- Parallax Scrolling: This is how you create a convincing 3D illusion. The idea is to move background elements slower than the ones in the foreground. Imagine a person standing in front of a forest; the person might shift slightly, but the trees behind them move even less. The effect adds an immediate and convincing layer of depth.
By applying camera motion with intention, you're not just animating; you're directing the viewer's eye and telling a story. A slow zoom can build tension, while a gentle pan can feel calm and exploratory.
Enhancing Atmosphere with Particle Effects
Ready to completely change the mood of an image? Start layering in particle effects. These are small, animated elements that add a ton of atmosphere and realism, essentially adding weather or environmental details that weren't there to begin with.
Some common particle effects you can play with include:
- Falling Snow: Instantly turns a still winter photo into a serene, active scene.
- Floating Embers: Adds a magical warmth to a campfire or a cozy fireplace shot.
- Gentle Rain: Can introduce a touch of melancholy or peacefulness to a city street or a forest scene.
- Light Leaks or Flares: This simulates how light might hit a real camera lens, adding a dreamy, vintage, or sun-drenched vibe.
These kinds of advanced techniques are becoming easier to use every day, which is fueling some serious growth in creative tech. The global animation software market is projected to jump from USD 149.37 billion in 2024 to USD 153.55 billion in 2025, thanks in large part to tools like these.
When you start combining thoughtful camera motion with the right particle effects, you unlock a powerful toolkit for making truly stunning animations. If you want to dive deeper into the whole process, you should also check out our guide on how to create AI videos from the ground up.
Exporting and Sharing Your Final Animation
https://www.youtube.com/embed/9eHEOAn2FOA
You've put in the work, carefully directed the motion, and added that cinematic touch. Now comes the moment of truth: getting your creation out into the world. It’s one thing to make a great animation on your own screen, but it’s another thing entirely to make sure it looks just as sharp on every platform you share it to.
This is where your export settings come in, and they're more important than you might think.
Choosing The Right Format: MP4, MOV, or GIF?
Your first big decision is the file format. This is always a balancing act between quality, file size, and compatibility.
-
MP4: This is your go-to format 99% of the time. It’s the universal standard for web video for a reason—it gives you a fantastic balance of high quality and manageable file size. It's the perfect choice for social media, websites, and pretty much anywhere else.
-
MOV: Think of MOV as the high-fidelity, professional option. It often delivers slightly better quality but at the cost of a much larger file. I typically only use this if I’m sending a file to a client for a professional project or adding it to my own high-res portfolio.
-
GIF: While GIFs have their place for simple, silent loops, they just can't compete with the quality of a modern video format. They use a limited color palette and heavy compression, which often makes those beautiful, subtle animations you just created look pixelated. Stick with MP4 to do your work justice.
Match Your Export Settings to the Platform
Once you've settled on MP4, you need to think about resolution and frame rate. It’s tempting to just crank everything to the max—like 4K resolution at 60 frames per second (FPS)—but that's often a mistake. Why? Because social media platforms will just aggressively compress your massive file, and the end result can look worse than if you’d exported with their preferred settings in the first place.
You have to play their game. Export with the platform in mind.
For example, Instagram Reels and TikTok are built for vertical video. Your sweet spot here is a 1080x1920 resolution at 30 FPS. This ensures your animation fills the screen perfectly without the platform awkwardly cropping it or crushing the quality. YouTube, on the other hand, gives you more breathing room, happily handling higher resolutions like 1440p or even 4K, which is fantastic for showing off a detailed landscape animation.
Getting these little details right is a huge part of what makes your content look polished and professional. This kind of platform-specific thinking is also a core principle when you want to learn how to make promotional videos that actually perform well.
The goal isn't just to export a video. It's to deliver the best possible viewing experience for your audience on the platform where they're watching. A one-size-fits-all export strategy is a recipe for disappointment.
To make things a bit easier, I've put together a quick cheat sheet with my go-to settings for the most popular platforms.
Recommended Export Settings for Popular Platforms
This table is a great starting point to take the guesswork out of exporting. Think of it as a quick-reference guide to make sure your animated photos look their best, no matter where you post them.
| Platform | Recommended Format | Resolution | Frame Rate (FPS) | Notes |
|---|---|---|---|---|
| Instagram Reels/Stories | MP4 | 1080x1920 | 30 | Stick to these settings to avoid compression artifacts. |
| TikTok | MP4 | 1080x1920 | 30 | TikTok's algorithm loves consistency. 30 FPS is the sweet spot. |
| Instagram Feed (4:5) | MP4 | 1080x1350 | 30 | This vertical format takes up more screen real estate in the feed. |
| YouTube Shorts | MP4 | 1080x1920 | 24-60 | YouTube is flexible, but 30 or 60 FPS is most common. |
| YouTube (Standard 16:9) | MP4 | 1920x1080 or higher | 24-60 | Go for 4K if your source image is high enough quality! |
| X (formerly Twitter) | MP4 | 1280x720 | 30-60 | X can be a bit picky; 720p is a safe and reliable bet. |
These settings should cover most of your needs and help you get consistently great-looking results. Dialing in your export is the final step in making your animation shine.
Once you’ve mastered this, your animations will be ready for the spotlight. From there, you can start digging into proven strategies to make a video go viral and give your work the audience it deserves.
Got Questions About Animating Photos?
When you're just dipping your toes into photo animation, a few questions always seem to pop up. Getting those sorted out upfront can save you a ton of guesswork and make your first project feel a lot less intimidating. Let's tackle the big ones.
Honestly, the whole process is far more about your creative eye than it is about being a technical wizard. Once you get the hang of it, you'll see it's more about guiding the AI than doing any heavy lifting yourself.
What Kind of Photos Work Best?
I've found that the best photos for AI animation have a clear subject and background. Think about landscapes with elements that are supposed to move—water, clouds, swaying trees. These are fantastic starting points because the AI can create believable motion that feels natural.
Portraits are also a great choice, especially if you want to add just a hint of life, like hair gently blowing in the wind. The single most important thing, though, is using a high-resolution image. A crisp, detailed photo gives the AI more information to work with, which always results in a smoother, more polished animation. I'd recommend avoiding super cluttered or low-contrast images, as the AI can sometimes get confused trying to tell different elements apart.
A little pro-tip: You'll get the most impressive results from photos where the animation just enhances a motion that's already implied. Trying to make a brick wall ripple just looks strange. Instead, focus on bringing the scene's existing energy to life.
Can I Animate Just One Part of the Picture?
You bet. In fact, that's where the real magic happens. You have total control over what moves and what stays completely static.
This is usually done with a couple of key tools:
- Anchor Points: I like to think of these as little thumbtacks. You place them on any part of the image you want to pin down. For example, if you're making clouds move, you’d place anchors all along the horizon and on any buildings to stop them from stretching or warping.
- Masking Tools: For getting really precise, you can use a mask to literally paint over the area you want to animate. This isolates the effect perfectly, which is essential for animating small details like the flicker of a candle flame.
What's the Best Format to Export?
This one's simple: it all comes down to where you're going to post it. For almost any social media platform—Instagram, TikTok, you name it—an MP4 video file is your best bet. It’s the industry standard for a reason, giving you great quality without a massive file size.
If you're making something for a website banner or an email and just need a simple, silent loop, a high-quality GIF could work. Just keep in mind that GIFs can get really big, file-size-wise, and they don't handle colors as well as an MP4.
How Long Does This Actually Take?
It really depends. For a basic animation, like adding a gentle drift to some clouds, you could be done in 5-10 minutes once you know your way around the tool. The AI does all the complicated stuff; you’re just telling it where to go.
Now, if you're diving into a more complex project with a bunch of different moving parts, camera pans, and detailed masking, you might be looking at 30 minutes to an hour. The good news is that it's not a steep learning curve. After you’ve done a few, you'll get a feel for it and find yourself working much faster.
Ready to give it a shot? With Veo3 AI, you can take any photo and turn it into a captivating animation in just a few minutes. Upload an image and see what you can create for free at https://veo3ai.io.
Our Verdict
After reviewing the available options and capabilities for create animation from photo, we recommend taking a hands-on approach: start with a free trial of the leading platforms, test with your actual use cases, and upgrade to the plan that best matches your volume and quality requirements. The AI tools in this space are advancing rapidly, making now an excellent time to integrate them into your content creation workflow.
Related Articles
Continue with more blog posts in the same locale.

10 Best Free AI Music Video Generators for 2026
Explore the best free AI music video generators of 2026. Create stunning visuals from text or images with tools like Veo3 AI, Runway, and Pika.
Read article
10 Best Free AI Video Generators for TikTok in 2026
Find the best free AI video generators for TikTok in 2026. Create viral videos with our top 10 tools, from text-to-video to one-tap editing.
Read article
10 Best Free AI Video Generators for YouTube in 2026
Find the best free AI video generators for YouTube in 2026. Compare tools like Veo3 AI, CapCut & Runway to create stunning videos from text or images.
Read article