How to Create Animated Videos A Modern Guide
Learn how to create animated videos with modern AI tools. This guide provides actionable steps for turning your ideas into engaging animations.
River · 19 min read · Sep 2, 2025
Quick Answer: The best free AI animation tools in 2025 are Veo 3 (for cinematic quality), Kling AI (for mobile users), and MyHeritage Deep Nostalgia (for portrait animation). This guide covers all major options with step-by-step instructions.
Learning how to create animated videos isn't the monumental task it used to be, especially with today's AI tools. The whole process really just comes down to giving the AI a clear text prompt or a starting image, picking an animation style you like, and letting the system do the heavy lifting. This new way of working completely sidesteps the need for clunky, complicated software and years of technical training.
The New Era of Animated Video Creation
Not long ago, animation was a walled garden. It was a world reserved for big studios with even bigger budgets and armies of specialized artists. Think about it—just a few seconds of movement meant painstakingly drawing or modeling frame by frame, using expensive software, and sinking huge amounts of time into the project. For most small businesses, marketers, or solo creators, professional-grade animation was simply out of the question.
That barrier to entry has crumbled. The arrival of AI-powered video tools has completely opened up the field, making animation accessible to just about anyone. If you have an idea, you can now bring it to life in minutes, not months. This isn't just a minor convenience; it’s a fundamental shift that puts a powerful storytelling tool into the hands of a much wider audience.
Why Animation Is Such a Big Deal
There’s something about animated videos that just grabs you. They have a unique power to hold your attention, break down complicated ideas into simple visuals, and create memorable brand characters without all the logistical headaches of a live-action shoot.
For educators, animation makes abstract concepts easy to grasp. For marketers, it’s a dynamic way to tell a story or show off a product.
This newfound accessibility is driving a massive boom. The global animation market is expected to hit around $400 billion by 2025. What's really telling is that roughly 85% of that growth comes from computer-generated animation, which just goes to show how central digital tools have become. You can dig into more data on animation industry growth to see just how big this wave is.
From a Simple Idea to a Polished Video
This guide is your roadmap. I’m going to walk you through the practical steps of this new creative process, focusing on how you can use a platform like Veo3 AI to turn a basic concept into a finished, polished video.
My goal here is to give you the confidence and know-how to jump in and start creating right away. You'll quickly see that the most important skill isn't being a technical wizard anymore—it's having a clear creative vision and knowing how to describe it.
We'll cover everything from writing the perfect prompt to fine-tuning the clips the AI generates. By the time we're done, you'll have a solid understanding of how to make animated videos that look professional and get your message across, whether you're using them for marketing, education, or just for fun.
Turning Your Idea Into a Clear Creative Brief
Before you touch any software, let's talk about the most critical step: your idea. An amazing animated video doesn’t start with a fancy tool; it begins with a clear, well-defined plan. This is especially true when working with AI, where the quality of what you get out is a direct reflection of what you put in.
Think of it like giving directions. “Head downtown” is vague and can get you lost. “Go to 123 Main Street, take a left at the coffee shop” gets you exactly where you need to be. Your creative brief is the precise address you give to your AI.
Defining Your Core Message
First things first, what are you really trying to say? You need to boil your entire idea down to one single, powerful sentence. What's the one thing you want someone to remember or feel after they’ve watched your video?
This isn’t just a fluffy creative exercise; it’s your project’s North Star. It guides every single decision you’ll make later, from the story to the visual style. For example, "make a video for our new app" is way too broad. A much stronger core message is, "Show how our app saves busy professionals 30 minutes every single day." That clarity is what you'll need to write killer prompts.
Sketching a Simple Narrative Arc
With your core message locked in, it's time to build a story around it. A narrative doesn't need to be some epic tale to be effective. In fact, most of the best short videos stick to a simple, timeless three-act structure:
- The Setup: Introduce a character and the problem they're struggling with.
- The Confrontation: Show them using your product or solution to tackle that problem head-on.
- The Resolution: End on a high note, showing the positive result or giving a clear call to action.
A huge part of creating compelling videos is the ability to master visual storytelling techniques so that your narrative genuinely connects with your audience. This simple framework provides a satisfying beginning, middle, and end.
The real trick to working with an AI like Veo3 is translating this narrative arc into a series of distinct scenes. Each part of your story becomes its own prompt, turning your high-level plan into concrete, actionable instructions for the AI.
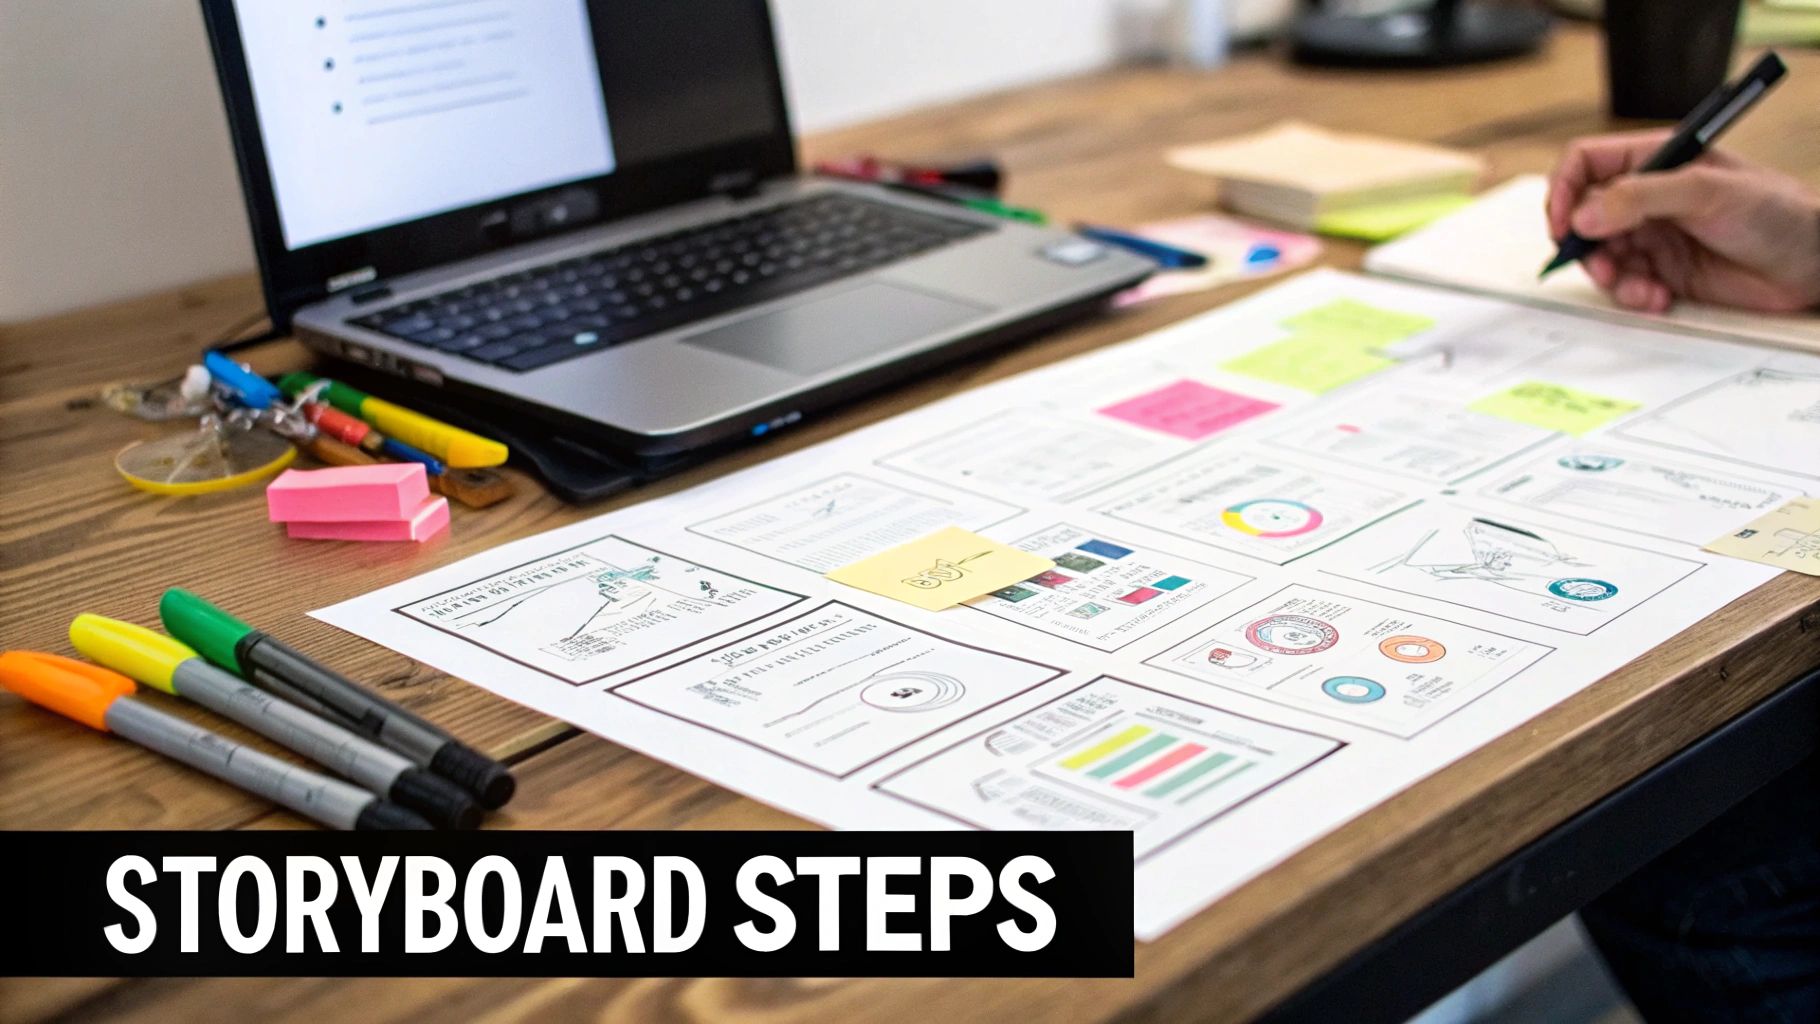
From Narrative to Storyboard
Now that you have your story mapped out, you need to see it. That's where a storyboard comes in. Don't worry, you don't need to be an artist—stick figures and basic shapes are your best friend here. A storyboard is just a sequence of simple sketches that lays out each shot of your video. It helps you nail down the visual flow and composition before you've generated a single frame.
Each panel in your storyboard is a direct preview of a prompt you'll eventually feed into the AI. It’s your visual blueprint. Taking the time to do this now will save you from endless, frustrating revisions later on because your vision will be crystal clear from the start.
Bringing Your First Scene to Life With AI
Alright, you've done the planning, and now it’s time for the fun part: making your ideas move. This is where your creative brief and storyboard start to pay off, as you translate those concepts into direct instructions for the AI. Let's get your first scene generated.
If you’re using a tool like Veo3 AI, you’ll find the interface is pretty straightforward. You'll typically see a text box for your prompt and a few settings to guide the final look. Don't get overwhelmed by the options; we’ll walk through what matters and how to use them to get exactly what you're picturing.
Just remember, this first go is all about experimentation. Your first render is almost never the final cut. Think of it as a starting point—a visual draft you can build on. The whole process is about iterating and quickly testing out different ideas.
Crafting Your First Prompt
The text prompt is everything. Seriously. It’s how you tell the AI what's in your head. A good prompt is descriptive and paints a clear picture, leaving little to guesswork. So, instead of just writing "a happy robot," you need to give it more to work with.
Try something like this: "A friendly, round robot with glowing blue eyes, waving its hand cheerfully. Bright, sunny park in the background, cinematic style, vibrant colors."
See the difference? We've added details about the character's appearance, their action, the setting, and even the artistic style. That level of specificity is what guides the AI to a much better result. If you're looking for more inspiration on turning static images into motion, our guide on how to create animation from a photo has some great tips.
This image shows how an idea flows from a rough concept to a polished final animation, even with AI in the mix.
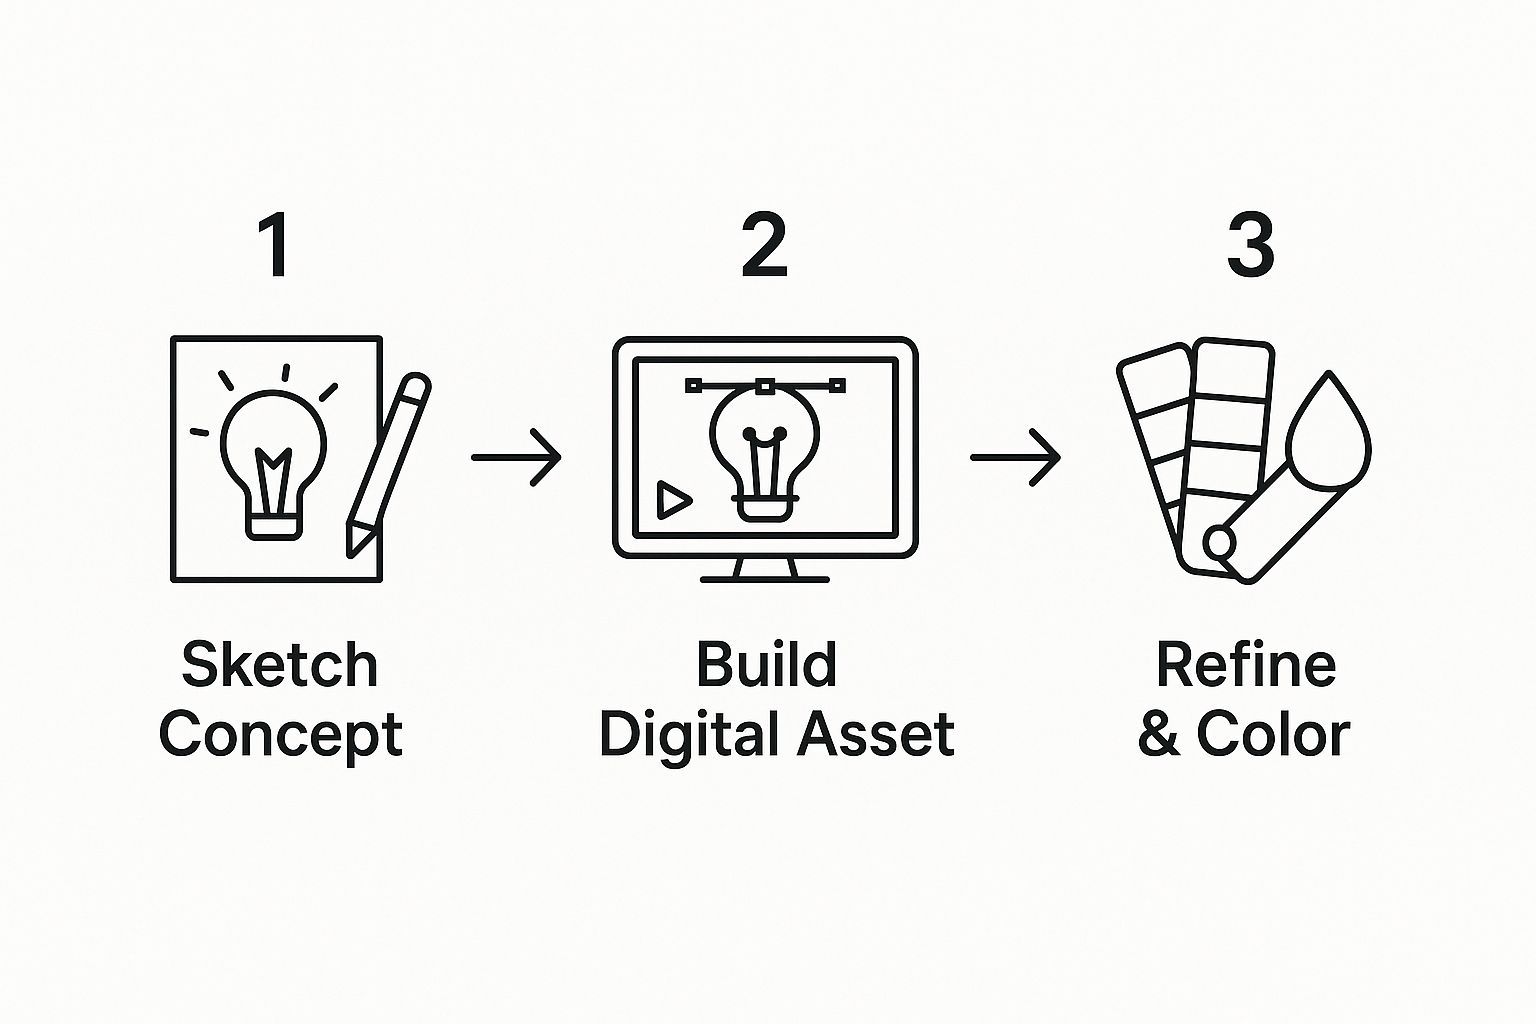
It’s a great reminder that while the tools have changed, the fundamental creative journey from idea to execution is still very much the same.
Selecting the Right Animation Style
Most AI animation platforms come with a built-in library of styles, which is a fantastic shortcut for setting the entire mood and aesthetic of your scene. Picking the right one is key to getting the emotional tone you want.
Pro Tip: Your animation style is a powerful form of non-verbal communication. A 'Cartoonish' look feels fun and easy to understand, while a 'Cinematic' style adds a sense of drama and importance. Always make sure your choice supports the story you're telling.
Here’s a quick guide to help you choose the right style for your project.
AI Animation Style Selection Guide
This table breaks down some common animation styles and where they shine, helping you match the visual tone to your message.
| Animation Style | Best For | Key Characteristics |
|---|---|---|
| Cinematic | Dramatic stories, high-end product videos, or scenes needing a premium feel. | Realistic lighting, subtle camera motion, high-detail textures. |
| Anime | Action-packed sequences, emotional character moments, vibrant storytelling. | Bold colors, expressive characters, dynamic camera angles. |
| Cartoonish | Explainer videos, educational content, and lighthearted marketing. | Simple shapes, friendly designs, approachable and clear visuals. |
| 3D Render | Tech demos, architectural walkthroughs, or a sleek, modern aesthetic. | Polished surfaces, a strong sense of depth, professional look. |
Ultimately, testing a few different styles on the same prompt is the best way to see what clicks for your specific project.
Generating and Refining Your Scene
Once your prompt is written and you've picked a style, it's time to hit "generate." Depending on the complexity of your request, rendering can take anywhere from a few seconds to a couple of minutes. It's a perfect time to grab a coffee or start thinking about the next scene.
When the preview is ready, watch it with a critical eye. Does it capture the feeling you were going for? If something’s off, try to pinpoint what it is. Maybe the camera angle isn't quite right, or the character's movement feels stiff.
This is where you refine. Tweak your prompt to be more specific—for example, change "robot moving" to "robot slowly rolling forward on a gravel path." Each little adjustment gets you closer to the final shot. This back-and-forth is a natural part of the creative process and really shows how AI can help you be more creative by letting you iterate quickly.
The growing accessibility of tools like this is a huge reason the animation market is booming. The global animated video market is expected to hit a valuation of around $3.16 trillion by 2033, a massive jump from 2024. This growth is directly tied to software that makes it easier for more people to create amazing content.
Polishing Your Raw Animation
The first clip the AI spits out is almost never the final product. I like to think of it as a solid first draft or a well-formed block of clay. The basic shape is there, but the real magic happens during the refinement process. This is where you roll up your sleeves and turn that raw output into something truly polished and professional.
It's all about making small, iterative adjustments that add up to a big impact. You'll find yourself tweaking prompts, playing with the built-in editing tools, and layering in audio to breathe life into the scene. This is how you take a cool AI-generated clip and turn it into a genuinely compelling piece of content.
Refining Motion and Composition
The first thing I always do is a gut check on the movement and framing. Is the camera angle doing its job to tell the story? Does the character’s movement feel natural? If something feels off, it's time to head back to the prompt and give the AI more specific directions.
Don’t just settle for a general prompt. Add some directorial flair. For example, instead of "a car driving down a street," you could try something like, "slow pan from left to right, following a red vintage car driving down a rain-slicked street at night." That one little change gives the AI so much more to work with, defining both the camera work and the whole vibe of the scene.
I’ve found that refining your prompts is the fastest way to get closer to the shot you have in your head. Each new generation teaches the AI more about your creative intent, and you'll see the results get better and better.
When you're trying to improve your visual storytelling, here are a few things I focus on in my prompts:
- Camera Control: Get specific with your angles. Try things like "low-angle shot," "drone shot," or "close-up on the character's face" to guide the viewer's eye.
- Pacing and Speed: Use descriptive words to control the energy. "Slow-motion," "fast-paced action sequence," or "gentle drift" can completely change the feel of a clip.
- Character Actions: The more detail, the better. Instead of "robot is working," go for "robot is carefully soldering a circuit board with a focused blue light."
Adding Audio and Visual Enhancements
Once you're happy with the visual flow, it's time to add the final layers of polish. This is where you bring in sound and other visual effects to create a complete experience for the viewer. Honestly, good sound design is often what separates amateur work from the pros.
I usually start by finding some background music that sets the right mood. Maybe it’s an upbeat track for a product demo or a subtle, ambient score for a more dramatic piece. After that, I layer in sound effects—the whir of a machine, the sound of footsteps, the chirp of birds—to make the world you’ve created feel real and immersive.
Veo3 AI and many other tools have built-in editors that let you make some of these tweaks right inside the platform.
Common Post-Production Adjustments:
- Color Correction: Playing with the brightness, contrast, and saturation helps create a consistent visual style across all your clips.
- Seamless Transitions: Using fades, wipes, or simple cuts to move smoothly from one scene to the next is key for good pacing.
- Text Overlays and Titles: This is where you can add important information like titles, captions, or calls-to-action directly onto the video.
As a final touch, it's always a good idea to think about creating high-quality subtitles for your videos. It makes your work more accessible and can seriously boost engagement with a wider audience.
Go Beyond the Basics: Advanced Animation Techniques
<iframe width="100%" style="aspect-ratio: 16 / 9;" src="https://www.youtube.com/embed/HKTqAFqpuNU" frameborder="0" allow="autoplay; encrypted-media" allowfullscreen></iframe>
Once you get the hang of basic prompts, it’s time to start thinking like a director. This is where you move past creating cool AI tricks and start producing polished, professional-grade content. The real magic happens when you master a few advanced techniques that give you more creative control and a much cleaner finish.
One of the classic challenges with AI animation is keeping your characters looking the same from one scene to the next. We’ve all been there—you generate a perfect shot, but the next one features a completely different-looking person. The best workaround I've found is to use a detailed seed image of your character. By referencing that specific image in every new prompt, you give the AI a solid visual anchor, which dramatically improves character consistency.
Taking Control of the Camera and Motion
Static shots can make even the most exciting concepts feel a bit flat. To give your videos that professional touch, you need to tell the virtual camera what to do. Learning to prompt with dynamic movement is a game-changer for creating animated videos that really grab and hold someone's attention.
Start thinking in terms of real-world camera shots. For instance:
- A "slow push-in on the character's face" is perfect for building tension or focusing on a key emotional moment.
- A "wide aerial drone shot flying over a futuristic city" immediately establishes a sense of scale and awe.
- A "dynamic tracking shot following a character running through a forest" injects energy and a sense of urgency right into the scene.
The more you use specific, directorial language in your prompts, the more the AI can deliver sophisticated, cinematic results. This simple shift is probably the most effective way to add serious production value without any extra cost.
Another powerful move is to blend your AI-generated footage with other assets. It’s surprisingly easy. Just export your AI clips and drop them into your favorite video editor. From there, you can overlay text, add your company logo, or even combine them with live-action footage for a really interesting mixed-media project. We've got a whole guide filled with tips on making promotional videos that walks you through how to pull this off.
Sound Design: Bringing Your Story to Life
Let’s be honest: visuals are only half the battle. Sound is what breathes life into your video. Great audio design can build atmosphere, push the story forward, and forge a genuine emotional connection with your audience.
First, pick background music that actually fits the mood. A corporate explainer video needs something clean and optimistic, while a dramatic short film might call for a more subtle, ambient score.
Next, start layering in sound effects (SFX) to make your scenes feel real. Simple things like footsteps, a door creaking, or the low hum of a machine make the world you’ve created so much more believable.
Finally, a high-quality voiceover can deliver your message with clarity and authority. Always take the time to record in a quiet space—it makes a huge difference. As the animation world keeps expanding, especially with the Asia-Pacific region expected to be the largest market by 2026, the demand for this kind of polished, professional content is only going to grow. You can learn more about the global rise of animation production and see just how valuable these skills are becoming.
Common Questions About Creating Animated Videos
Even with powerful AI at your fingertips, you're going to hit a few creative roadblocks. That's just part of the process. Let's walk through some of the most common questions and hurdles people face when they first start making animated videos and find some practical ways to get past them.
How Can I Make My AI Animations Longer Than a Few Seconds?
This is probably the number one question I hear. You have a great idea, but the AI only gives you a clip that’s 3-5 seconds long. The trick isn't to fight the tool; it's to change your mindset and think like a video editor.
The best approach is to build your video scene by scene. Generate several short, focused clips based on your storyboard or outline. Once you have your individual scenes, you can easily stitch them together in any standard video editing software. This method actually gives you way more creative control over the final pacing and storytelling.
Key Takeaway: Stop trying to generate one perfect, long video. The professional workflow involves creating a series of high-quality short scenes and then assembling them into a cohesive whole.
Working this way is also much more efficient. If you don't like how one small part turned out, you only need to regenerate that specific scene, not the entire video.
What If the AI Misinterprets My Prompt?
It happens to all of us. You've got a perfect vision in your head, but what the AI spits out is… not it. When this happens, it’s almost always because the prompt wasn't specific enough.
Don't get frustrated—treat it as a diagnostic tool. Look at what the AI got wrong and think about what details you could add to steer it in the right direction.
For example, maybe you just asked for "a person walking" and ended up with a simple cartoon. Try getting more specific: "photorealistic shot of a woman in a red coat walking down a city street at dusk." By adding details about style, subject, and environment, you leave much less room for the AI to guess. If you want to really master this, check out our guide on how to create AI videos with precision.
Can I Really Use These Videos Commercially?
This is a big one, and you’re right to ask. The short answer is yes, but it always comes down to the specific platform's terms of service. When you use a tool like Veo3 AI, you get full ownership of anything you create on the platform. That means you’re free to use your animations however you want.
You can confidently use your creations for:
- Marketing campaigns and social media ads
- Product demonstrations and explainer videos
- Educational content for online courses or tutorials
Just make it a habit to double-check the user agreement of any creative tool you use. Knowing where you stand on content ownership from the get-go means you can build your business without worrying about legal headaches later.
Ready to stop wondering and start creating? Veo3 AI gives you an all-in-one platform to turn your ideas into stunning animated videos in minutes, completely free. Get started with Veo3 AI today!
Conclusion: Our Final Recommendation on How To Create Animated Videos
After reviewing all available options and strategies, our verdict is clear: the best approach to how to create animated videos in 2025 combines AI-powered tools like Veo 3 with proven content strategies.
We recommend:
- Start with free tools to test and learn
- Focus on quality and consistency over volume
- Use AI to accelerate production, not replace creative direction
Bottom line: How To Create Animated Videos is more accessible than ever in 2025. The tools and strategies in this guide are tested and proven — start applying them today for immediate results.
Related Articles
Continue with more blog posts in the same locale.

8 Best TikTok Filters for Blue Eyes in 2026
Discover the 8 best TikTok filters for blue eyes in 2026. Make your eyes pop with our curated list, complete with tips, examples, and settings.
Read articleLip Sync AI: A Guide to Realistic Video in Minutes
Learn how to create realistic lip sync AI videos with our step-by-step guide. From asset prep to advanced prompts and Veo3 AI tips, master AI video creation.
Read article
Seamless Transitions for Video: Master Veo3 AI
Master seamless transitions for video with Veo3 AI. Discover automated presets, custom prompts, and timing tips for pro results in 2026.
Read article