How to Create Video with AI
Learn how to create video with AI using the free Veo3 platform. Get step-by-step guidance on text-to-video, image animation, & pro consistency tips for 2026.
Veo3 AI · 14 min read · Jun 25, 2026

You've probably done this already. You need a short promo, a product teaser, a lesson clip, or a Reel by tomorrow. You open your notes, sketch a concept, and then hit the old bottleneck: filming, retakes, voiceover, edit cleanup, captions, export, revisions.
That's why so many creators are trying to figure out how to create video with AI in a way that produces usable work, not just flashy demos. The basic promise is speed, but speed alone doesn't help if the character changes face every shot, the motion feels synthetic, or the final video lands with dead silence and ugly flicker.
The workflow that works is more disciplined than “type one prompt and hope.” The strongest results come from treating AI video like a production pipeline: define the visual identity first, animate from references, keep prompts narrow when motion is involved, then finish with sound and cleanup. That's where the jump from amateur to professional usually happens.
The End of the All-Night Edit Session
The old workflow punished small teams. A simple one-minute marketing video could swallow days of scripting, asset gathering, editing, and rendering. That was manageable when video was occasional. It breaks down when every campaign needs multiple cuts for YouTube Shorts, TikTok, landing pages, and paid social.
The shift to AI video is already well underway. 45% of content creators now use AI video tools daily, and a 60-second marketing video that traditionally took 13 days can now be produced in 27 minutes, a nearly 99% reduction in time according to Ngram's 2026 AI video statistics roundup. Those numbers match what many working creators feel in practice: the constraint is no longer whether you can make the video, but whether you can direct the model well enough to get a video worth publishing.
That changes who gets to produce at speed. A marketer can mock up three ad concepts in one afternoon. An educator can turn one lesson outline into several visual explainers. A solo creator can test hooks, visuals, and pacing without booking a shoot.
Practical rule: AI video saves the most time when you use it to compress production, not when you use it to avoid making creative decisions.
That distinction matters. If you dump a vague idea into a generator, you'll get vague footage back. If you define the subject, visual style, camera intent, motion, and audio plan before generating, the model becomes much more useful.
Here's the mental shift that helped most in my own process:
- Think like a director: Decide what the viewer should feel in the first few seconds.
- Think like an editor: Build clips that can cut together cleanly.
- Think like a motion designer: Keep movement intentional instead of asking the model to invent everything.
- Think like a sound designer: Plan for audio after generation, because raw output usually isn't finished.
AI video works best when you stop treating it like a magic button and start treating it like a fast production studio.
Crafting Your Vision with Words and Images
Most disappointing generations start with weak inputs. The model isn't ignoring you. It's filling in the blanks you left behind.
If you want reliable results, start with one clear decision: are you creating from text or from an image reference? Both work, but they solve different problems.
When to start from text
Text-to-video is best when you're exploring ideas, testing concepts, or generating a scene that doesn't already exist. The mistake is writing prompts like search queries.
Weak prompt:
- “woman walking in city at night”
Stronger prompt:
- “A stylish young woman in a beige trench coat walks alone through a rain-soaked city street at night, neon reflections on the pavement, medium tracking shot, shallow depth of field, subtle cinematic lighting, calm confident expression, realistic motion”
The stronger version gives the model five things it needs:
- Subject
- Action
- Environment
- Camera framing
- Visual mood
If you want a deeper prompt framework for text-first generation, this guide on AI video generation from text is a good companion read.
When to start from an image
Image-to-video is usually the better choice when consistency matters. That includes product promos, recurring characters, branded scenes, illustrated mascots, and any story with multiple angles.
The key is this: once the image is doing the job of defining appearance, your motion prompt should stop repeating visual details.
Bad image-to-video prompt:
- “A woman with curly dark hair in a beige trench coat in a rainy neon city walks forward while the camera tracks her and the background glows with blue and pink signs and dramatic reflections”
Better image-to-video prompt:
- “walk forward confidently, slight head turn to camera, coat sways naturally, smooth tracking motion”
That's the “aha” moment for a lot of creators. In image-to-video, the reference image already carries identity, wardrobe, lighting cues, and environment. Re-describing everything can push the model to reinterpret the shot instead of animate it.
The more your prompt tries to redraw a referenced scene, the more likely the model is to drift.
A prompt formula that stays useful
Use this structure when starting from text:
| Prompt part | What to include |
|---|---|
| Subject | Who or what is on screen |
| Action | What they're doing |
| Setting | Where it happens |
| Camera | Close-up, wide shot, tracking, low angle |
| Look | Realistic, cinematic, animated, moody, bright |
Use this shorter structure when starting from an image:
- Motion only
- Camera movement
- Emotional pacing
- One priority action
That last point matters. If you ask for turning, smiling, running, object interaction, crowd motion, weather changes, and a drone pullback in one short clip, the output usually gets muddy. Good prompts feel directed, not overloaded.
Defining the Look and Feel of Your Video
Style selection changes more than aesthetics. It changes how the viewer reads the entire clip.
A product teaser rendered in a realistic style can feel premium. The same scene in an animated style can feel friendlier and easier to watch on social. An abstract treatment can make a basic concept feel more original, but it can also weaken clarity if the message depends on legibility or product detail.

What different styles do well
Here's the practical version:
- Realistic: Best for ads, product visuals, testimonials, and branded scenes where credibility matters.
- Animated: Great for explainers, educational content, social hooks, and stylized storytelling.
- Abstract: Useful when you want mood, symbolism, or visual novelty more than literal detail.
- Vintage film: Strong for nostalgia, memory sequences, retro branding, and music-driven edits.
The same prompt can become four different videos depending on style choice. That's why style shouldn't be an afterthought. It's part of the brief.
Match style to job, not personal taste
Creators often pick the style they like most, then wonder why the video underperforms. The better question is: what does this video need to accomplish?
Use a simple decision filter:
| Goal | Style that usually fits |
|---|---|
| Sell a physical product | Realistic |
| Explain a process | Animated |
| Create intrigue | Abstract |
| Trigger nostalgia | Vintage film |
If the clip is going on a landing page, realism usually helps. If it's a social hook for a broad audience, animation often buys you more tolerance for compression, captions, and fast pacing.
One more trade-off matters. Heavy style can hide imperfections, but it can also make editing harder later. If you know you'll need multiple angles, refinements, or scene-matched inserts, choose a style that's expressive without being chaotic.
How to Achieve Scene and Character Consistency
Most AI video projects frequently break due to continuity issues. One shot looks great, the next shot changes the face, the wardrobe shifts, or the background mutates just enough to kill continuity.
That's why advanced creators rely on a Keyframe-Anchor workflow. Direct text-to-video suffers from a 60 to 70% character inconsistency rate in multi-scene outputs, while the anchor method starts with a high-fidelity static image and uses it as the reference for later image-to-video prompts focused only on action. That's the approach summarized in this character consistency guide for Veo 3 workflows.
A visual overview helps before getting into the details:

The anchor-first method
Start with a still image that defines the character clearly. Don't rush this step. The image should lock in face shape, hair, clothing, accessories, lighting logic, and environment.
Then animate from that still using prompts that describe only:
- Movement
- Gesture
- Camera motion
- Pacing
That separation is what keeps the model from redesigning the subject every time.
Here's a workable sequence for a short narrative:
-
Create the hero frame
Generate a detailed still of your character in the main setting. Aim for a clean, high-fidelity frame with strong lighting and obvious wardrobe details. -
Plan your shot list before animating
Write out the sequence: close-up, medium shot, wide shot, over-the-shoulder, low angle, and so on. Consistency gets easier when each shot has a purpose. -
Use the same anchor for each new angle
Even if the framing changes, keep referencing the same character image or a tightly related approved frame. -
Prompt motion, not identity
“looks left, blinks, slow push-in” is better than re-describing face, outfit, and set in every prompt. -
Chain clips when possible
The last-frame-as-first-frame technique is one of the best ways to preserve continuity between short generations.
This walkthrough is worth watching if you want to see the logic in action:
<iframe width="100%" style="aspect-ratio: 16 / 9;" src="https://www.youtube.com/embed/lfR64suiQmg" frameborder="0" allow="autoplay; encrypted-media" allowfullscreen></iframe>
What usually breaks consistency
The most common failure is over-prompting during image-to-video generation. The expert workflow behind the anchor method recommends keeping image-to-video prompts tight, with roughly 15 to 20 words, and warns against bloated prompts that run 50+ words because they invite unnecessary reinterpretation. The same methodology also notes that ignoring the speed ramp setting makes 80% of clips feel mechanically flat rather than cinematic, and that the anchor workflow can reduce motion artifacts by 45% compared with text-only inputs while improving narrative coherence.
Those details lead to a few practical rules:
- Don't rewrite the entire scene if the reference already shows it.
- Don't change lens language wildly from shot to shot unless the story demands it.
- Don't approve a weak anchor and hope later clips will fix it.
- Don't ignore pacing controls when the motion feels robotic.
A stable character starts as a stable still. If the first image is ambiguous, every clip after it inherits the ambiguity.
Camera angles without morphing
Once the anchor is locked, you can vary angle more safely by making one change at a time. For example:
- Start with a medium front shot.
- Then generate a close-up with subtle head movement.
- Then move to a wider side angle.
- Then use a low-angle shot for emphasis.
If you jump from front-facing portrait to dramatic overhead action with a dense prompt, identity drift becomes much more likely. Controlled variation beats dramatic variation when continuity matters.
Adding the Final Polish with Sound and Effects
Raw AI video often looks impressive for two seconds and unfinished by the end of the clip. The reason usually isn't the image. It's the missing finish work.
The first upgrade is audio. Professional-looking AI video needs what experts call a Minimum Audio Stack. That means four layers: a scratch voice track for timing, the final voiceover, ambient room tone, and key sound effects. This matters because 75% of current generative video models output audio-less or low-fidelity soundtracks, omitting ambient tone causes a 30% drop in perceived realism, and missing sound effects reduce engagement by 25% on social platforms according to the verified production guidance provided for this topic.

Build the minimum audio stack
Most creators add voiceover and stop there. That leaves the video feeling hollow.
Use this sequence instead:
- Scratch track first: Record a rough voice pass before final generation or edit assembly so your shot timing has a backbone.
- Final voiceover second: Replace the scratch with a cleaner human or AI voice once pacing is locked.
- Ambient tone underneath: Use subtle room tone to fill silence and glue cuts together.
- Scene effects last: Add a handful of synced effects per scene so movement feels grounded.
A door close, fabric rustle, interface click, footstep, or whoosh can do more for realism than another round of visual prompting.
Clean the image after generation
A lot of AI footage carries shimmer, flicker, temporal noise, or minor detail instability. Don't leave that untreated if the clip is going public.
The most useful cleanup passes are:
- Deflicker
- Denoise
- Color balancing
- Minor trims for pacing
The production notes behind this article are clear on one point: without deflicker and denoise, 60% of AI-generated videos appear visually unprofessional. That tracks with real editing experience. A small amount of cleanup can make an average generation feel much more deliberate.
If you're refining clips further, this overview of AI video effects and finishing options can help you think through what to fix first.
Sound usually makes an AI video feel finished before visuals do.
What to fix instead of regenerating
Not every flaw requires a full rerun. If the clip is basically right, keep it and polish it.
Fix in post when:
- Lighting is close but not perfect
- The pacing drags by a beat or two
- One object distracts but the scene works
- The cut needs energy more than new imagery
Regenerate when the core action is wrong, the character identity slips, or the camera motion breaks the shot.
That judgment call saves time. Strong creators don't regenerate everything. They learn which imperfections are editing problems and which are generation problems.
Exporting and Sharing Your AI-Generated Video
A polished video can still fail on delivery. Wrong aspect ratio, bad thumbnail choice, cramped text, muddy compression. Export is where finishing discipline shows.
The first rule is to match the file to the platform. A YouTube explainer, a TikTok hook, and an Instagram feed post shouldn't all leave your editor with the same frame.
Use the right delivery format
A simple checklist works well:
- For YouTube: Use a horizontal frame, usually 16:9, and make sure titles read clearly on desktop and TV.
- For Shorts, Reels, and TikTok: Export vertical, usually 9:16, and check how captions and UI overlays compete with your composition.
- For feed placements: A square version can still be useful when you want tighter framing and more visible text in crowded browsing environments.
Safe text placement matters more than many creators realize. Maintaining safe margins with 10% padding from the edges is essential, because 90% of mobile viewers miss content placed outside this zone, according to the verified mobile-viewing guidance supplied for this article.

Final export checklist
Before you publish, check these seven items:
-
Resolution fits the platform
Keep enough detail for the screen it will be watched on, without exporting oversized files just because you can. -
Frame rate matches the feel
Faster motion can benefit from smoother playback. More cinematic clips often feel better with restrained motion cadence. -
File format stays compatible
MP4 is usually the safest default for broad distribution. -
Bitrate balances clarity and size
Heavy compression can destroy gradients, shadows, and text edges. -
Audio survives mobile playback
Test on phone speakers, not just studio headphones. -
Thumbnail earns the click
Pick a frame with a readable subject, not just the prettiest frame. -
Metadata does real work
Title, caption, and description should explain the value of the video, not just label it.
One final habit is worth keeping: watch the exported file all the way through on the device your audience uses. A video that looks clean in your editor can still ship with clipped captions, weak loudness, or awkward dead air.
If you're ready to turn this workflow into a faster repeatable system, try Veo3 AI. It brings text-to-video and image-to-video generation into one place, which makes it easier to move from concept to anchor frame to polished export without juggling a pile of separate tools.
Related Articles
Continue with more blog posts in the same locale.
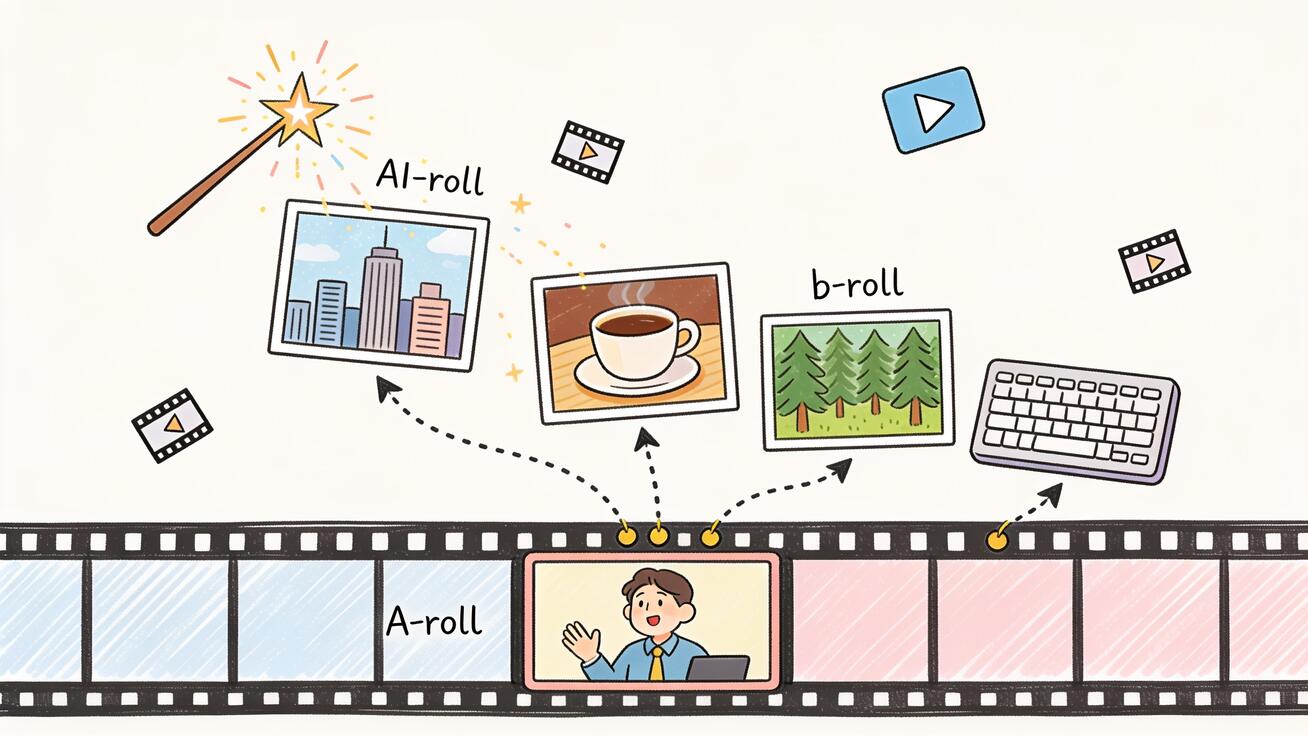
Veo 3 B-Roll Generator: How to Create Cinematic Stock Footage with AI (2026)
Use Veo 3 as a b-roll generator: write prompts for cinematic cutaways, match AI footage to real clips, batch a full b-roll pack, and QA before publishing.
Read article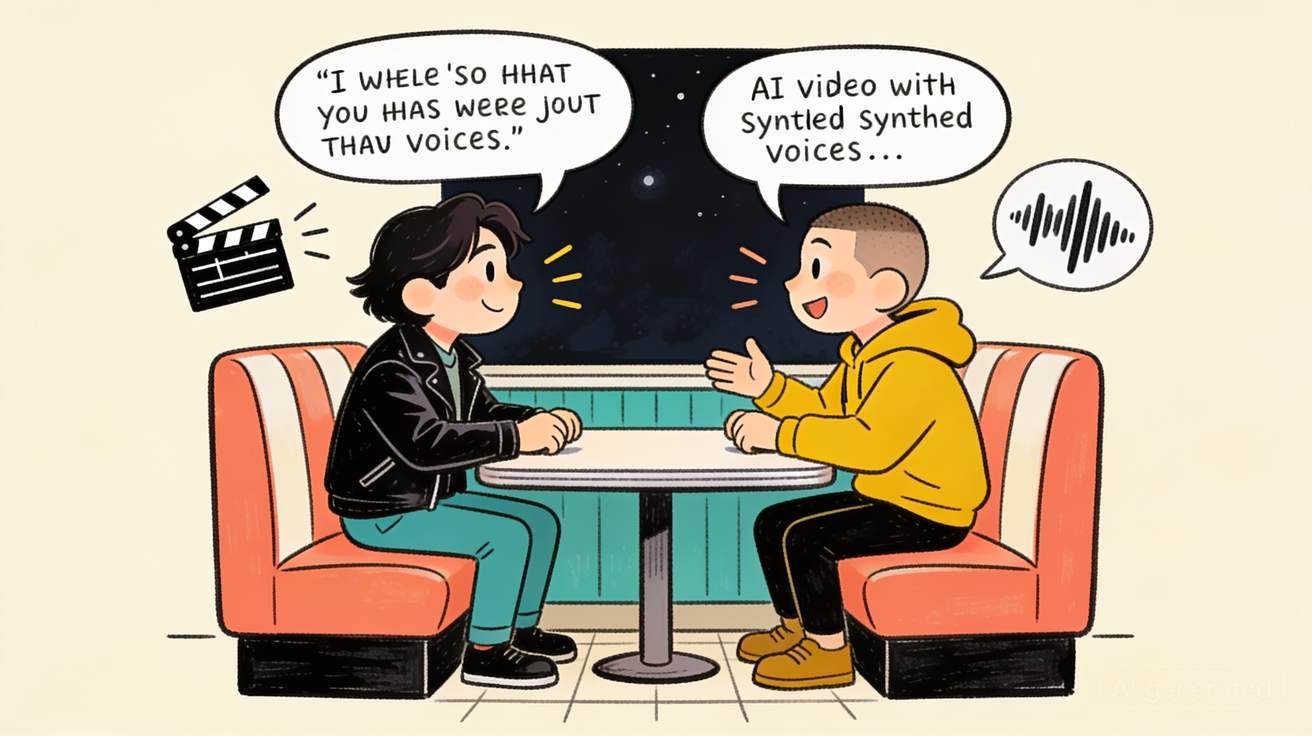
Veo 3 Dialogue: How to Make Two Characters Talk in One Scene (2026)
Stage realistic two-character conversations in Veo 3 — prompt structure, distinct voices, turn-taking, lip-sync, and a full worked example.
Read article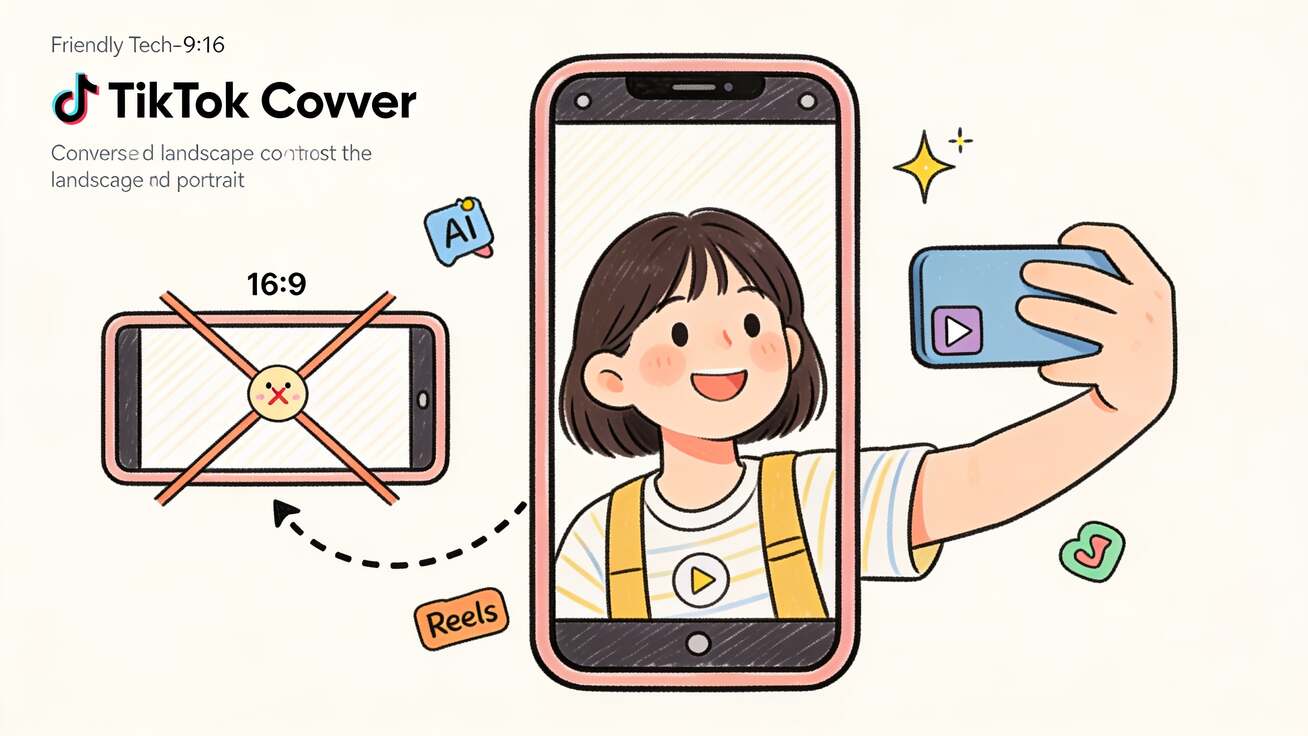
Veo 3 Vertical Video (9:16): How to Make Portrait Clips for TikTok, Reels & Shorts
How to make vertical 9:16 Veo 3 videos for TikTok, Reels, and Shorts — native generation, the API aspect-ratio parameter, prompt framing, copy-ready prompts, and a full workflow.
Read article