
How to Make a Video Into a Boomerang: 4 Easy Methods
Learn how to make a video into a boomerang on your phone, desktop, or with web tools. Follow our step-by-step guide for perfect loops and social media.
Veo3 AI · 13 min read · Jul 19, 2026

You already have the moment. The splash, the spin, the raised eyebrow, the quick hand motion that looked great in the original clip. The problem is that a normal video often feels finished after one watch, while a boomerang keeps that same moment alive by snapping forward and back.
That's why creators keep coming back to this format. If you're trying to figure out how to make a video into a boomerang, it's not just pressing a reverse button. It's choosing the right slice of motion, cutting it short enough, and exporting it in a way that still feels native on Instagram, TikTok, or Shorts.
Why Boomerangs Dominate Social Feeds
Instagram launched Boomerang on October 12, 2015 to capture micro-moments of action, and later internal data showed that stories containing Boomerang clips saw significantly higher completion rates than static images, which helped make the format a core marketing tool for short-form content (Instagram launch background).
That origin still explains why boomerangs work. They don't ask the viewer to commit to a full scene. They isolate one satisfying movement and turn it into a loop with instant replay built in. A jump at its peak, a coffee pour, a hair flip, a quick product reveal. Those actions naturally invite a second look.
Creators also like boomerangs because they remove friction. You don't need a full edit, a voiceover, or a complicated narrative. You need a short motion with a clean reversal point. If you want a broader breakdown of loop behavior beyond classic boomerangs, this guide on learn looping video with Trendy is useful because it separates simple replay loops from the tighter forward-and-back effect that boomerangs use.
Why the format still works
A good boomerang creates two reactions at once:
- Immediate clarity because the action is short
- Replay energy because the reversal feels playful
- Low cognitive load because there's no setup required
- Strong stopping power because motion changes direction fast
A static image asks for attention. A boomerang grabs it with motion, then keeps it by repeating the best part.
The practical takeaway is simple. Use a boomerang when one tiny action is more interesting than the whole clip. For creators focused on retention and shareability, that's the same logic behind many high-performing short videos discussed in this analysis of what makes a video go viral.
Four workable paths
You've got four realistic ways to make one:
| Method | Best for | Trade-off |
|---|---|---|
| Instagram on phone | Fast capture and posting | Least control |
| CapCut or mobile editor | Existing clips from camera roll | Small-screen editing |
| Desktop editor | Precise cuts and custom loops | Slower workflow |
| Online tool | Quick browser-based jobs | Upload limits and less flexibility |
The best method depends on whether speed or control matters more.
Creating Boomerangs Instantly on Your Phone
The phone workflow is the one generally recommended to begin with. It's fast, close to the camera roll, and good enough for most social posts.

Use Instagram when you're capturing the moment live
If you're recording inside Instagram Stories, the native Boomerang tool is still the fastest option. It was built for short, reactive motion, so it works best when the action is simple and you can time it in one take.
Use it when you have:
- A quick gesture like waving, nodding, or clinking glasses
- A short motion burst like jumping or turning
- A casual post where speed matters more than perfect polish
The downside is control. You don't get much room to fine-tune frame selection compared with a dedicated editor.
Use CapCut when the video already exists
If the clip is already sitting in your camera roll, CapCut is the easier route. The classic effect depends on trimming the source to approximately 1 second, then building the loop manually, and on iOS you can save the final result as a Live Photo so Instagram recognizes the infinity symbol and treats it like a native Boomerang on upload (existing video workflow).
That manual process matters because most bad boomerangs fail for one reason. The source clip is too long.
Here's the clean mobile workflow I use:
- Import the original clip into CapCut.
- Trim aggressively until you isolate the single motion you want.
- Duplicate the trimmed clip.
- Apply Reverse to the duplicate.
- Place the two clips back to back so it plays forward, then backward.
- Preview the seam and trim a frame or two if the midpoint feels jerky.
- Export vertically if the clip is meant for Stories, Reels, or TikTok.
Practical rule: If the motion doesn't look interesting with the sound off, it probably won't become a strong boomerang.
A mobile-first creator who wants to keep editing on handheld devices can also benefit from workflows built around modern phone creation tools, especially if you're combining generated clips with edited footage. This overview of Veo 3 mobile workflows on iPhone and Android is a useful companion for that kind of setup.
The iPhone Live Photo trick
This is the part many tutorials skip. If you're on iOS and want Instagram to treat your converted file more like a native boomerang, saving it as a Live Photo can help trigger the infinity icon behavior during upload. That makes posting feel smoother inside the app.
A quick visual walkthrough helps if you want to see the flow in action:
<iframe width="100%" style="aspect-ratio: 16 / 9;" src="https://www.youtube.com/embed/ht_yXg7nVGA" frameborder="0" allow="autoplay; encrypted-media" allowfullscreen></iframe>
Phone editing wins on convenience. It loses when you want exact frame control, multiple repeated loops, or cleaner timing at the turning point.
Building Custom Boomerangs on Desktop
Desktop editing is where boomerangs stop looking casual and start looking intentional. If I need a loop to feel sharp on the reversal, I construct it there.

The core timeline method
In Premiere Pro, DaVinci Resolve, and similar editors, the process is simple:
- Import your source clip.
- Cut out the exact motion you want.
- Duplicate that segment on the timeline.
- Reverse the duplicate.
- Place both clips in sequence.
- Preview the join and trim until the motion snaps cleanly.
The reason desktop works better is precision. You can inspect the transition frame by frame, which matters when the action has fast hands, splashing liquid, hair movement, or camera motion.
A weak boomerang usually shows one of two problems:
- the cut starts too early, before the movement peaks
- the reverse begins from an awkward frame, so the loop feels like a rewind instead of a bounce
Where most creators stop too early
Most tutorials stop at one forward-backward cycle. That's fine for Instagram Stories, but it leaves creative range on the table.
A common need among influencers is the multi-loop boomerang. Tutorials often don't explain it, but you can extend the effect by duplicating the reversed clip multiple times in an editor like CapCut or Premiere, which creates a stronger repeated hook than the basic single cycle (multi-loop workflow gap).
That matters when the platform rewards hold time and your visual needs to stay alive a little longer.
How to build a multi-loop version
You don't need a special plugin. Just build the sequence manually.
Try this structure:
- Clip A forward
- Clip B reversed
- Clip A forward again
- Clip B reversed again
Or, if the return motion feels stronger than the original:
- Clip A forward
- Clip B reversed
- Clip B reversed again after a duplicate timing adjustment
That second approach isn't standard, but it can work when the backward motion has the better visual rhythm.
The best multi-loop boomerangs don't feel longer. They feel stickier.
Desktop trade-offs that matter
Desktop gives you more control, but it also makes it easier to overwork the clip. A few real trade-offs:
| Decision | What works | What usually fails |
|---|---|---|
| Clip selection | One isolated action | Full mini-scene with setup |
| Loop length | Tight and punchy | Draggy sequence with dead frames |
| Motion type | Clear directional movement | Random handheld wobble |
| Repetition | Intentional multi-loop | Endless duplication with no rhythm |
If the clip needs color correction, speed adjustment, masking, or text timing, desktop is worth the extra effort. If you just need a quick social asset, it's often overkill.
Using Online Tools for Quick Conversions
Online tools sit in the middle. They're more flexible than Instagram's native editor, but less exact than desktop software. They're a good choice when you're on a borrowed computer, don't want to install anything, or just need a boomerang file quickly.
The browser workflow is usually similar across tools like Kapwing or Media.io. Upload the clip, trim it down, duplicate it on the timeline, reverse one copy, then export the final file. If the interface includes preset effects, check the preview carefully. Some “boomerang” buttons create a rough reverse loop without giving you enough control over the cut point.
When online tools make sense
Use a web editor if your priority is convenience:
- No installation if you're working on a work laptop or shared machine
- Fast turnaround for one-off social posts
- Simple collaboration when someone else needs to preview the file in a browser
They're also helpful when you want to test a concept before rebuilding it in a better editor later.
Where they fall short
Browser tools are rarely the best choice for detailed loop refinement. The usual pain points are familiar:
- Watermarks on free plans
- File size or export restrictions
- Upload and download delays
- Less accurate frame-level trimming
- Laggy preview playback on weaker connections
That last point matters more than people think. If the preview stutters, you can easily misjudge whether the loop seam works.
If you can't trust the preview, don't trust the export.
Quick comparison
| Tool type | Strength | Weakness |
|---|---|---|
| Phone app | Fastest from camera roll to post | Small-screen precision |
| Online editor | No install needed | Browser limits |
| Desktop editor | Most control | Slowest setup |
If I'm in a hurry, I'll use an online tool for a draft. If I care about the final feel of the loop, I move it to desktop.
Pro Tips for a Flawless Boomerang Loop
A boomerang doesn't look polished because of the app. It looks polished because the source motion, transition point, and export settings all cooperate.

For a perfect loop, trim the clip to 1 to 3 seconds, pick a dynamic moment like the peak of a jump for the transition, and export in vertical 9:16 at 30 fps or 60 fps for smoother playback on Instagram and TikTok (loop quality guidelines).
Pick the right action
Not every clip deserves the effect.
The strongest candidates usually have:
- One clear movement instead of multiple things happening
- A visible peak moment such as a jump apex, head turn, splash, toss, or spin
- A reset-friendly shape where forward and backward motion both look natural
Poor candidates include talking-head clips, slow walking footage, and scenes where the camera keeps drifting.
Fix the details that cause ugly seams
A great boomerang often comes down to little corrections.
- Trim later than you think. Most beginners include too much lead-in before the action starts.
- Check the midpoint carefully. The turning point is where viewers feel the loop break.
- Reduce shake. Handheld movement can make the reverse look messy fast.
- Watch edges of frame. A hand entering from the side can look great. A half-cut subject usually doesn't.
Clean boomerangs are built around a peak, not around the whole action.
Export for the platform, not for your editing timeline
A lot of creators make a decent loop and ruin it at export. For social platforms, vertical framing is the default. Horizontal boomerangs can still work in some contexts, but they rarely feel native in feed-based short video.
Use this checklist:
| Setting | Better choice | Why it helps |
|---|---|---|
| Aspect ratio | 9:16 vertical | Fills the mobile screen |
| Frame rate | 30 fps or 60 fps | Keeps motion smoother |
| Length | Short loop window | Preserves snap |
| Orientation | Vertical over horizontal | Better fit for Reels and TikTok |
If the motion is very fast, speed adjustments can help reduce blur and make the bounce feel cleaner. If the action is slower, leave more natural timing in place so the back-and-forth still reads clearly.
Don't ignore audio
Even when the visual is doing most of the work, sound still affects how professional the post feels. For Reels in particular, music choice and timing can make a short loop feel finished instead of raw. If you want a practical guide to pairing loops with platform-native sound, this article on optimizing Instagram Reel audio for creators is worth using alongside your visual edit.
If you're building more advanced smooth motion pieces and want ideas beyond the classic forward-reverse look, this guide to seamless looping video techniques is a strong next step.
The Future Create Boomerangs with AI
There's a different way to approach this now. You don't always need source footage.

AI video tools make it possible to generate short motion clips from text prompts or still images, then shape those clips into boomerang-style assets. For marketers, that means turning a product photo into a subtle repeated motion. For educators, it can mean animating a simple visual concept without setting up a camera. For creators, it opens up loops that would be annoying or expensive to film by hand.
The trick is prompting for motion that naturally cycles. A floating object, a subtle head turn, fabric moving in a breeze, a hand lifting and lowering, or a product rotating slightly all convert into loop-friendly material better than actions that need a full beginning and ending.
This is why AI matters here. Traditional boomerangs depend on capturing a good moment first. AI can create the moment, then let you edit that result into a short forward-reverse loop. If you want a broader perspective on where this is heading, this breakdown of the future of AI video technology gives useful context around how generative tools are changing content production.
The workflow still benefits from the same editing discipline. Keep the motion concise. Look for one clear action. Avoid overly complex scenes. AI expands the source material, but it doesn't change what makes a boomerang satisfying.
If you want to turn a prompt or static image into a short video first, then shape it into a loop-ready asset, Veo3 AI gives you a fast way to generate source footage without filming. It's useful when you need promotional visuals, product motion, or social clips and don't have the original video in hand.
Related Articles
Continue with more blog posts in the same locale.
MiniMax H3 Prompt Guide for Better AI Video
MiniMax H3 prompt guide with practical templates, parameter tips, and workflow fixes for creators using Veo 3.1 and other top AI video models in 2026.
Read article
Minimax H3 Free Guide to Access and Video Use
Wondering about Minimax H3 free access? Learn what H3 is, free tiers, safe setup, legal notes and Veo3 AI workflows.
Read article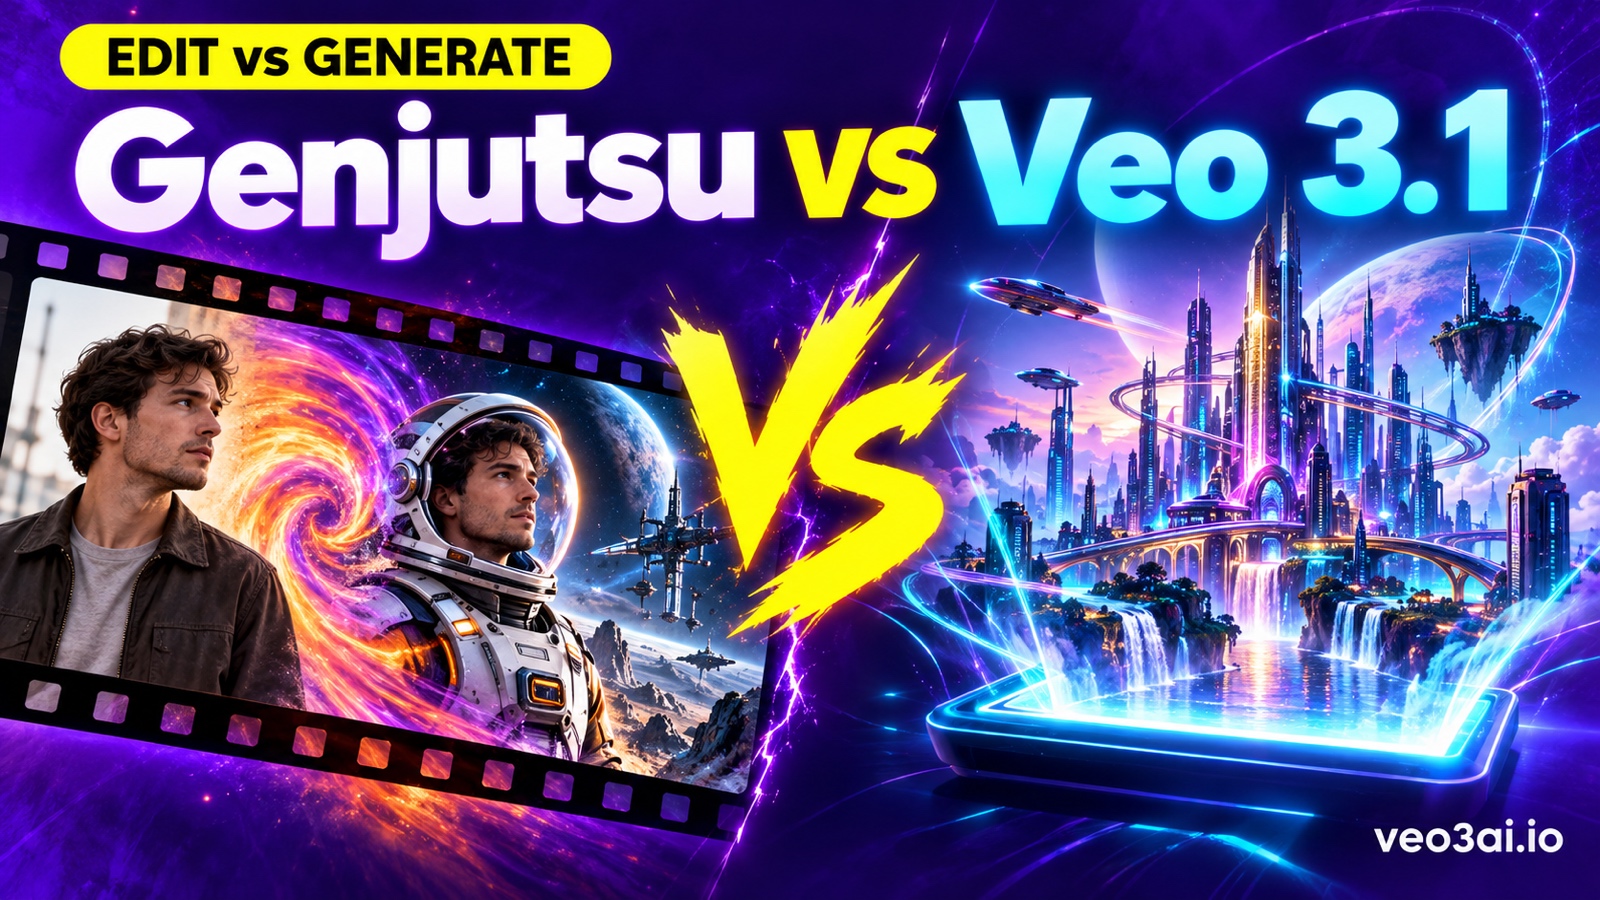
Higgsfield Genjutsu vs Veo 3.1: Which Do You Need?
Higgsfield Genjutsu edits footage you already shot; Veo 3.1 generates new clips from text or images. Compare inputs, length, audio and use cases, and pick the right one.
Read article