
Can You Turn a Photo Into a Video? What AI Can Do
Can you turn a photo into a video? Yes. Learn how AI image-to-video tools animate a still photo, what goes wrong, and how to get clean results.
Veo3 AI · 16 min read · Nov 15, 2026
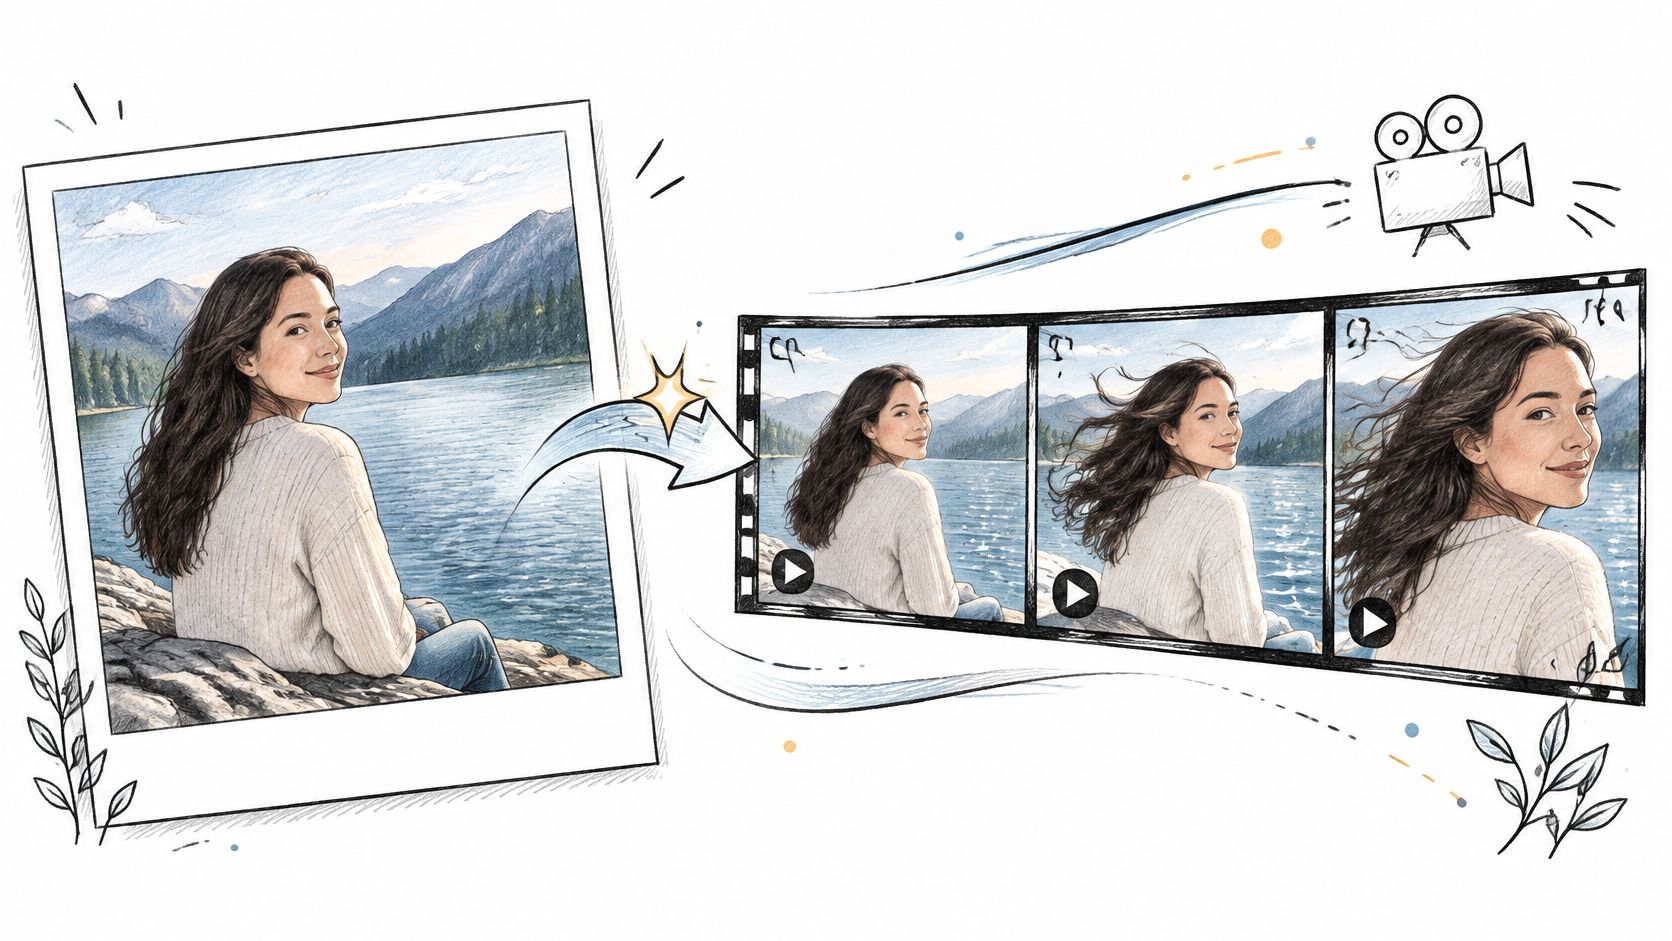
Yes. A still photograph contains no motion data at all, and you can still turn it into a moving video. Two routes get you there: classic editing that pans and zooms a virtual camera across the picture without adding a single new pixel, and AI tools that generate new frames, new light and new motion the photograph never recorded.
Most of the money and nearly all of the confusion sit on the second route. The global AI video generator market grew from USD 690 million in 2024 to an estimated USD 850 million in 2025, according to Research and Markets. Adobe's 2025 survey of more than 16,000 creators across eight countries found that 86% actively used creative generative AI, while 52% used it to generate new assets such as images and video, as the 2025 AI image generation statistics record.
Unfreezing a wedding portrait, a product shot or a family picture from 1974 is an easy thing to want. The harder truth is that the difficult part isn't making the photo move. It's making it move without changing who is in it.
Before you type a prompt: the permission question comes first. A clip of a person who never agreed to appear in it is a problem no amount of motion quality fixes.
So the order that works is method first, generation second, and the permission check before either.
Table of Contents
- Four Methods Compared
- How AI Gives a Still Photo Movement
- Consent and Labels Before You Publish
- How to Turn a Photo Into a Clip Step by Step
- Fixing Drift, Flicker and Warped Faces
- Pick a Photo and Method Before You Generate
<a id="four-methods-compared"></a>
Four Methods Compared
Four methods can turn a photograph into a moving clip, and they sit on a scale. At one end a virtual camera pans across pixels that never change. At the other a model invents frames that never existed. Picking a method means deciding where on that scale you want to land.
The safe end is decades old. Slow pans and zooms across still photographs became known as the Ken Burns effect, named after the documentary filmmaker who popularized it, and it works precisely because nothing in the picture changes: the image is cropped, enlarged and repositioned over time while narration, music or ambient sound carries the sequence. Digital non-linear editing later put the same control in ordinary hands by allowing precise keyframes for position, scale and rotation.
That history gives the clearest way to think about the choice. 2D motion design keeps the original pixels largely unchanged and moves the virtual camera. Generative animation synthesizes new frames. Both turn a photo into a video, and they differ in how far the picture is transformed, how precisely you can steer it, and how much risk there is of altering a face or a scene detail. One difference matters before you generate anything: methods that redraw a real person's face raise a permission question that moving a camera never does.
<a id="the-four-routes-side-by-side"></a>
The Four Routes Side by Side
Read the table from top to bottom and the pattern holds: the further down you go, the less the finished clip resembles the file you started with.
| Method | What Moves | New Pixels Created | Control Level | Best Use |
|---|---|---|---|---|
| Pan and zoom in editing software | The virtual camera only | No, original pixels kept | High, set with keyframes | Slideshows and documentary-style sequences |
| Parallax or layer effect in editing software | Separated layers shift slightly | Minimal fill at the edges | Medium | Logos and product shots with depth |
| Generative image-to-video | Subject, light and camera, all synthesized | Yes, every frame generated | Low to medium, prompt-driven | Cinematic clips and social posts |
| Reference-to-video with a motion clip | Movement copied from a supplied reference | Yes, every frame generated | Higher, once a reference is supplied | Specific camera paths and looping |
<a id="what-each-route-costs-in-control"></a>
What Each Route Costs in Control
- Pan and zoom puts nothing at risk. Identity can't drift because no identity is regenerated, though pushing hard into a small JPEG shows grain and softness rather than detail the file never held.
- Parallax asks you to cut the picture into subject, midground and background and shift each layer at a different speed. The cut leaves gaps at the edges that get filled by cloning or stretching, which is why it suits logos and product shots better than a face photographed straight on.
- Generative image-to-video decides the lighting, the hair and the camera path for you. Every generated frame is a fresh guess at what your subject looks like, and that is the price of the freedom.
Reference-to-video is the most controllable generative option, and there's evidence behind that claim. A study of image-to-video interfaces found that letting creators supply a reference video reduced average iterations to 1.11, against 2.36 for presets plus text and 2.94 for text alone, and it reported significantly lower cognitive workload for the reference-video workflow. You stop describing the camera move and start showing it.
Rule of thumb: choose the lowest-risk method that delivers the motion you need, and confirm permission before any method that regenerates a real face. Every step toward generative motion adds a control problem and, when a person is involved, a consent one.
Google DeepMind's model page lists Veo 3.1 as a video-generation model that handles text-to-video, image-to-video and text-to-audio-plus-video generation, and Veo3 AI's Veo 3.1 generates videos up to 4K with first and last frame control. The model also accepts reference images, which DeepMind calls "ingredients", so a character, object or setting from your photo can be preserved while motion is generated around it.
Tool choice matters less than method, but it still matters. If you want to compare options before committing, browse AI photo animation apps that have been assessed on output quality rather than marketing copy. For the narrower case of a phone's live photo, which carries depth and motion hints a flat JPEG doesn't, this walkthrough on how to turn a live photo into a video covers the format differences.
<a id="how-ai-gives-a-still-photo-movement"></a>
How AI Gives a Still Photo Movement
A model that animates a photograph does something close to what your eye does with a flipbook. It holds one page and has to draw the rest.
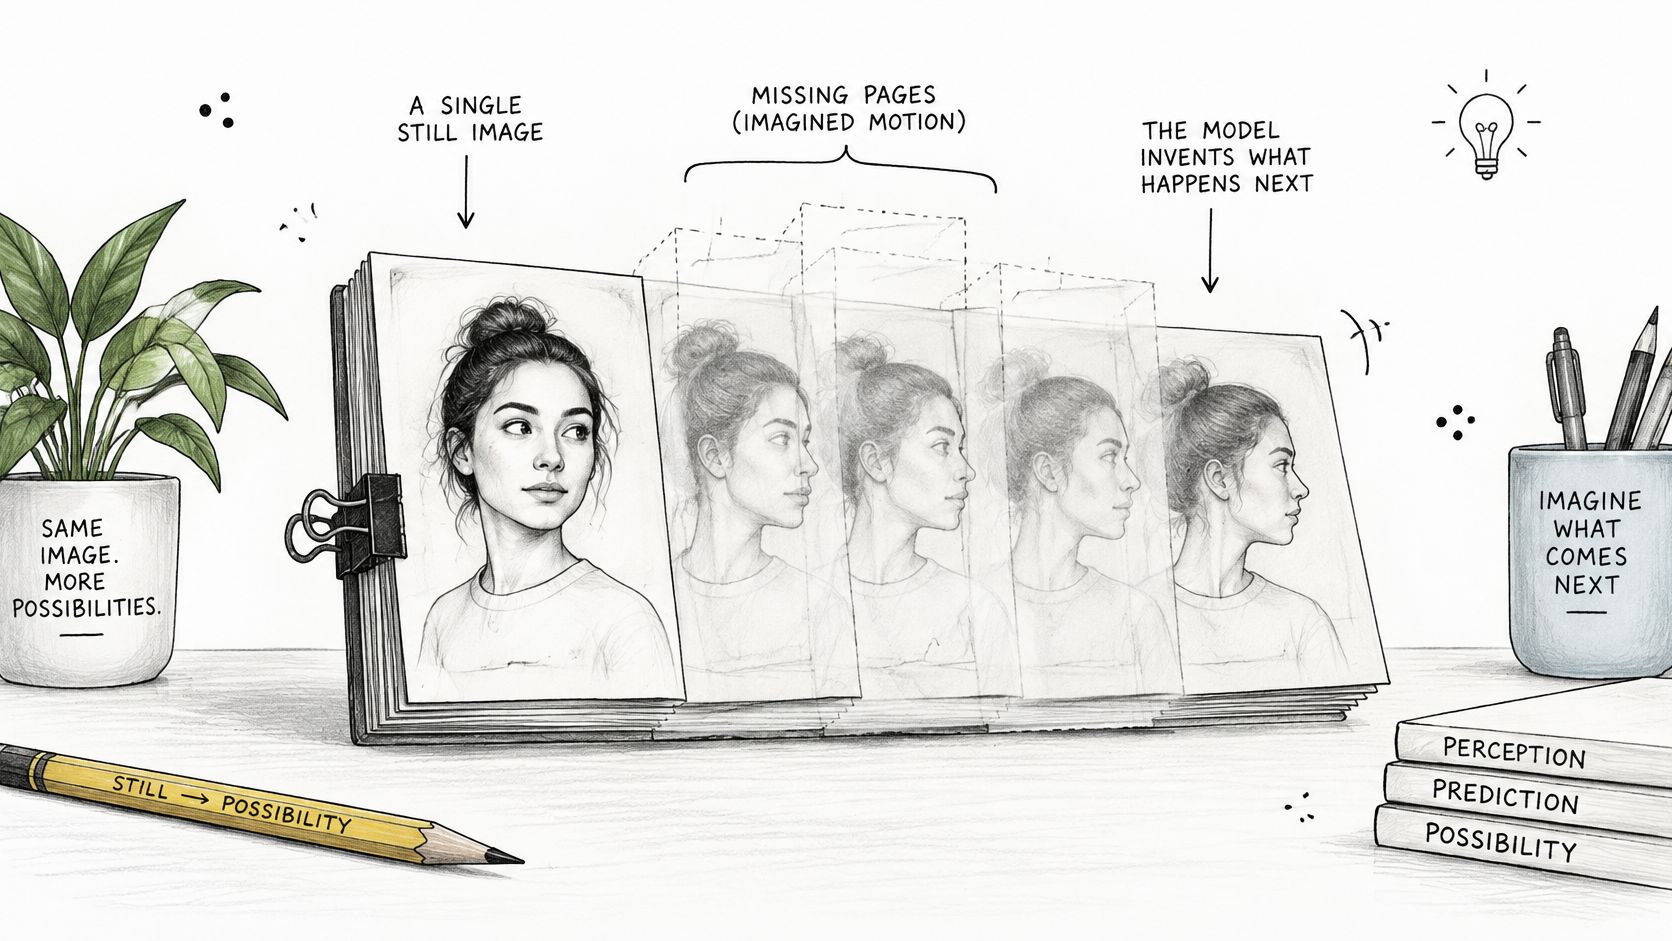
In a flipbook, each page differs slightly from the last and your eye invents the transition. An image-to-video system gets only the first page. It has to draw every page after it, and it has to keep each drawing consistent with a picture whose motion it cannot see.
A photograph carries no motion data, so the model reads the image as a scene before rendering anything. It estimates depth from shading and perspective, separates the subject from the background, and predicts what could plausibly move. Research on video diffusion models describes the usual pipeline as encoding the still into a latent representation, adding temporal layers or attention across frames, and denoising it into a motion-conditioned sequence. The same work identifies the main failure mode, which isn't low visual quality but temporal inconsistency: texture that flickers, features that shift, and boundaries that drift between frames.
The flipbook comparison explains why that happens. Independently generated pages can hold the same overall scene while disagreeing about a freckle, a shirt seam or the edge of a door.
Here is the same principle running in about ten seconds of finished output.
<iframe width="100%" style="aspect-ratio: 16 / 9;" src="https://www.youtube.com/embed/dgd9YFLEIqY" frameborder="0" allow="autoplay; encrypted-media" allowfullscreen></iframe>
Two kinds of subject behave very differently. A portrait taken beside a lake usually animates well, because a breeze in the hair and a slow push-in are easy guesses and cheap to render. A hand gripping a cup and a shop sign with small lettering are hard, because those shapes have to hold still across every page and the model has no evidence of what they look like from another angle.
The rule that governs everything else: the more the model has to invent, the further the result can drift from the original.
That leaves two things to protect in every clip. One is the subject that must stay recognizable. The other is the layout that carries the message, because a logo in the top right corner has to still be in the top right corner on the last frame.
Expect variation between attempts. Each generation is a new roll of the dice, and the same prompt on the same photo can return a different result twice. Clips are also short, which is why the procedure below starts with a small test rather than a finished ad.
<a id="consent-and-labels-before-you-publish"></a>
Consent and Labels Before You Publish
Permission comes before generation, not after it. The line most tutorials skip is the one between a motion effect and a performance. A slow pan, a light shift or a breeze through background leaves is an effect applied to a picture. Face reenactment and lip-sync are different in kind: they put new expressions and new words onto a real person, who then appears to have said something they never said.
Can you turn a photo into a video? Often, yes. Should you animate this particular face? That second question is the one with consequences.
Consent turns out to be the boundary many respondents draw. In a survey across Australia, the United Kingdom and the United States, 65.5% of respondents said AI-altered intimate images should only be used when the depicted person has expressly consented, while 9.8% reported having created a deepfake photo or video, and a broader multi-region study reported that 7.0% of respondents had experienced AI-generated image-based intimate abuse, according to survey research on consent and AI-altered images.
The test I use: if I can't explain the clip to the person in it and get a clear yes, the clip doesn't get generated.
Your own scenery, products, pets and interiors rarely need a conversation. Children, public figures and any photograph taken in a private or painful moment do, and there the answer has to be explicit rather than assumed.
Labeling still matters. When you publish a generated clip, say so, in the caption or in the platform's own disclosure field. Just don't treat the label as the ethical work. In the survey behind those figures, moral judgments tracked consent far more closely than the presence of an AI-origin indicator, which means a provenance tag answers a different question from the one viewers are asking.
If someone animates your photo without permission, the sequence that works is short.
- Report the clip on the platform using its impersonation or manipulated media route, and say plainly that you are the person depicted.
- Request removal directly from the account holder, in writing and without argument.
- Keep the evidence: the original image file, the URL, the timestamps and screenshots, because platforms ask for them and so may a lawyer.
<a id="how-to-turn-a-photo-into-a-clip-step-by-step"></a>
How to Turn a Photo Into a Clip Step by Step
Run the consent check first, then follow the same eight steps each time. Every step exists to remove a variable you'd otherwise be guessing about.
The flow below shows the same sequence in order.
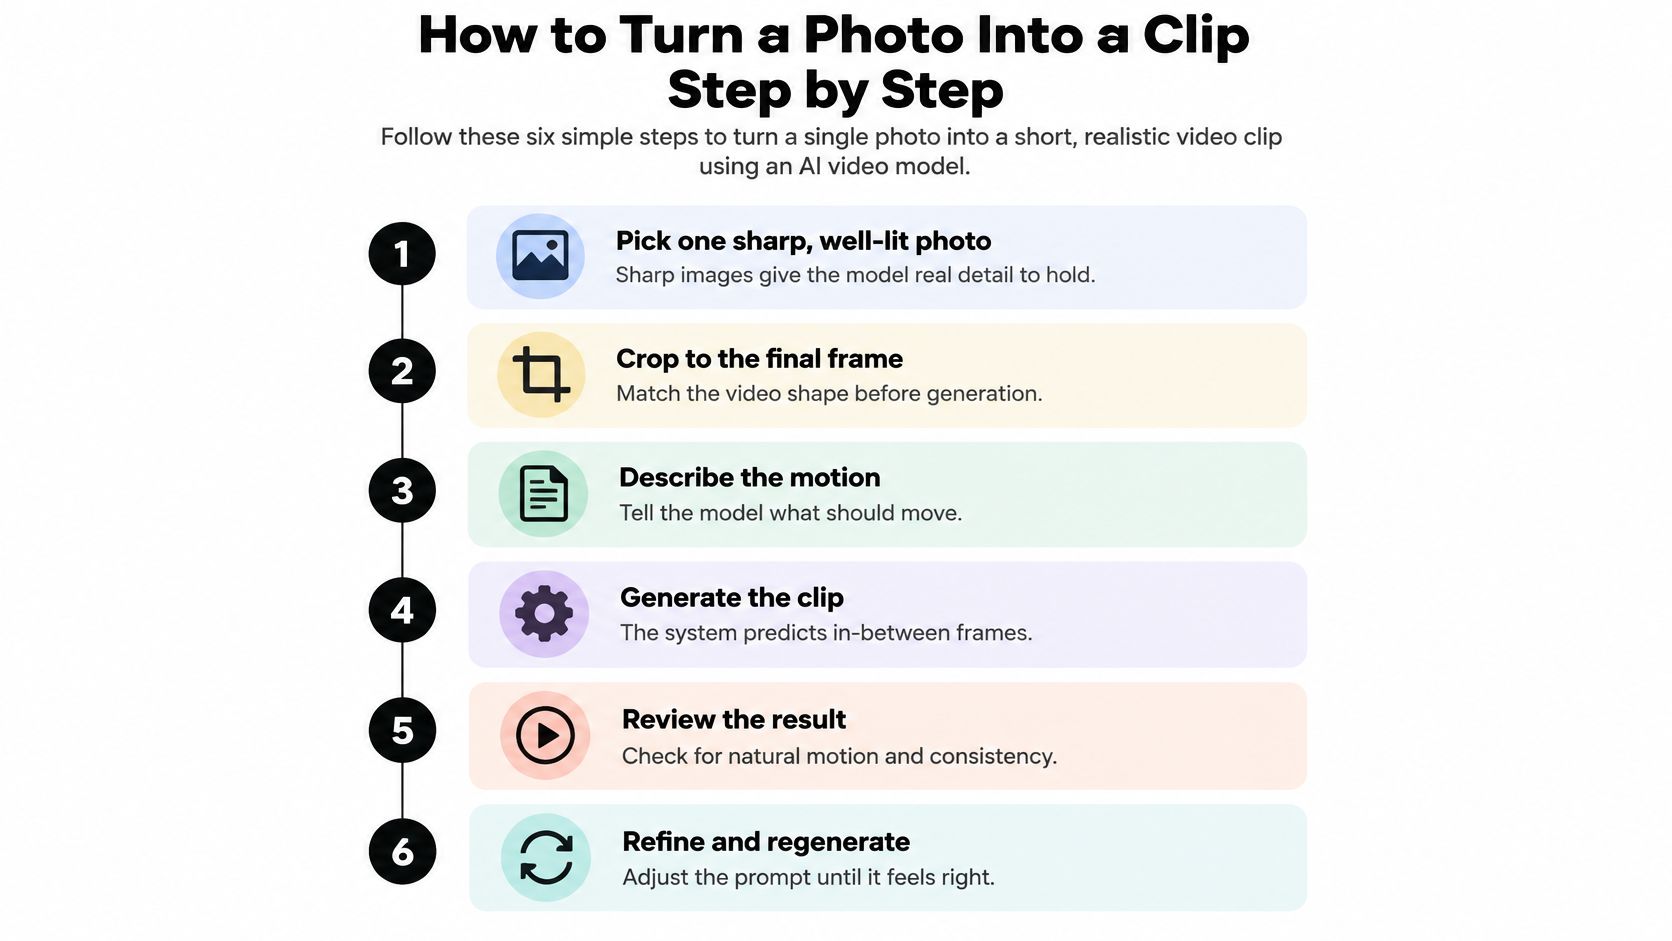
- Pick one sharp, well-lit photo with a clear subject. Detail is what the model holds onto, so a soft or cluttered frame gives it nothing to anchor and more to invent. One subject beats five.
- Crop to the final format before upload. Use 9:16 for TikTok, Reels and Shorts, 16:9 for YouTube, 1:1 for a feed post. Cropping after generation throws away pixels you already paid to render and often cuts off the moving part.
- Upload the image and switch to image-to-video. Open the Veo 3 AI video generator, choose the image-to-video option and add your photo. Some tools default to text-to-video, where a photo becomes a style reference instead of a source frame.
- Write a prompt with one dominant motion. Something like "slow push-in, subject remains centered, natural blinking" gives the model a single job. Two actions multiply the variables it has to infer, and every extra verb makes a failed clip harder to diagnose.
- Generate a four to five second test. Short clips expose drift early, cost less to repeat, and tell you whether the photo itself is the problem before you commit to a longer render.
- Check three frames, then play it back. Pause on the first, middle and last frame and compare the face, clothing and layout. Then watch at normal speed for flicker, stutter or acceleration that reads as a mistake.
- Change one variable per attempt. Lower the motion strength, shorten the clip or simplify the prompt, and alter only one of them, or you won't know which adjustment fixed the problem.
- Download and keep the prompt with the photo. A saved prompt beside the original file lets you reproduce the clip, explain how it was made, or regenerate a longer version months later.
A clip that passes looks unremarkable in the best way. The subject stays recognizable in every frame, the movement is the one you asked for, and no text, logo or edge wobbles as it plays.
<a id="fixing-drift-flicker-and-warped-faces"></a>
Fixing Drift, Flicker and Warped Faces
The first thing that goes wrong is usually the face. It's also the failure easiest to miss, because a preview on a phone screen hides the exact detail that broke.
Two passes catch most of it: a frame comparison at the start, middle and end for identity and layout, then a normal-speed playback for shimmer and uneven acceleration. The measured evidence agrees that these are separate problems. The AIGCBench evaluation suite scores image-to-video systems across 11 metrics grouped into control-video alignment, motion effects, temporal consistency and video quality, and one reported set of systems produced adjacent-frame CLIP similarity from 0.971 to 0.996 while similarity to a reference video ran from 0.764 to 0.823. Very similar frames mean a stable clip. They can also mean a clip that barely moves.
| Symptom | Likely Cause | Fix |
|---|---|---|
| Face changes shape or features across frames | Subject too small or identity drift | Crop closer and lower the motion strength |
| Background shimmers or flickers | Fine textures and busy patterns | Reduce camera movement and simplify the scene |
| Text or logo warps or morphs | Detailed lettering the model cannot hold still | Keep the camera still or add the text in editing afterward |
| Hands or fingers melt or multiply | Complex articulation | Crop the hands out or shorten the clip |
| Edges of objects drift | Unanchored boundaries | Lower the motion strength and regenerate |
| Motion looks jerky or too fast | Prompt asks for several actions | Use one movement and a slower verb |
| Image barely moves | Vague prompt or static scene | Name one motion and its direction |
Flicker hits patterned clothing first for a simple reason. Every frame is generated, so a knit sweater or a brick wall gets rebuilt with tiny differences each time, and the eye reads those differences as shimmer. Busy texture and small print are where temporal errors surface fastest, which is why restrained motion and shorter clips help on any photo containing text, logos, hands or faces.
Two attempts, then switch. If the face still drifts after two regenerations at lower motion strength, change the photo or change the method. A pan and zoom will never warp a face, and it will never blink either.
The fixes split into two groups, and only one of them is worth repeating. Prompt wording, clip length and motion strength are one-more-attempt fixes, cheap to try and easy to judge. A face smaller than a thumbnail, a cluttered background and a line of small printed text are new-photo fixes, and no amount of prompt rewriting rescues them.
<a id="pick-a-photo-and-method-before-you-generate"></a>
Pick a Photo and Method Before You Generate
Can you turn a photo into a video? That part is settled. The photo you choose is where the key decision sits, and some subjects need a different tool rather than a different prompt.
A product photo belongs in an ad workflow. Veo3 AI's product ad generator animates a single product photo into a dynamic ad with motion, lighting and a believable scene. The goal is different from a cinematic clip: a cinematic clip asks the viewer to feel something, while a product ad asks the viewer to see the item inside a scene that looks plausible. If you need the wording on a package readable in the final cut, add it during editing rather than asking the model to hold it still.
An old family portrait has its own shelf. The animate old photos tool on Veo3 AI is built for that job, and the consent rule does not expire with age: if a living relative is in the frame, ask them before you unfreeze the picture. When the person in the photo has passed away, the question shifts to the family that holds the picture and to whoever will see the result. One short message before you generate saves an awkward conversation after.
Image-to-video, old-photo animation and product ads all run on the same platform, so you never move a file between services. What changes is the photo and the prompt, not the workflow around them.
Then do one thing. Choose a photo that passes the consent check, crop it to the format you will publish, and run a single four to five second test with one motion prompt. Inspect the frames and the playback before rendering anything longer.
One question is worth asking before any generation: does the motion serve the message, or only the novelty? A slow push-in on a grandparent's face serves a memory. A slowly rotating logo usually serves nothing.
Veo3 AI takes the workflow in this article and puts it in one place: upload a photo, describe the motion you want, and render a clip in minutes, with output up to 4K and first and last frame control when you need precision. It handles image-to-video, old-photo animation and product ads on the same platform, and you keep full rights to what you make. Start with one photo at Veo3 AI and judge the first five seconds before you render anything longer.
Related Articles
Continue with more blog posts in the same locale.
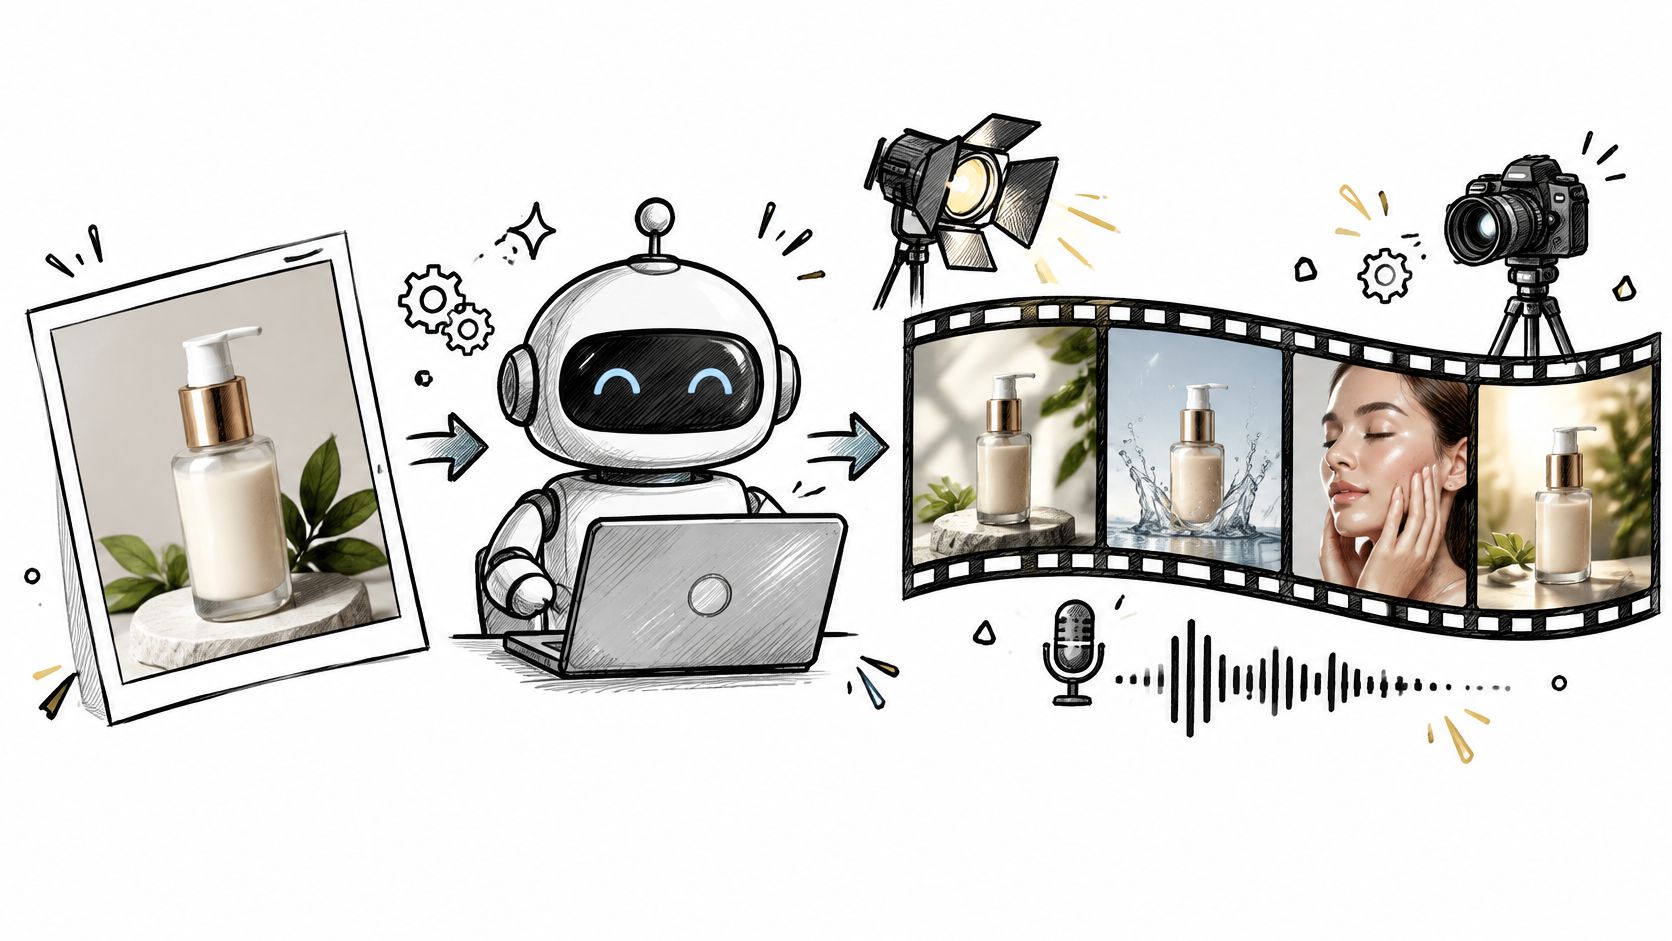
AI Commercial Generator: How It Works and How to Use One
Learn how an AI commercial generator turns prompts or images into video ads, plus steps to create promotional clips and check rights before publishing.
Read article
Mise En Sce Ne for AI Video: Shape Look and Mood
Learn how mise en sce ne shapes AI video with setting, props, lighting and blocking, plus prompts to get consistent, moody results in 2026.
Read article
AI UGC Video Generator: How It Works and What to Check
Learn what an AI UGC video generator makes, how the pipeline works, where Veo 3.1 fits, and what to disclose and record before you publish.
Read article