How to Extend Veo 3 Videos Beyond 8 Seconds (2026 Guide)
Hit the 8-second wall in Veo 3? Learn how to chain clips into one continuous 30s, 60s, or 2-minute video with Flow Extend, Frames-to-Video, and the Gemini API extend loop.
Emma Chen · 14 min read · Jun 25, 2026

Every Veo 3 clip stops at eight seconds. That single limit is the most-asked question in every AI video community: "How do I make my Veo 3 video longer than 8 seconds without the character changing halfway through?" The good news is that you are not actually capped at eight seconds — you are capped at eight seconds per generation. With the right extension workflow you can chain those generations into one continuous, downloadable 30-second, 60-second, or two-minute video that keeps the same face, outfit, lighting, and audio the whole way through.
This guide walks through every reliable method to extend a Veo 3 video in 2026: the Flow Scene Builder's native Extend, the more precise Frames-to-Video chaining technique, and the Gemini API extend loop for automation. You will get the exact click path, copy-paste prompt scaffolds that stop character drift, and the trade-offs so you pick the right method for your project. If you are brand new to the model, start with our Google Flow + Veo 3 guide and then come back here to break the 8-second wall. You can open Veo 3 in another tab and follow along.
Why Veo 3 caps clips at 8 seconds
Veo 3 generates video in fixed clip lengths — typically 4 or 8 seconds — because the model produces every frame, plus native audio, in a single coherent pass. Holding character identity, physics, lighting, and lip-synced sound stable across a longer window gets exponentially harder, so Google ships a hard per-generation ceiling to protect quality. The 8-second number is not a paywall trick; it is the window where Veo 3 reliably looks good.
Extension does not lengthen a single generation. Instead, it stitches new 8-second generations onto the tail of the previous one, using the last frame (and ideally the motion and style) of clip A as the seed for clip B. Done well, the seams disappear and you get one continuous take. Done carelessly, your character's skin tone shifts, their jacket changes color, or the background quietly mutates between segments. The whole skill of extending Veo 3 is controlling that drift — and that is mostly a prompting and frame-handoff discipline, not a software limitation.
There are three practical routes to a longer video. Here is how to choose:
| Method | Best for | Keeps Veo 3 quality + audio? | Difficulty |
|---|---|---|---|
| Flow Extend (Scene Builder) | Fast continuations, hands-off | Yes on current Veo 3.1 Extend; older "Extend" buttons fell back to Veo 2 Fast | Easy |
| Frames-to-Video chaining | Maximum control over the handoff | Yes — full Veo 3 quality + native audio | Medium |
| Gemini API extend loop | Automation, batch, long sequences | Yes | Advanced |
The rest of this guide takes each one in turn.
Method 1: Extend in Flow Scene Builder (the easy path)
Flow is Google's filmmaking front end for Veo, and its Scene Builder is the simplest way to push past eight seconds. This is the method to use when you want a quick continuation and you trust the model to carry the motion forward.
Step-by-step
- Generate your first clip. In Flow, write a complete prompt and generate your opening 8-second scene with Veo 3. Get this clip right first — every extension inherits from it, so a weak opener compounds into a weak sequence.
- Add the clip to a scene. Hover over the finished clip and choose Add to Scene, then switch into Scene Builder view. This is where Flow treats your clips as a timeline instead of one-off generations.
- Click the + and choose Extend. Next to your clip, click the + icon and select Extend. Flow seeds the next generation with the last frame and motion of the current segment.
- Describe what happens next. A new prompt box appears. Write a short continuation — the next action, a camera move, or an emotional beat. If you want Veo to simply continue the motion on its own, you can leave it blank, but you will get more control by describing the next beat explicitly.
- Generate and repeat. Click Generate. Veo produces another 8-second clip that continues from the previous one. Repeat the +/Extend step to keep stacking segments into a 30-second, 60-second, or longer sequence.
- Download as one video. When the sequence is complete, Flow lets you export the chained clips as a single continuous MP4.
The drift problem (and the fix)
The single most important thing to understand: Veo does not remember your previous prompt between extensions. Each extension is a fresh generation that only inherits the visual seed, not the description. If your first prompt said "a woman in a red leather jacket with short black hair, warm golden-hour light," the extension knows none of that unless you say it again.
So every extension prompt must re-state the non-negotiables: character description, wardrobe, environment, lighting, mood, and the audio direction. Skip them and you get the classic failure modes — skin tone lightening, the jacket turning maroon, the background swapping buildings. Re-stating them on every segment is the price of a seamless long video.
Extension prompt scaffold (copy + adapt for every segment):
[SAME CHARACTER: woman, mid-30s, short black hair, red leather jacket, silver hoop earrings]. [SAME SETTING: rain-slicked Tokyo alley at night, neon signage]. [SAME LIGHT: cool blue key with magenta neon rim]. NEW ACTION: she turns toward camera and starts walking forward. CAMERA: slow dolly-in. AUDIO: distant city hum, soft rain, her footsteps on wet pavement.
Keep the bracketed "SAME" blocks byte-for-byte identical across every extension. Only the NEW ACTION and CAMERA lines change. This discipline is what separates a professional continuous take from an obviously stitched one.
A note on quality: on some earlier builds, the basic Extend button generated with Veo 2 Fast — lower resolution and no audio — which is why many creators avoided it. On current Veo 3.1, Extend retains Veo 3 quality and native audio. If you ever notice an extension come back without sound or visibly softer, that is your signal to switch to Method 2 instead.
Method 2: Frames-to-Video chaining (maximum control)
When you need the cleanest possible handoff — a product animation, a branded sequence, a narrative where the character absolutely cannot drift — use Frames-to-Video (Veo 3.1's first-and-last-frame feature) to control the seam manually. This is the technique most professional Veo creators rely on for long-form work.
The idea: instead of letting Flow auto-seed the next clip, you grab the exact last frame of clip A, hand it to Veo as the first frame of clip B, and optionally set a target last frame so the model knows where the segment should land. You are explicitly bookending each new 8-second window.
Step-by-step
- Finish your first 8-second clip at full Veo 3 quality.
- Save the last frame as an asset. Hover over the final frame of the clip, click the + (save-as-asset) control, and store that frame in your Flow assets. This frozen frame is your handoff point.
- Start a new generation with Frames-to-Video. Choose the Frames to Video option. Set the saved frame as the first frame of the new clip.
- (Optional) set a last frame. If you already know where this segment should end — for example, a separately generated end pose or a reference image — set it as the last frame. Veo will interpolate smooth, realistic motion between your two bookends. If you leave the last frame open, Veo continues freely from the first frame.
- Write a full continuation prompt. As in Method 1, re-state every "SAME" block plus the new action and audio. Frames-to-Video pins the visuals harder, but the prompt still governs motion, camera, and sound.
- Generate, save the new last frame, repeat. Each new clip ends on a frame you save and feed into the next Frames-to-Video generation. Chain as many as your credits allow, then export the whole thing as one continuous video.
Why this beats auto-Extend for precision
Because you control the exact first frame of every segment, the visual continuity is locked at the pixel level where it matters most — the cut point. Auto-Extend hands that decision to the model; Frames-to-Video hands it to you. For anything client-facing, the extra step is worth it.
Frames-to-Video handoff prompt example:
First frame: [saved last frame of previous clip]. Continue seamlessly. SAME SUBJECT: matte-black wireless earbuds in an open charging case on a marble surface. SAME LIGHT: soft top studio key, subtle reflection on marble. NEW ACTION: case lid closes slowly, camera pushes in on the brand logo. CAMERA: 50mm macro dolly-in. AUDIO: soft mechanical click of the lid, ambient studio room tone.
Pair Frames-to-Video with strong base prompting from our Veo 3 prompt guide and deliberate camera-control prompts to make each segment feel like one operator shot it in a single take.
Method 3: Extend via the Gemini API (automation)
If you are producing long videos at volume — say, dozens of 30-second product clips — clicking through Scene Builder by hand does not scale. The Gemini API exposes the extend operation programmatically, so you can loop it.
The pattern is straightforward:
- Generate an initial 8-second clip from a text or image prompt via the API.
- Take the returned video's final state as the seed for an extend call.
- Pass a continuation prompt (with your "SAME" blocks) for the next 8 seconds.
- Repeat the extend call in a loop, appending each new segment.
- Concatenate the segments into one file.
Per Google's 2026 documentation, you can repeat the extend operation up to 20 times, producing a combined output up to roughly 148 seconds (about two and a half minutes) on the Gemini API flow. That is more than enough for an explainer, a short ad sequence, or a social narrative — and because it is code, you can template the "SAME" blocks once and reuse them across an entire batch.
# Pseudocode — extend loop pattern (see the full Veo 3 API guide for auth + payloads)
clip = veo.generate(prompt=base_prompt)          # 8s seed
segments = [clip]
for beat in continuation_beats:                  # each beat re-states SAME blocks
    clip = veo.extend(video=clip, prompt=beat)   # +8s, seeded from prior clip
    segments.append(clip)
final = concat(segments)                          # one continuous video
For authentication, request payloads, pricing, and rate limits, follow our dedicated Veo 3 API guide — this method assumes you already have API access set up there. The extension logic above is the part most people miss: the loop is trivial; keeping the prompt's identity blocks stable across iterations is what makes the output usable.
Stopping character drift: the rules that actually work
No matter which method you pick, the same handful of habits decide whether your long video looks seamless or stitched. These apply to Flow Extend, Frames-to-Video, and the API loop equally.
- Re-state identity every time. Character, wardrobe, hairstyle, distinguishing features, and key colors go into every extension prompt, ideally as fixed bracketed blocks you copy verbatim.
- Lock lighting and palette in words. "Cool blue key with magenta rim, slightly desaturated" carried across all segments prevents the slow color creep that gives stitching away.
- Keep camera language consistent. If clip one is a slow dolly, don't jump to a handheld whip-pan in clip two unless the story demands it. Smooth, related camera moves read as one continuous shot.
- Carry the audio bed. Native audio drifts too. Re-specify the ambient sound ("distant city hum, soft rain") and any recurring sound design so the soundtrack doesn't jump at each seam. See our Veo 3 native audio prompt guide for phrasing that holds up across segments.
- Prefer Frames-to-Video at hard cuts. Whenever a seam falls on a tricky moment — a face turn, a product reveal — use the saved-last-frame handoff so continuity is pinned at the pixel level.
- Generate a few candidates per segment. Extensions are probabilistic. Generate two or three options for each new clip and keep the one with the least drift before chaining the next segment. Fixing drift early is cheaper than discovering it five clips later.
- Plan the beats first. Know your shot list before you start chaining. If your sequence is genuinely multi-scene, our Veo 3 long-form storyboard workflow covers planning the narrative arc, which pairs naturally with the extension mechanics here.
Real use cases for videos longer than 8 seconds
Breaking the 8-second wall unlocks the formats that actually matter for marketing and storytelling:
Product demos. Eight seconds barely shows a product; 30–45 seconds lets you reveal it, rotate it, show it in use, and land on the logo. Chain a hero shot into a feature close-up into a lifestyle beat using Frames-to-Video so the product stays pixel-consistent across cuts.
Short ads and UGC. A 15–30 second ad needs a hook, a value beat, and a call to action. Extend lets you build that three-act structure as one continuous Veo 3 take instead of obviously separate clips.
Explainers and how-tos. Walk through a concept across 60 seconds with a consistent presenter or animated character. Re-state the character block each segment and the "host" stays the same person start to finish.
Social narratives. TikTok and Reels reward mini-stories. A continuous 20-second character moment — established, developed, resolved — outperforms a single 8-second fragment because it tells a complete beat.
Music and mood pieces. Chain atmospheric segments into a longer flowing visual, carrying the lighting and audio bed across each extension for a hypnotic, seamless result.
For format-specific framing, resolution, and aspect-ratio tips, our Veo 3 Instagram Reels guide and broader use-case posts pair well with the extension workflow above.
Common mistakes when extending Veo 3 videos
- Forgetting to re-state the prompt. The number-one cause of drift. The model does not remember clip one's description. Say it again, every time.
- Building on a weak opener. Every extension inherits the first clip. Spend extra generations perfecting segment one before you chain anything onto it.
- Letting the seam land on a face or logo. Hard-to-fake moments belong mid-clip, not at the cut. Time your extensions so seams fall on neutral motion, or pin them with Frames-to-Video.
- Ignoring audio continuity. A soundtrack that jumps at each seam screams "stitched." Carry the ambient bed across segments.
- Chaining too many segments blind. Drift accumulates. Check continuity every couple of segments rather than discovering a problem after ten.
- Using the wrong method for the job. Auto-Extend for speed, Frames-to-Video for precision, API for scale. Forcing one method onto every project wastes time and credits.
FAQ
How long can a Veo 3 video actually be? Each generation is up to 8 seconds, but by chaining extensions you can build one continuous video of 30 seconds, a minute, or more. On the Gemini API you can extend up to 20 times for a combined output around 148 seconds.
Does extending keep Veo 3 quality and audio? On current Veo 3.1, Extend and Frames-to-Video both retain full Veo 3 quality and native audio. If an extension ever comes back soft or silent, switch to the Frames-to-Video method, which always preserves quality.
Why does my character change between clips? Because Veo doesn't remember your previous prompt. Re-state the full character, wardrobe, lighting, and audio description in every extension prompt to stop the drift.
What's the difference between Extend and Frames-to-Video? Extend auto-seeds the next clip from the last frame and lets the model continue. Frames-to-Video lets you manually set the exact first (and optional last) frame of each new segment, giving you pixel-level control over the seam — better for client-facing work.
Can I extend videos without coding? Yes. Flow Scene Builder's Extend and Frames-to-Video are fully visual — no code needed. The API method is only for automation and batch production.
Where do I start if I'm new to Veo 3? Begin with the Google Flow + Veo 3 guide to learn the interface, then the Veo 3 prompt guide for prompting fundamentals, and come back here to chain clips into long videos.
Conclusion
The 8-second limit is real but it is not a ceiling on your finished video — only on each generation. Pick the method that fits your project: Flow Extend for fast, hands-off continuations; Frames-to-Video when you need pixel-perfect seams for product or client work; and the Gemini API extend loop when you are producing long videos at scale. In all three, the craft is the same — re-state your character, lighting, camera, and audio on every segment so the model carries identity forward instead of drifting.
Master that discipline and you can build continuous 30-second, 60-second, and two-minute Veo 3 videos that look like one unbroken take. Open Veo 3, generate a strong opening clip, and start chaining.
Related Articles
Continue with more blog posts in the same locale.
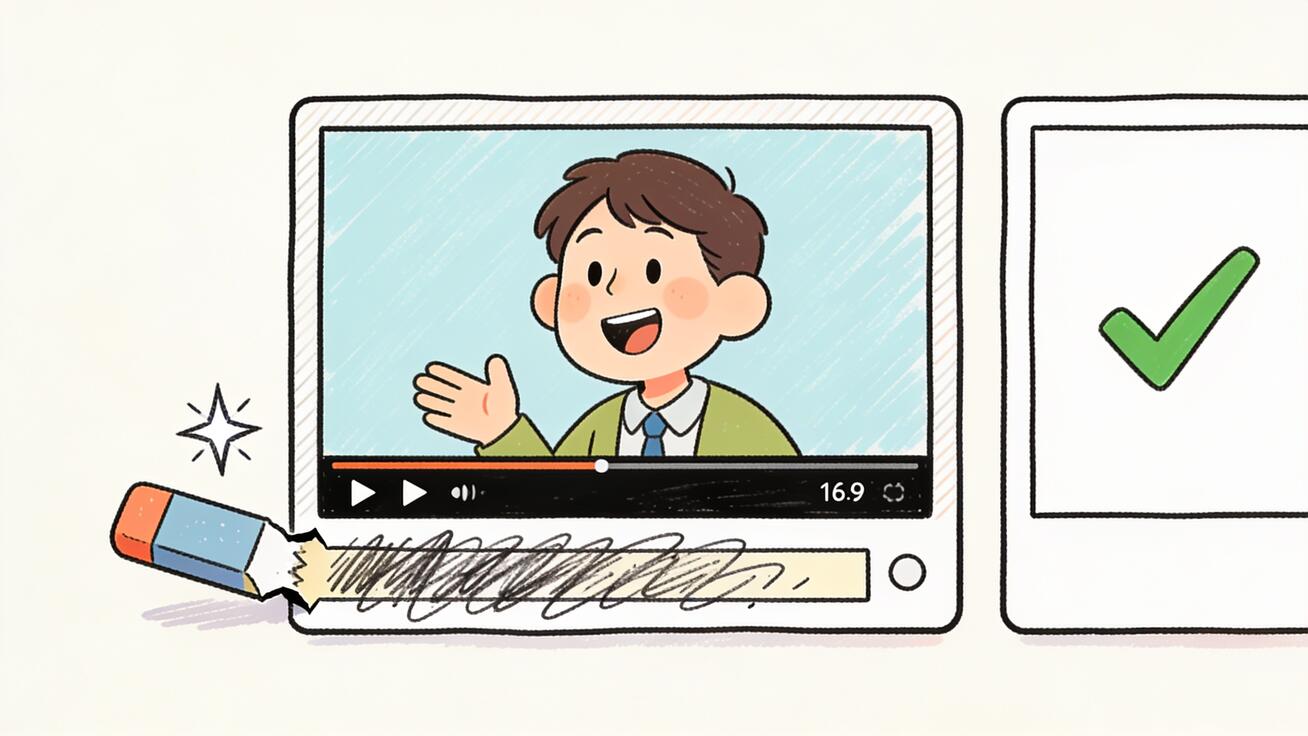
How to Remove Subtitles from Veo 3 Videos: Fix the Garbled Caption Bug (2026)
Veo 3 burns garbled subtitles into dialogue clips. Here is the complete 2026 playbook to prevent them at generation and remove them in post.
Read article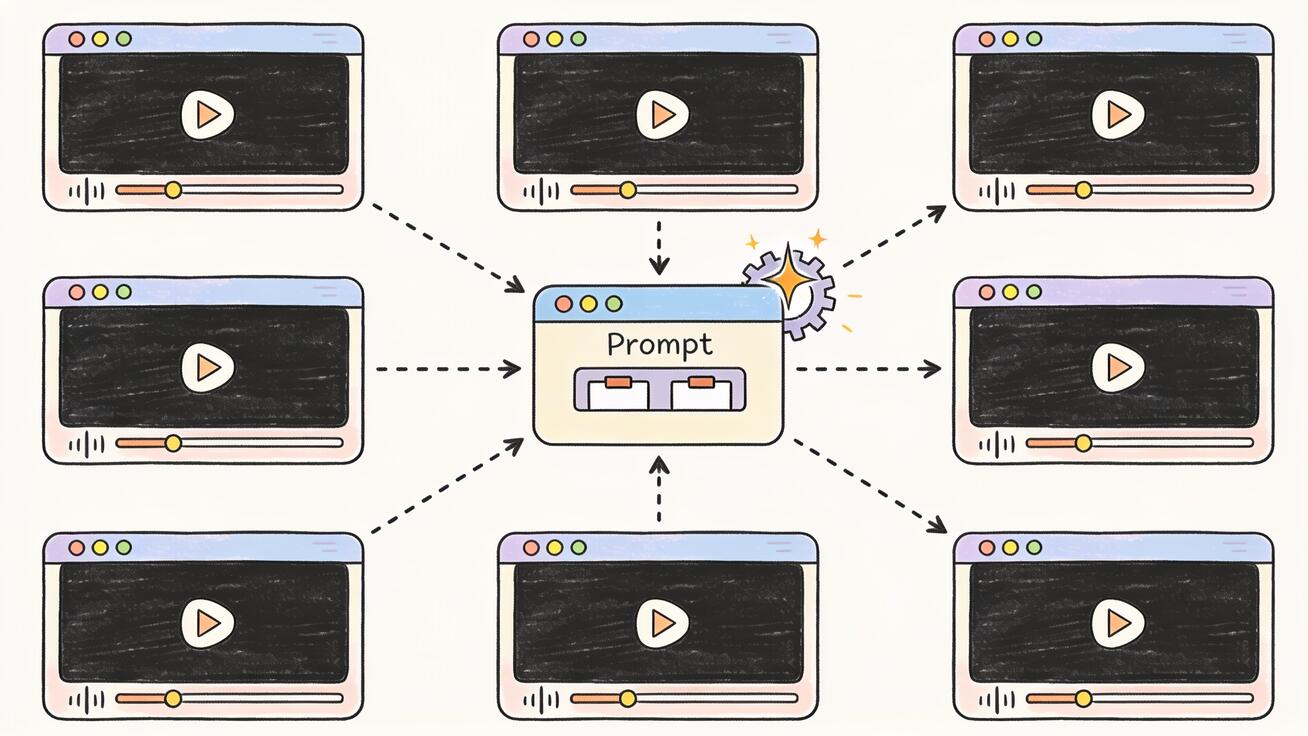
Bulk AI Video Generator: How to Batch-Create Veo 3 Videos at Scale (2026)
How to use a bulk AI video generator workflow to batch-create dozens of consistent Veo 3 videos — master prompts, variable sheets, seed control, production playbooks, cost control, and QA at scale.
Read article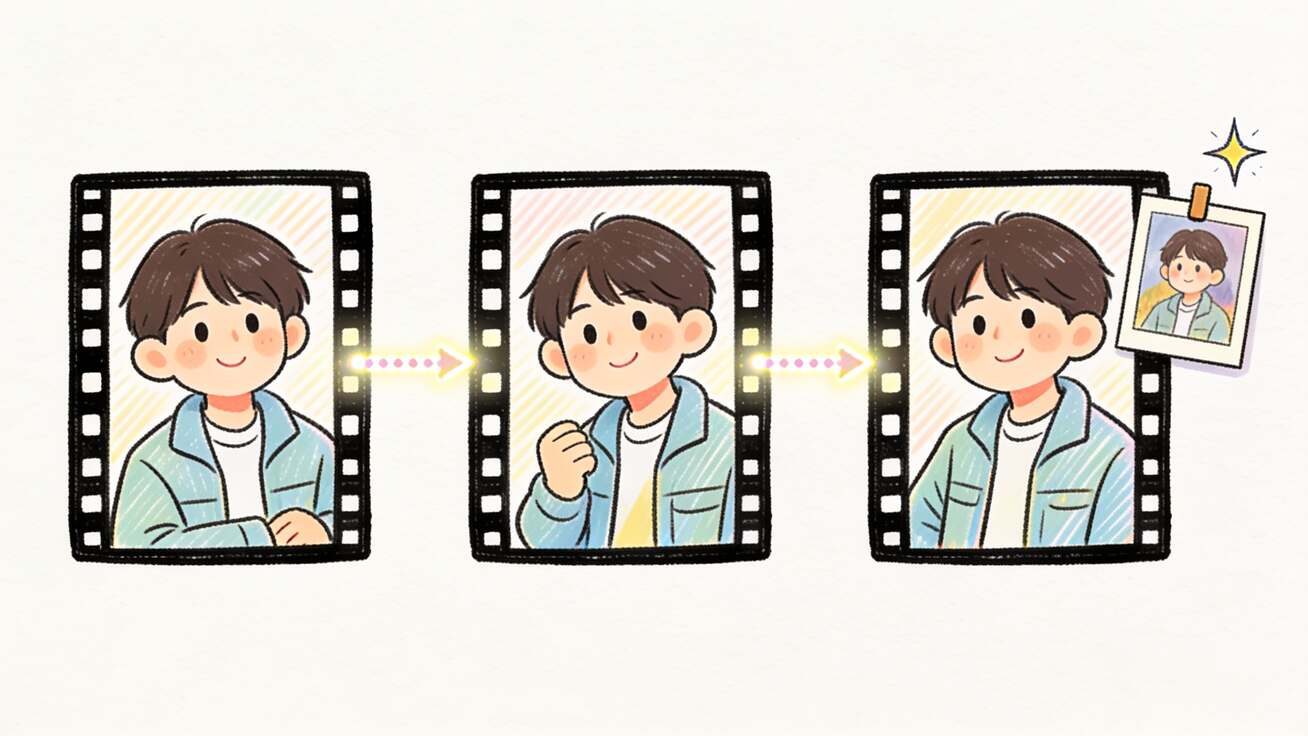
Veo 3 Character Consistency: How to Keep the Same Character Across Clips (2026)
Stop your Veo 3 character from morphing between clips. A complete system for character consistency: a copy-paste character bible template, reference images, Scene Builder and Frames-to-Video chaining, and prompt structure that stops drift.
Read article