
Online Video Generator Guide: How AI Video Tools Work
Learn how an online video generator turns prompts and images into video, which features matter, and how to use one for social and marketing clips.
Veo3 AI · 15 min read · Nov 18, 2026

An empty 9:16 slot is waiting in tomorrow's campaign calendar. The only available asset is a product photo, and there's no time to book a videographer or learn editing software. An online video generator can turn a prompt or image into a short clip, giving you a draft to review before launch.
A video generator works like a small film crew following a written brief. The model has not seen your product or learned your brand, so it must infer details from what you provide. A broad prompt leaves more decisions to the model; a specific one guides the scene, though the result still needs checking.
<a id="what-happens-after-you-press-generate"></a>
What Happens After You Press Generate
A text prompt describes the scene, including its subject, action, camera movement, and lighting. A still image gives the model a visual anchor, while reference images can guide the appearance of a character or product across separate shots.
Behind the interface, the service processes your inputs, generates frames, and packages them as a video file. The exact steps and generation time vary by tool and settings, so a speed claim from one service is not a reliable guide to another. Check the finished clip for details the model may have misread, such as a product's shape or any text in the scene.
What you're actually paying for: a shorter path from an idea to a draft file, not an audience.
Video already accounts for a large share of internet traffic. Cisco estimated that it represented 67% of global internet traffic in 2016 and forecast that the share would reach 80% by 2021, according to its Visual Networking Index forecast for global IP traffic.
A generator can reduce the time and editing work needed to create a clip, but it does not finish the production for you. Treat the output as a draft: check motion, faces, on-screen text, product details, and usage rights before publishing.
Table of Contents
- What Happens After You Press Generate
- Choosing Between Text, Image and Reference Modes
- How to Turn a Prompt Into a Finished Clip
- Output Settings That Decide Whether a Clip Is Usable
- Judging Quality Before You Publish a Clip
- Commercial Rights, Disclosure and Records
- Run a Test Clip Before Committing to a Plan
<a id="choosing-between-text-image-and-reference-modes"></a>
Choosing Between Text, Image and Reference Modes
Choose a mode based on what you need the finished clip to preserve. Text-to-video starts with a written description and gives the model the most freedom to invent. Image-to-video starts with a still, so the subject has a visual anchor. Reference-to-video uses several images to help keep a character or product consistent across shots.
| Mode | Starting input | Best for | Main limit |
|---|---|---|---|
| Text-to-video | Written prompt only | Exploring a scene without existing footage | The model invents the visual details, so results can vary |
| Image-to-video | One still image | Adding motion to a product photo or portrait | Details can drift as the image moves |
| Reference-to-video | Several reference images | Maintaining a character's or product's appearance across shots | References need to show the subject clearly |
| Video extension | An existing generated clip | Continuing an action into a longer sequence | The continuation may need adjustment to match the original |
<a id="one-product-four-modes"></a>
One Product, Four Modes
Consider a pair of trail-running shoes photographed against a white background. With text-to-video, a prompt might ask for the shoes on wet rock at sunrise, filmed in a slow orbit. The model invents the shoe's laces, tread and logo, so small product details may change. This mode is useful for exploring a scene, but the draft needs close comparison with the actual product.
With image-to-video, the product photo anchors the generation. A prompt for a slow rotation can add motion while keeping the shoe recognizable. Check the heel, sole and shadow: movement can soften edges or separate the shadow from the product.
Reference-to-video suits a sequence in which the same shoe appears from several angles. The images act like a visual guide, helping the model maintain the shoe's identity rather than treating each shot as an unrelated scene.
Google's Veo 3.1 model documentation describes text-to-video, image-to-video, generation from first and last frames, video extension and reference-image guidance. It also covers native sound generation and Content Credentials built on the C2PA standard. Google's documentation lists the generally available veo-3.1-generate-001 version as released on November 17, 2025, giving these capabilities a specific production context.
Video extension starts with a generated clip and adds footage that continues its action. Google describes the feature as generating new footage that connects to and continues the original, which can be used to build a longer sequence (Google's Veo updates). Check the join between clips: a continuation can change motion or visual details.
A single project can combine modes. Use references to guide a presenter's or product's appearance, then use text prompts to describe what happens in each shot. That makes each input serve a different purpose: references guide identity, while text guides action.
Test rule: Choose the mode whose first draft needs the fewest corrections, not the one with the most impressive demo.
For a fair comparison, use the same subject and describe the same scene in each mode you can access. Count the corrections needed for each draft, such as fixing a logo, restoring a product detail or adjusting the action. The result gives you a practical basis for choosing a mode.
<a id="how-to-turn-a-prompt-into-a-finished-clip"></a>
How to Turn a Prompt Into a Finished Clip
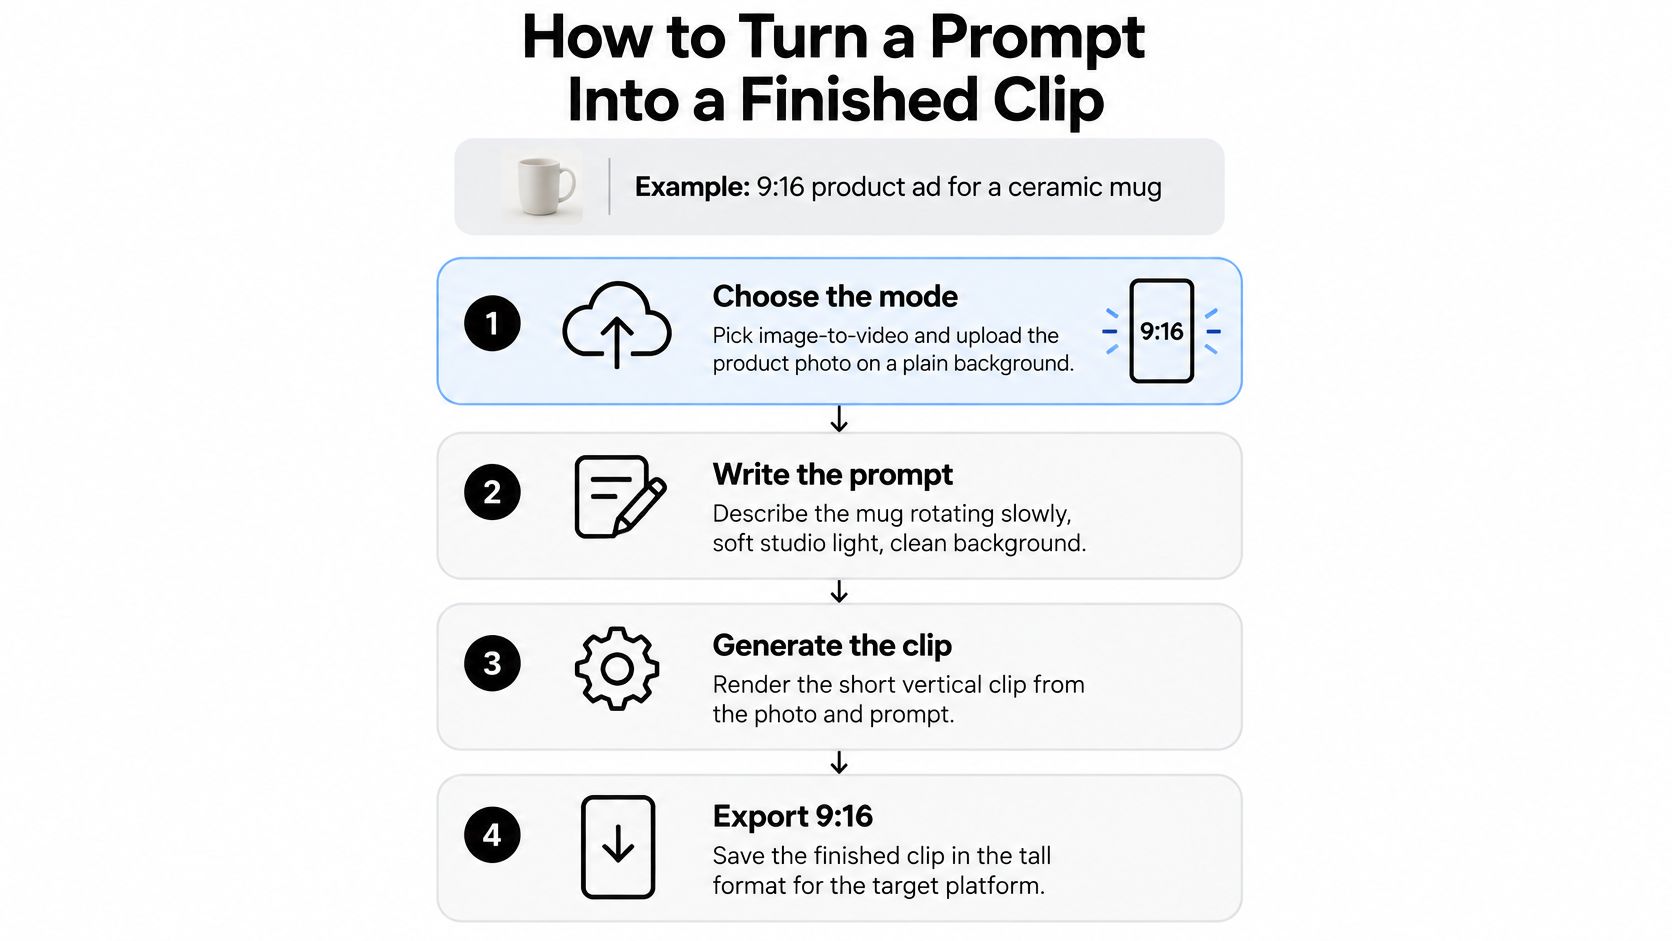
Say the job is a 9:16 ad for a ceramic mug, and the only asset is a product photo shot on a plain background. Here's the sequence that gets from that photo to a clip you can post.
<a id="six-steps-from-photo-to-publishable-clip"></a>
Six Steps From Photo to Publishable Clip
-
Choose the mode and upload. Image-to-video is the right entry point, because generation starts from your pixels and keeps the mug's shape, glaze and label intact. A plain background gives the model less to invent, so less can go wrong.
-
Write the prompt in five parts. Subject, action, camera movement, setting, mood: "a hand lifts the mug from a wooden table, slow push-in, warm morning light, shallow depth of field." Naming each part makes it obvious which one to change when the draft misses, which is the entire point of writing it that way.
-
Set the aspect ratio before you generate. 9:16 for Shorts, Reels and TikTok, 16:9 for YouTube and site embeds. Switching later means a re-render or a crop, and a crop throws away the framing the model composed.
-
Render a short draft first. Generation takes far longer than the clip it produces. A published image-to-video benchmark reports that mainstream methods need about 1 minute to generate a 3-second clip on an NVIDIA V100 GPU, before queueing, storage, encoding and safety checks get counted (image-to-video benchmark). Draft-first is the step often skipped, and the one that saves the most time.
-
Change one variable at a time. If the camera move is wrong, keep the lighting and fix only the move. Two changes at once make it impossible to know which one helped.
-
Render the keeper and export it. Higher resolution belongs on the final render only. A draft that fails on the subject won't be rescued by resolution.
<a id="why-speed-numbers-need-context"></a>
Why Speed Numbers Need Context
Latency isn't set by model quality alone. Distillation and streaming architectures move the ceiling: the CausVid work cited in the same benchmark reduced reported generation latency from 219 seconds to 1.3 seconds and ran at 9.4 frames per second on a single GPU while keeping state-of-the-art quality. Hardware, clip duration, resolution, frame rate and end-to-end time have to be reported separately, or the comparison means nothing.
Length is the other hard constraint. Veo3 AI generates clips up to 8 seconds on all plans, so a 30-second story is four clips plus the joins between them, whether you extend them or cut them together in an editor.
Prompt phrasing does more work than any setting on the panel. UberLLM's text to video prompt guide breaks prompts down by shot type if you want more patterns to work from.
Draft checkpoint: the subject is still recognisable, the requested action actually happens, and the motion is smooth. If any of the three fails, rewrite the prompt before you spend another render.
<a id="output-settings-that-decide-whether-a-clip-is-usable"></a>
Output Settings That Decide Whether a Clip Is Usable
Output settings decide where a clip can be published, and they're far cheaper to change before a render than after one. Check them in this order.
| Setting | What to check | Why it matters |
|---|---|---|
| Aspect ratio | Native 16:9 and 9:16 output | Vertical clips for Shorts, Reels and TikTok need full-frame portrait composition |
| Resolution | 1080p for edits, 4K for high-detail finals | Lower settings speed drafts; higher settings suit final renders |
| Audio | Built-in dialogue, sound effects or ambient noise | Removes a separate soundtrack step when a clip needs sound |
| Clip length | The cap your plan states, read before storyboarding | Sets how many clips a story needs and how many joins follow |
| Continuity | Reference images or extension support | Keeps a character or product recognisable across shots |
<a id="aspect-ratio-comes-first"></a>
Aspect Ratio Comes First
Vertical is not a crop. Google describes the portrait output in Veo 3.1's Ingredients to Video workflow as a native 9:16 composition, generated as a full frame rather than cut down from a horizontal one, and the system is built to synthesize several input images while holding character identity and background details (Google's Veo 3.1 API announcement). A cropped widescreen render loses the headroom and the side space that make a vertical frame read as deliberate rather than cramped.
<a id="resolution-and-audio"></a>
Resolution and Audio
Google positions 1080p as the sharper option for editing work and 4K for high-detail, high-end production. It also describes Veo 3 as generating dialogue, sound effects and ambient noise directly with the video, with Veo 3.1 adding richer synchronized audio (Google DeepMind's Veo page). That removes a separate soundtrack step when a clip needs sound, and it means the audio has to pass the same quality check as the picture.
Drafts belong at the lower resolution. Final renders, paid placements and anything going to a client belong at the higher one, if the tool offers it and the source material can carry it.
<a id="length-and-continuity"></a>
Length and Continuity
Read the maximum length per clip before you storyboard, because it sets how many clips a story needs and how many joins follow. Then check whether the tool extends a clip or holds a character across shots. Those two capabilities do more for a multi-shot sequence than any single render.
Format limits sit outside the generator. Reel duration limits explained covers what each Instagram placement accepts, which is worth reading before you render a clip the platform will trim or reject. Frame rate is the quieter setting: if you're choosing between the two common export rates, this comparison of 24 frames per second vs 30 explains when each looks right.
Write your target platform, length and audio needs in one line before you choose a tool: "9:16, 15 seconds, voiceover." Any generator that can't meet that line on paper won't meet it in the render.
<a id="judging-quality-before-you-publish-a-clip"></a>
Judging Quality Before You Publish a Clip
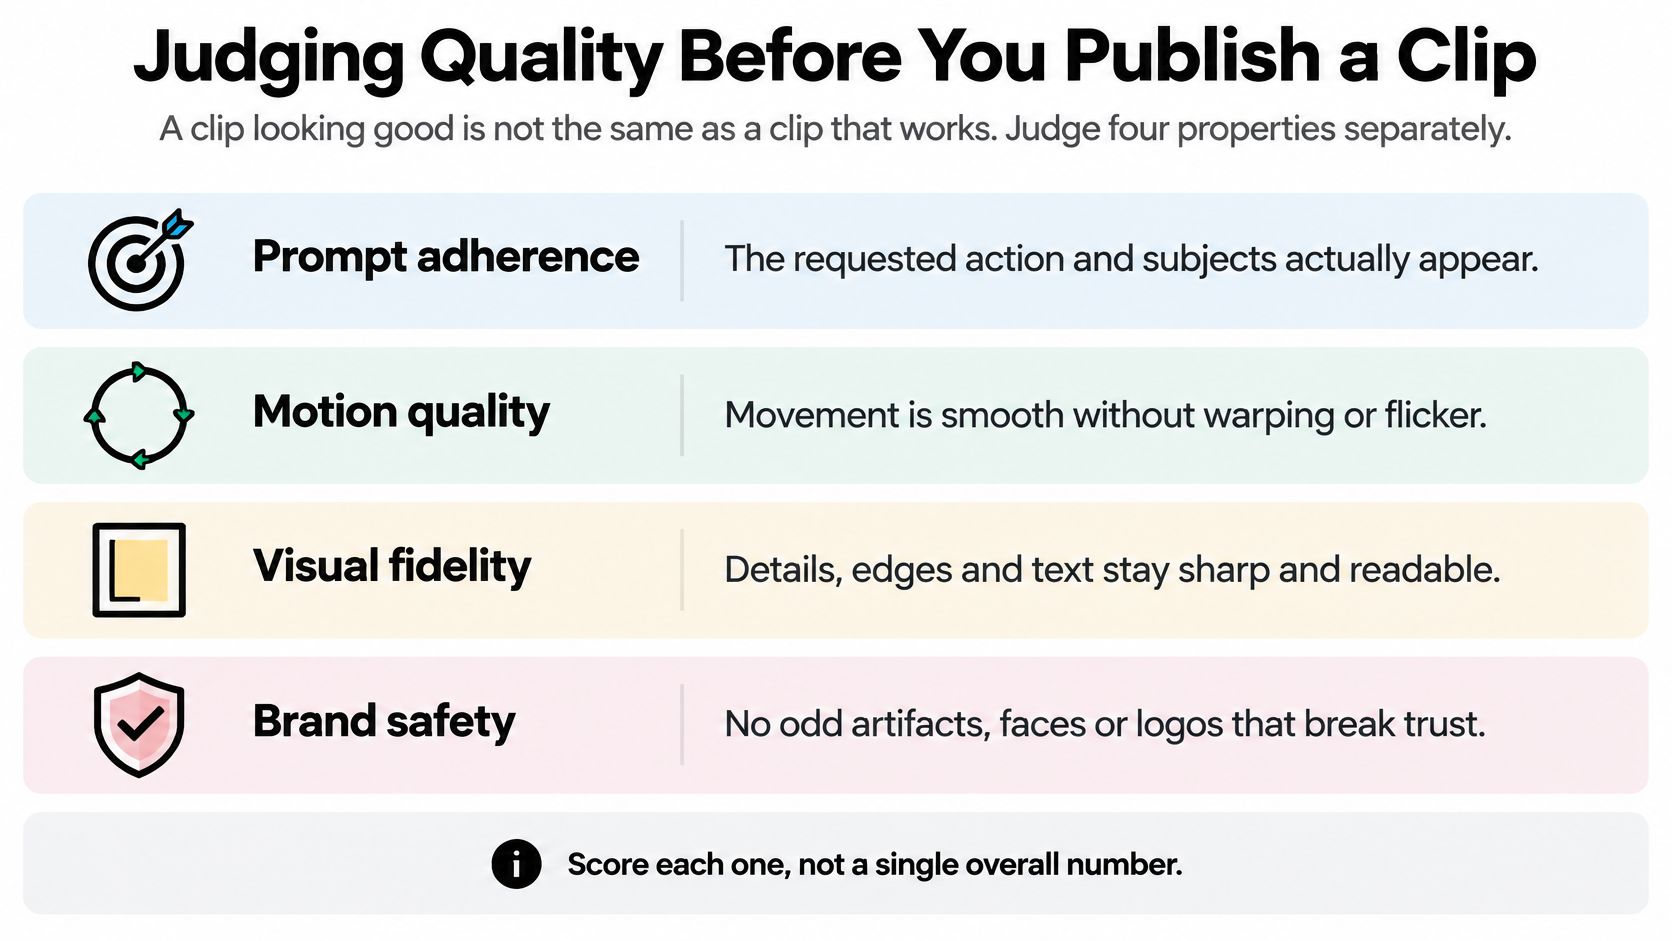
A clip can look polished in its opening frame and still fail once the action begins. Check each quality property on its own: a strong image cannot compensate for an action that never happens or a product that changes shape.
Video evaluation often separates qualities such as visual appeal, realism and alignment with a prompt. That makes a single overall score a poor guide to whether a clip is ready to publish (T2V-Eval-Bench).
<a id="judge-four-properties-separately"></a>
Judge Four Properties Separately
- Prompt adherence. Check that the requested objects and actions appear. If a prompt says a mug is lifted, a mug that stays on the table fails, no matter how attractive the lighting is.
- Temporal stability. Watch whether faces, logos, text and product shapes remain consistent from frame to frame. A bottle label that flickers is a warning sign.
- Motion realism. Look for movement that follows the action: hands should grip, cloth should fold and liquid should pour. Sliding or floating motions make a clip feel artificial.
- Production quality. Check for warping, flicker, stray limbs and garbled on-screen text.
A clip can pass three checks and fail the fourth. Score each property separately to see what needs another draft.
<a id="build-a-small-acceptance-set"></a>
Build a Small Acceptance Set
Keep five or six prompts that test different challenges rather than relying on easy scenes: small on-screen text, a brand element, a two-step action, a camera move, or two objects interacting, such as a hand lifting a cup. After a model change or plan upgrade, run the same prompts and score all four properties from 1 to 5.
Ask another person to rate the clips without seeing your scores. Compare notes, then replay any disagreement at half speed. Slowing a clip makes brief shifts in a face, logo or object easier to spot.
<iframe width="100%" style="aspect-ratio: 16 / 9;" src="https://www.youtube.com/embed/oWLHAuUoYqQ" frameborder="0" allow="autoplay; encrypted-media" allowfullscreen></iframe>
Treat generated clips as drafts. A clip passes your acceptance check only when all four properties hold across the first two drafts of the same prompt. If it succeeds only once in five attempts, the result is not yet reliable enough for that use.
<a id="commercial-rights-disclosure-and-records"></a>
Commercial Rights, Disclosure and Records
Before publishing an AI-generated clip, check three separate things: permission to use the output, reliability of the service, and rights to the material you supplied. A watermark can show that a clip was generated. It cannot establish consent to use a person's face, a logo, or a song.
Output rights: Read the generator's terms for personal and commercial use. Veo3 AI allows customers to use generated videos for commercial purposes. Keep a copy of the applicable terms with the project record.
Service reliability: Generated results may vary and are not guaranteed. Veo3 AI provides its service “as is” and “as available,” without a warranty of uninterrupted or error-free operation. Treat each clip as a draft and review it before publication.
Input permissions: Check that you have permission to use uploaded photos, music, logos, and third-party footage. Provenance metadata such as C2PA Content Credentials can record how a file was made, but it does not establish that you had permission to use its contents.
Creators widely value copyright protection for AI-assisted work. Adobe's 2025 global creator survey found that 69% of creators were concerned about their content being used to train AI without permission, while 28% cited uncertainty about how a model was trained as a barrier to adoption.
<a id="keep-a-record-while-you-work"></a>
Keep a Record While You Work
Save the prompt, settings, source files, date, and final export together in a folder for each campaign. A clear record makes it easier to answer questions about how a clip was created and what permissions support its use.
- Prompt and settings: Save the exact wording, generation mode, aspect ratio, and resolution.
- Source assets: Keep original photos and reference images, plus licences for material you did not create.
- Consent: Store a note or email confirming permission for any person whose face appears.
- Final export: Retain the file that was published, not just the project used to create it.
Disclosure is a separate choice from permission. Deloitte's 2026 technology predictions research reports that 76% of surveyed U.S. consumers believed online creators should disclose when and where they use generative AI. If a realistic person or product claim could mislead viewers, use a plain label, such as “AI-generated visuals; product details and claims written by our team.”
For a paid campaign, keep the terms, permissions, prompt trail, and final export together, and record who approved publication.
<a id="run-a-test-clip-before-committing-to-a-plan"></a>
Run a Test Clip Before Committing to a Plan
Pick one piece of your own material: a product photo, or a single scene you can describe in a sentence. Choose the ratio that matches the destination, 9:16 for Shorts, Reels or TikTok and 16:9 for YouTube. Then run the same prompt in two modes, image-to-video and reference-to-video, and keep both drafts.
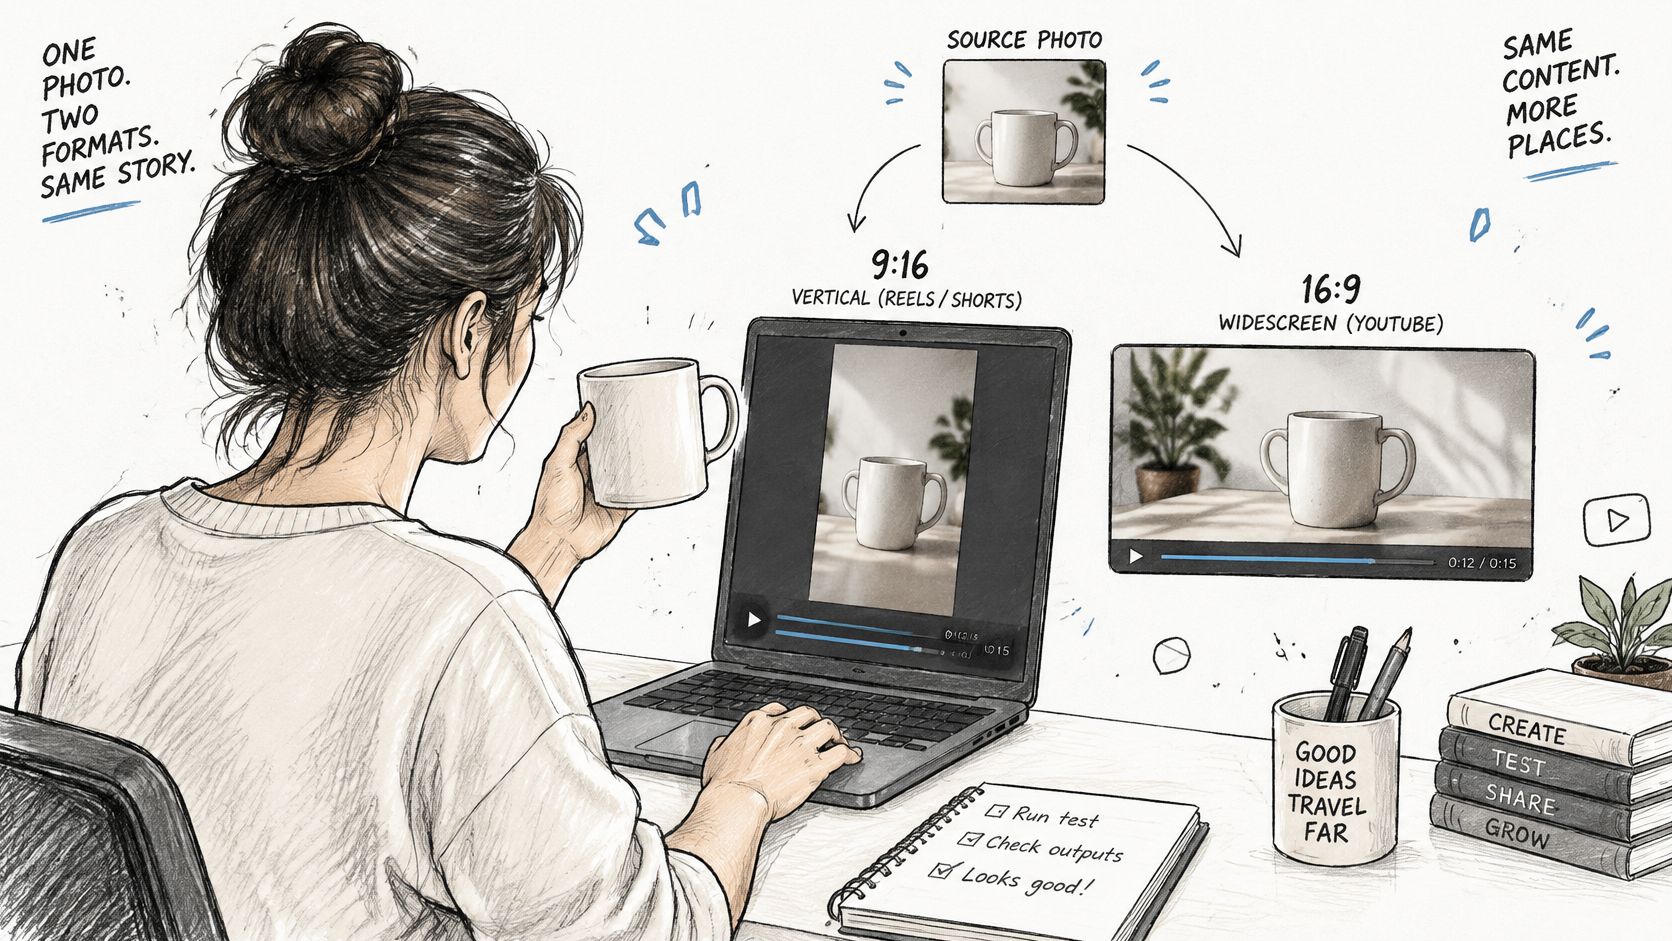
The Veo 3 AI video generator supports text-to-video, image-to-video and reference-to-video workflows in one place, and it's free to start. No editing or design skills are needed, and the product ad workflow exports 16:9 or 9:16 at up to 1080p, which covers a quick ad test before you commit to anything. Check the current pricing before any paid use rather than trusting a figure quoted in a review.
If your clips are for property listings, VideoTour.ai on MLS-ready video tools covers the requirements specific to that market.
Score both drafts on prompt adherence, temporal stability, motion realism and production quality. Keep the winner, write down which mode and which prompt produced it, and only then move on to the rights and records routine. A tool that fails your test clip will fail your campaign, whatever the demo reel looked like.
Veo3 AI turns a written prompt or a single product photo into a short clip you can test the same afternoon, with text-to-video, image-to-video and reference-to-video workflows in one platform. Start on the free generator, run the same prompt in two modes, and score the drafts on adherence, stability, motion and production quality before anything goes public. Visit Veo3 AI to render your first test clip.
Related Articles
Continue with more blog posts in the same locale.
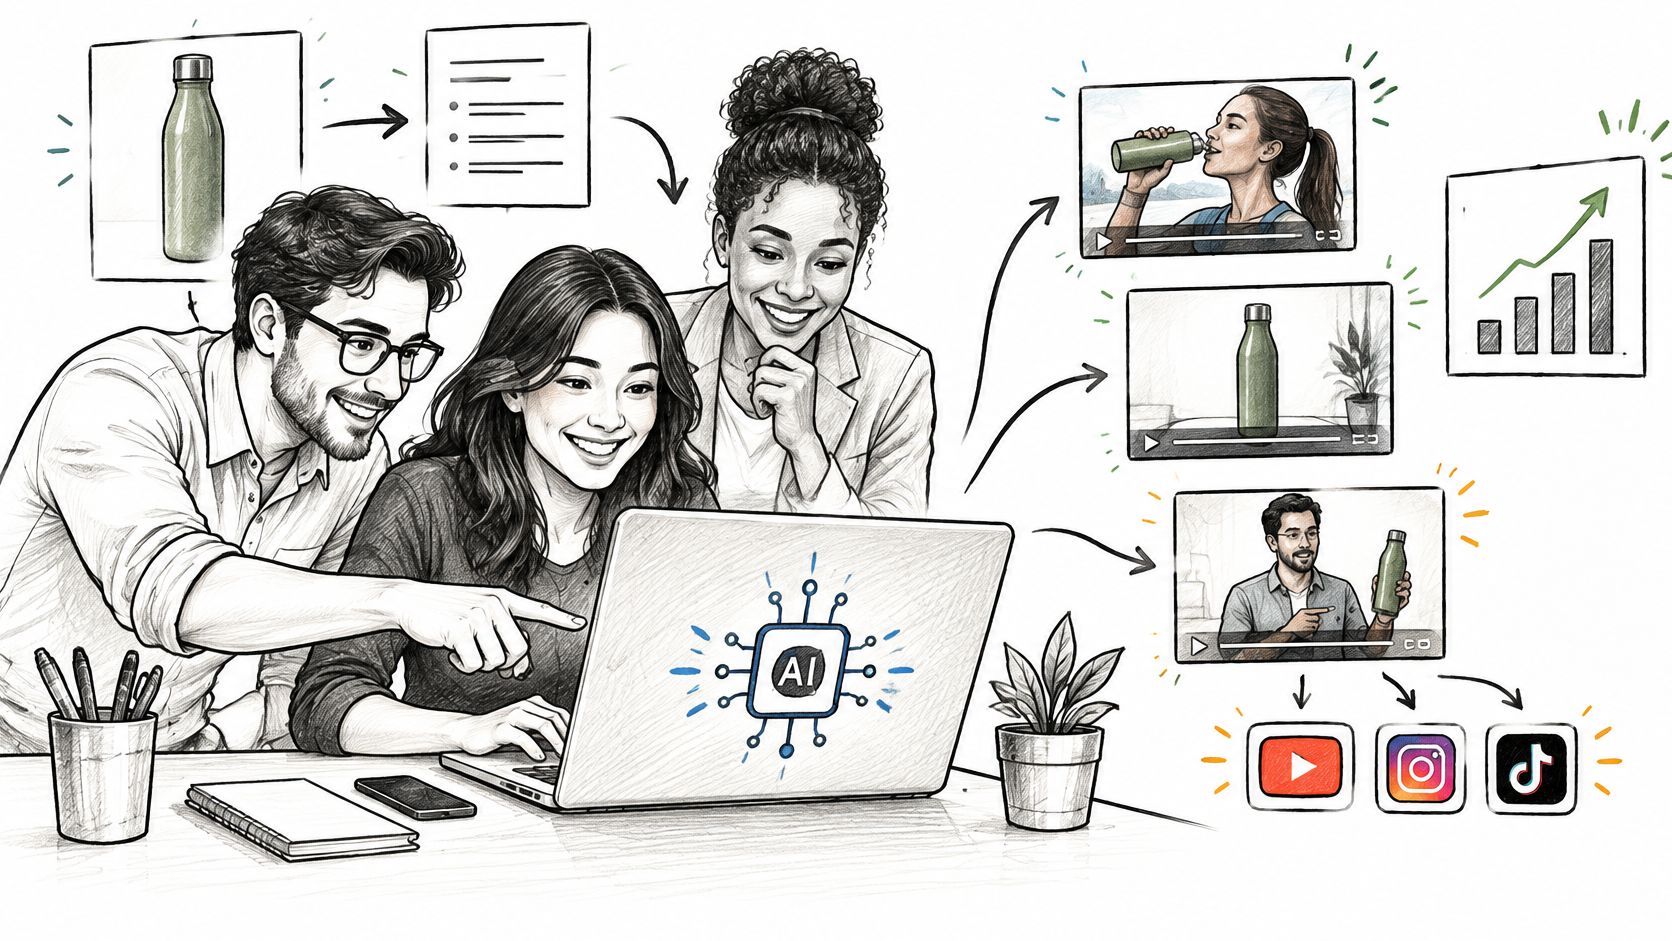
AI Video for Business: Uses, Workflow and ROI in 2026
Learn how AI video for business works across marketing, product demos, internal training and localization, with workflow, measurement and trust guidance.
Read article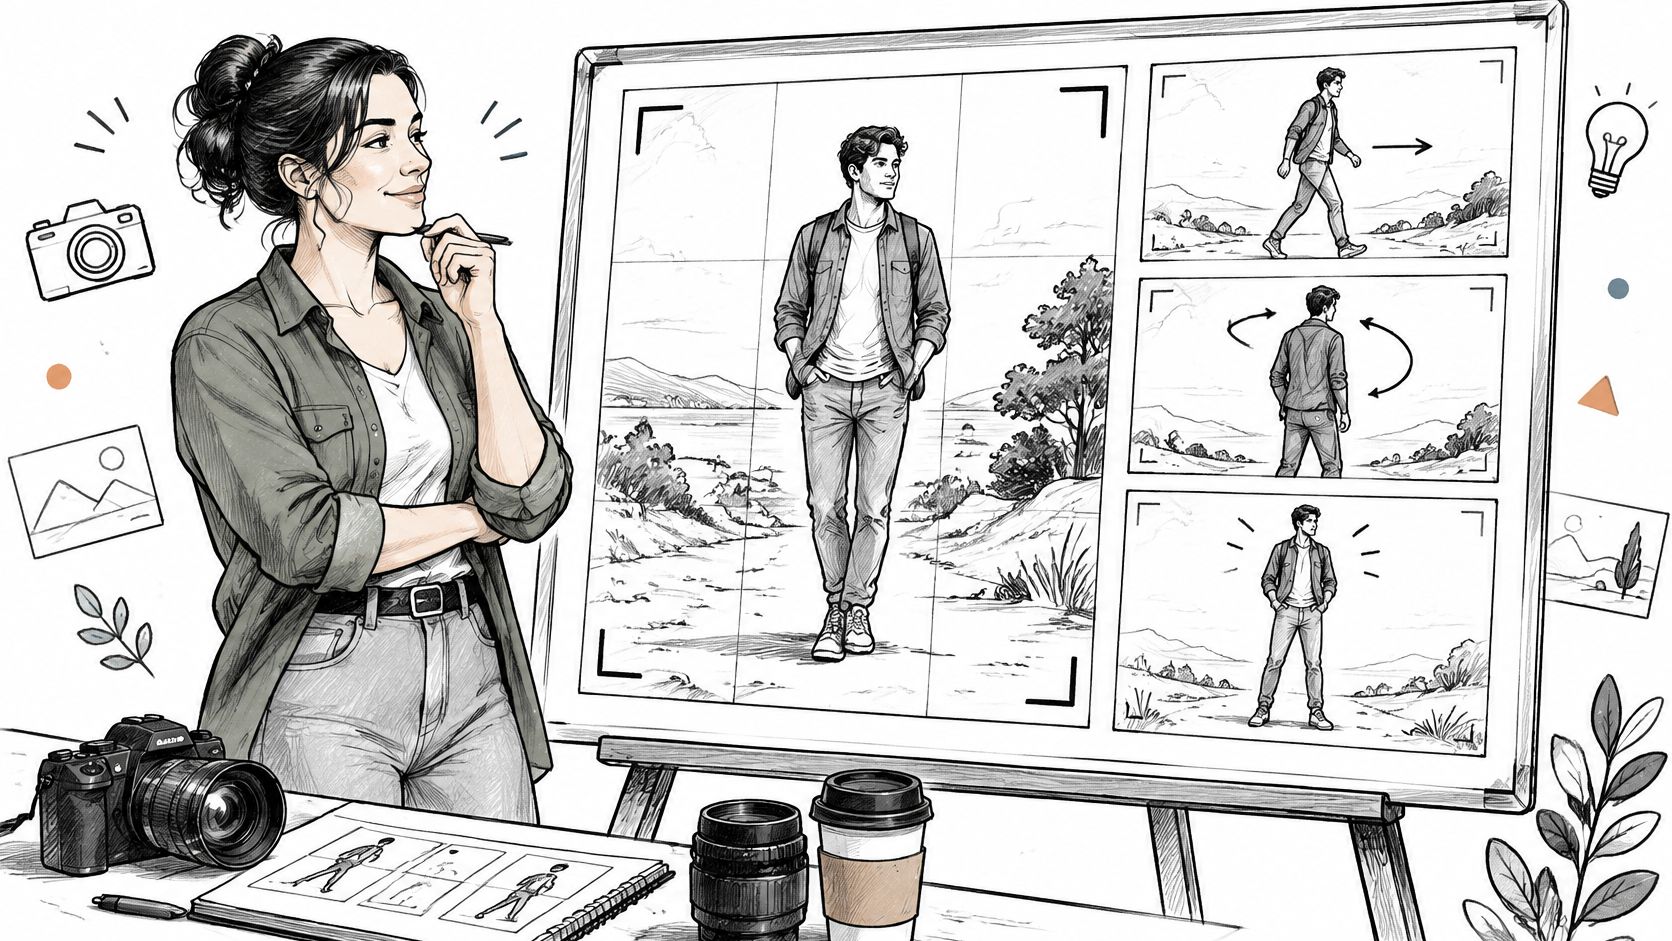
7 Full Shot Examples for AI Video Prompts in 2026
Seven full shot examples for AI video, with prompt ideas, framing notes, movement tips, and use cases for ads, dance, action, and brand content.
Read article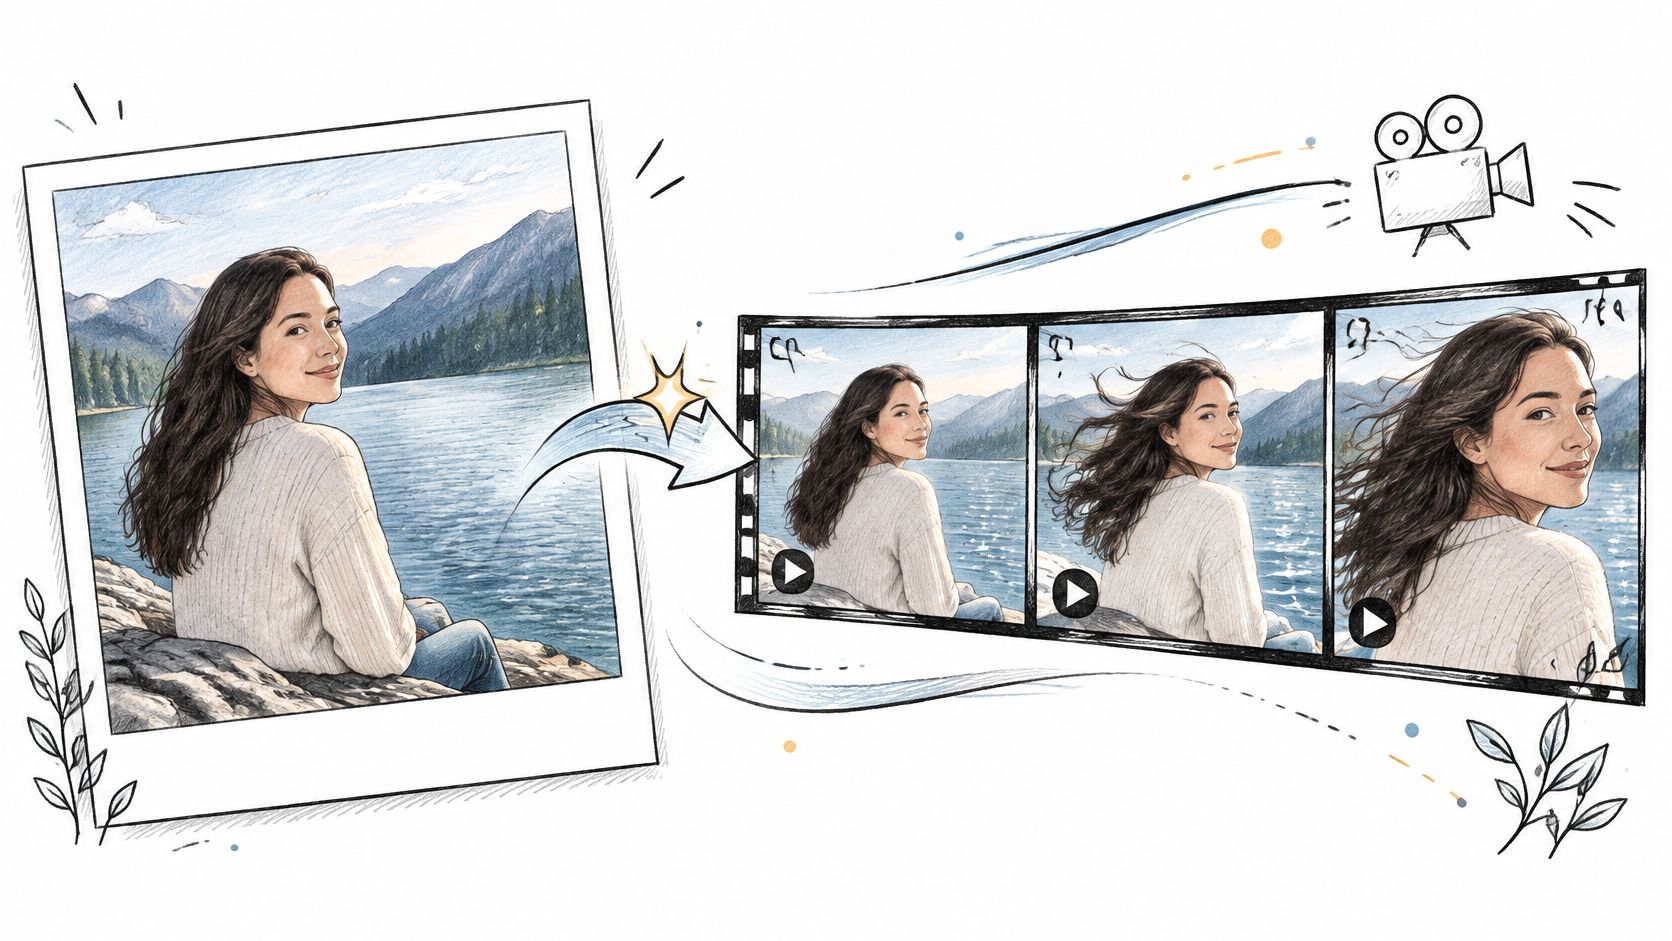
Can You Turn a Photo Into a Video? What AI Can Do
Can you turn a photo into a video? Yes. Learn how AI image-to-video tools animate a still photo, what goes wrong, and how to get clean results.
Read article