
Gemini Omni Image to Video: The Complete Guide
Master Gemini Omni image to video workflows. Learn prompt templates, Veo 3.1 settings, resolution options, and practical tips for social and marketing videos.
Veo3 AI · 13 min read · Oct 9, 2026
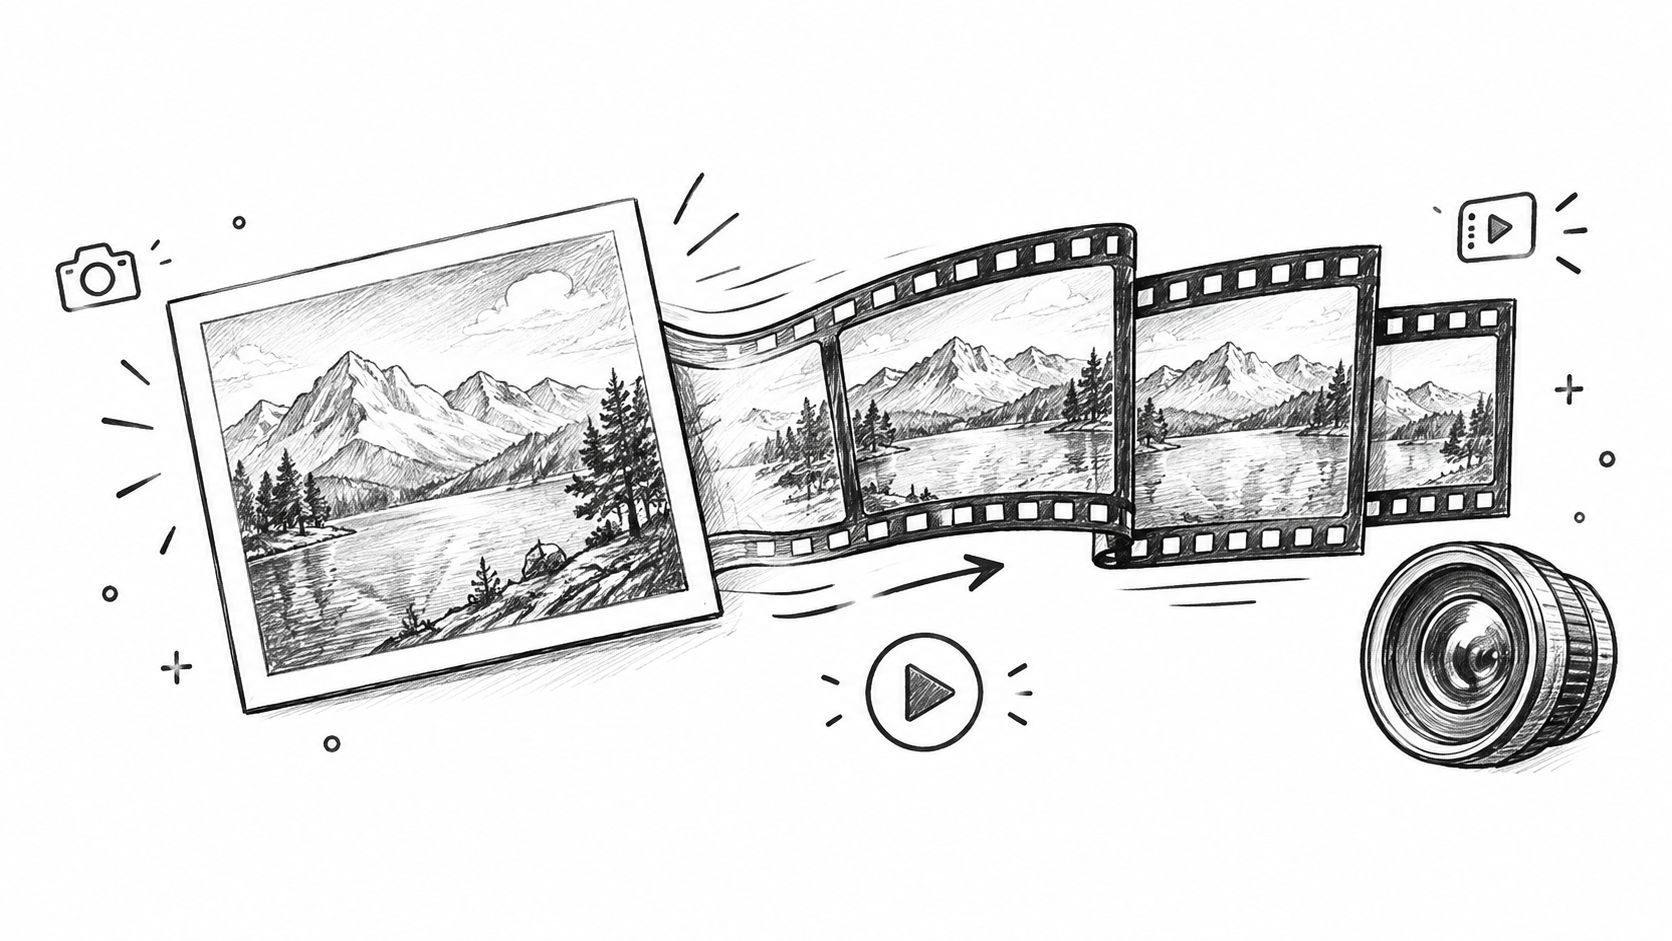
You've got a photo that should move, a deadline that's getting close, and a prompt box full of possibilities that all sound plausible. The hard part isn't getting Gemini to produce motion, it's getting it to produce the right motion without warping the subject, changing the background, or drifting away from the original image. That's why gemini omni image to video works best when you treat the uploaded image as the source of truth and the prompt as a set of strict motion instructions, not a wish list.
Table of Contents
- Understanding Gemini Omni Image to Video
- Setting Up Your First Image-to-Video Project
- Crafting Effective Prompts for Video Generation
- Choosing Between Animation and Interpolation Modes
- Optimizing Resolution and Aspect Settings
- Creative Use Cases for Social and Marketing
- Troubleshooting Common Errors and Fixes
<a id="understanding-gemini-omni-image-to-video"></a>
Understanding Gemini Omni Image to Video
Gemini's starting point matters because the product didn't begin as a simple animation tool. Google introduced Gemini on December 6, 2023, as a native multimodal model that could understand and combine text, code, audio, images, and video together, and that foundation is what makes image-to-video workflows possible in the first place. At launch, Google said Gemini Ultra exceeded existing state-of-the-art performance on 30 of 32 academic benchmarks and scored 59.4% on MMMU, a multimodal reasoning benchmark. Those figures don't measure video generation directly, but they show why Gemini can follow an image plus natural-language direction better than a system that treats each input type separately. Google's Gemini launch post explains that original design clearly.
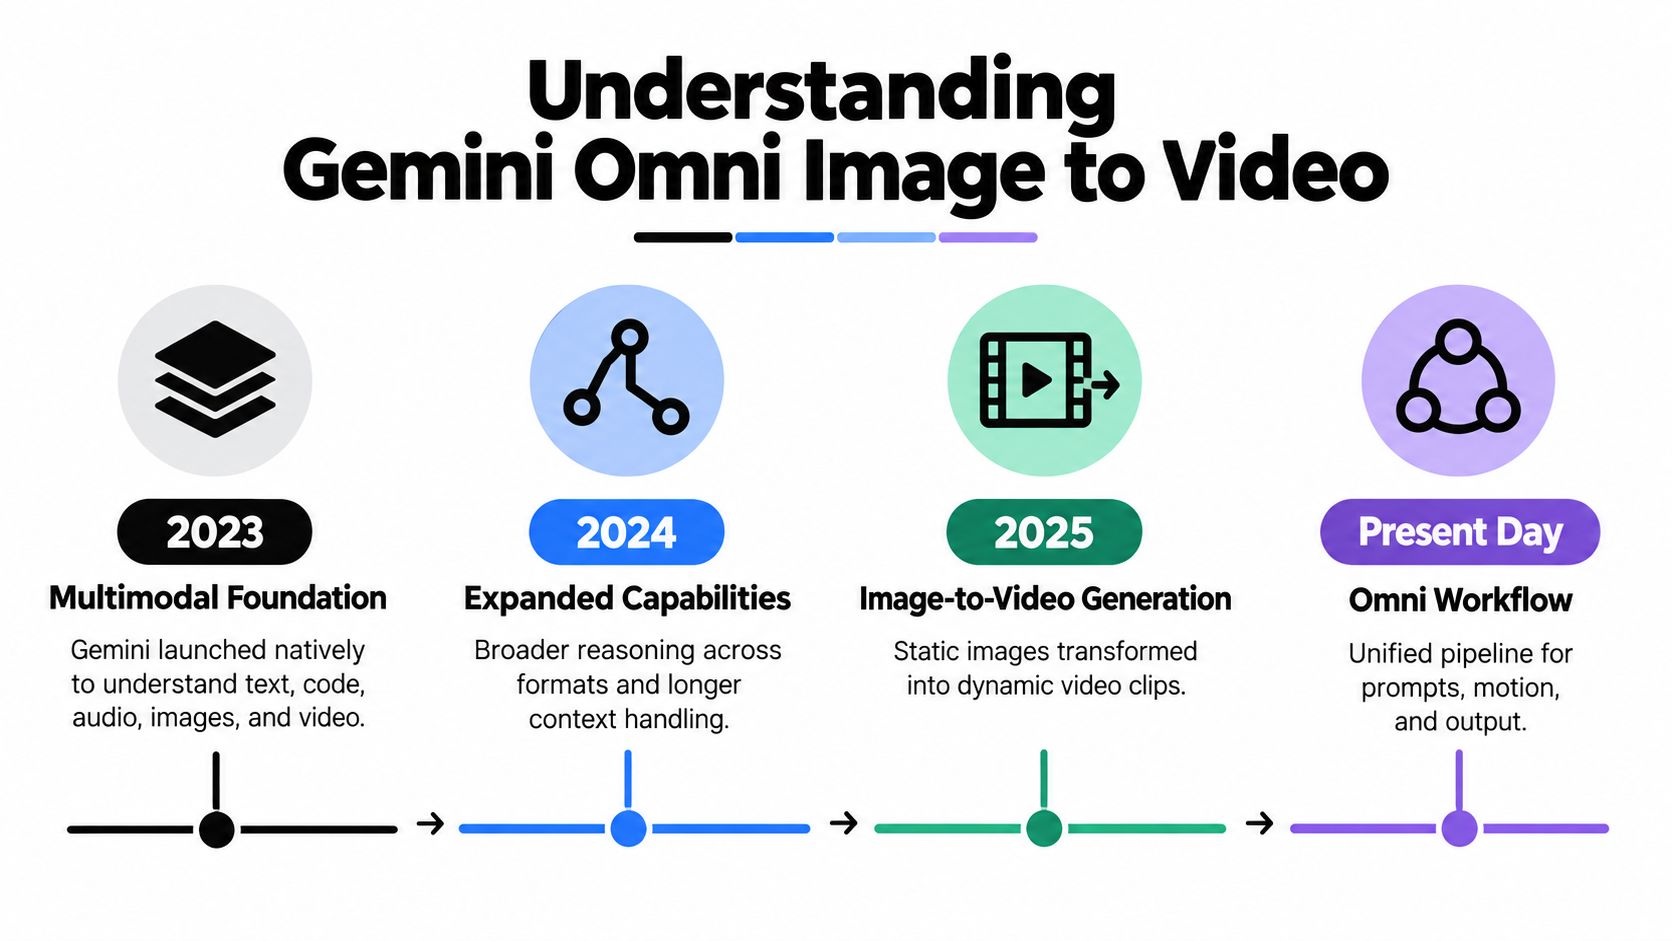
The practical shift happened later, when Google announced in July 2025 that users could turn still photos into eight-second video clips with sound inside Gemini. That rollout used Veo 3 generation technology in the Gemini app, and Google said more than 40 million Veo 3 videos had already been generated across Gemini and Flow in the seven weeks before the announcement. That number covers multiple workflows, not just image-to-video, but it shows how quickly this family of tools moved from research-oriented multimodal understanding to consumer-scale creation. Google's photo-to-video announcement is the clearest public reference for that milestone.
For a broader synthetic-media context, the synthetic media guide is a useful companion read before you publish anything generated from real-world faces or products.
Practical rule: Gemini works most predictably when the image already contains the composition you want. The prompt should describe change over time, not re-describe the still frame.
<a id="setting-up-your-first-image-to-video-project"></a>
Setting Up Your First Image-to-Video Project
Start with the image, not the prompt. Google's guidance says image-to-video works best with a high-resolution source image that already defines subject identity, lighting, composition, and visual style, because the model will treat that image as the main reference for the clip. If the source is muddy, cropped badly, or visually inconsistent, the output has to guess more, and guessing is where drift starts. The cleanest results usually come from a photo that already looks like a keyframe from the video you want.
The next decision is the motion shape. Google's best-practice documentation says camera-only motion is the simplest and most reliable animation pattern, and that vague instructions like “make it move” are weaker than a specific action plus camera instruction. A prompt such as “slow push-in while the subject turns slightly toward camera” gives the system fewer degrees of freedom than “create a cinematic scene with energy.” That restraint is not limiting, it's steering.
If you're making content for TikTok, Reels, or Shorts, choose the framing before generation. Vertical outputs tend to work better for mobile-first publishing, while product hero shots and web placements often need different composition choices. The important thing is to decide the delivery context first, then shape the source image and motion around that context.
For a quick practical walk-through of photo-based generation workflows, you can also browse AIMVG's video guides and compare how different creators structure their inputs.
A simple setup sequence helps more than a long prompt:
- Clean the image first: remove clutter, crop for the final framing, and make sure the subject is clearly separated from the background.
- Define one shot: decide whether this is a push-in, pull-back, pan, or static shot with subject motion.
- Lock the duration: keep the intended clip length consistent with the platform and use case.
- Limit environmental motion: one subtle effect is easier to control than three competing ones.
Later, when you evaluate outputs, don't just ask whether the first frame looks good. Ask whether the subject still reads cleanly after the motion starts and whether the background stays intact as the clip progresses.
For a compact tool demonstration, the embedded clip below shows the basic upload-to-output flow in practice.
<iframe width="100%" style="aspect-ratio: 16 / 9;" src="https://www.youtube.com/embed/YW9c8gV5Otc" frameborder="0" allow="autoplay; encrypted-media" allowfullscreen></iframe>
<a id="crafting-effective-prompts-for-video-generation"></a>
Crafting Effective Prompts for Video Generation
The best prompts read like shot direction, not like a brainstorming note. In gemini omni image to video, the image already tells the model who is there, what they're wearing, and how the scene is composed, so repeating those details usually wastes space and can muddy the instruction. What you want instead is a clear statement of change over time: one subject action, one camera behavior, and at most one environmental motion.
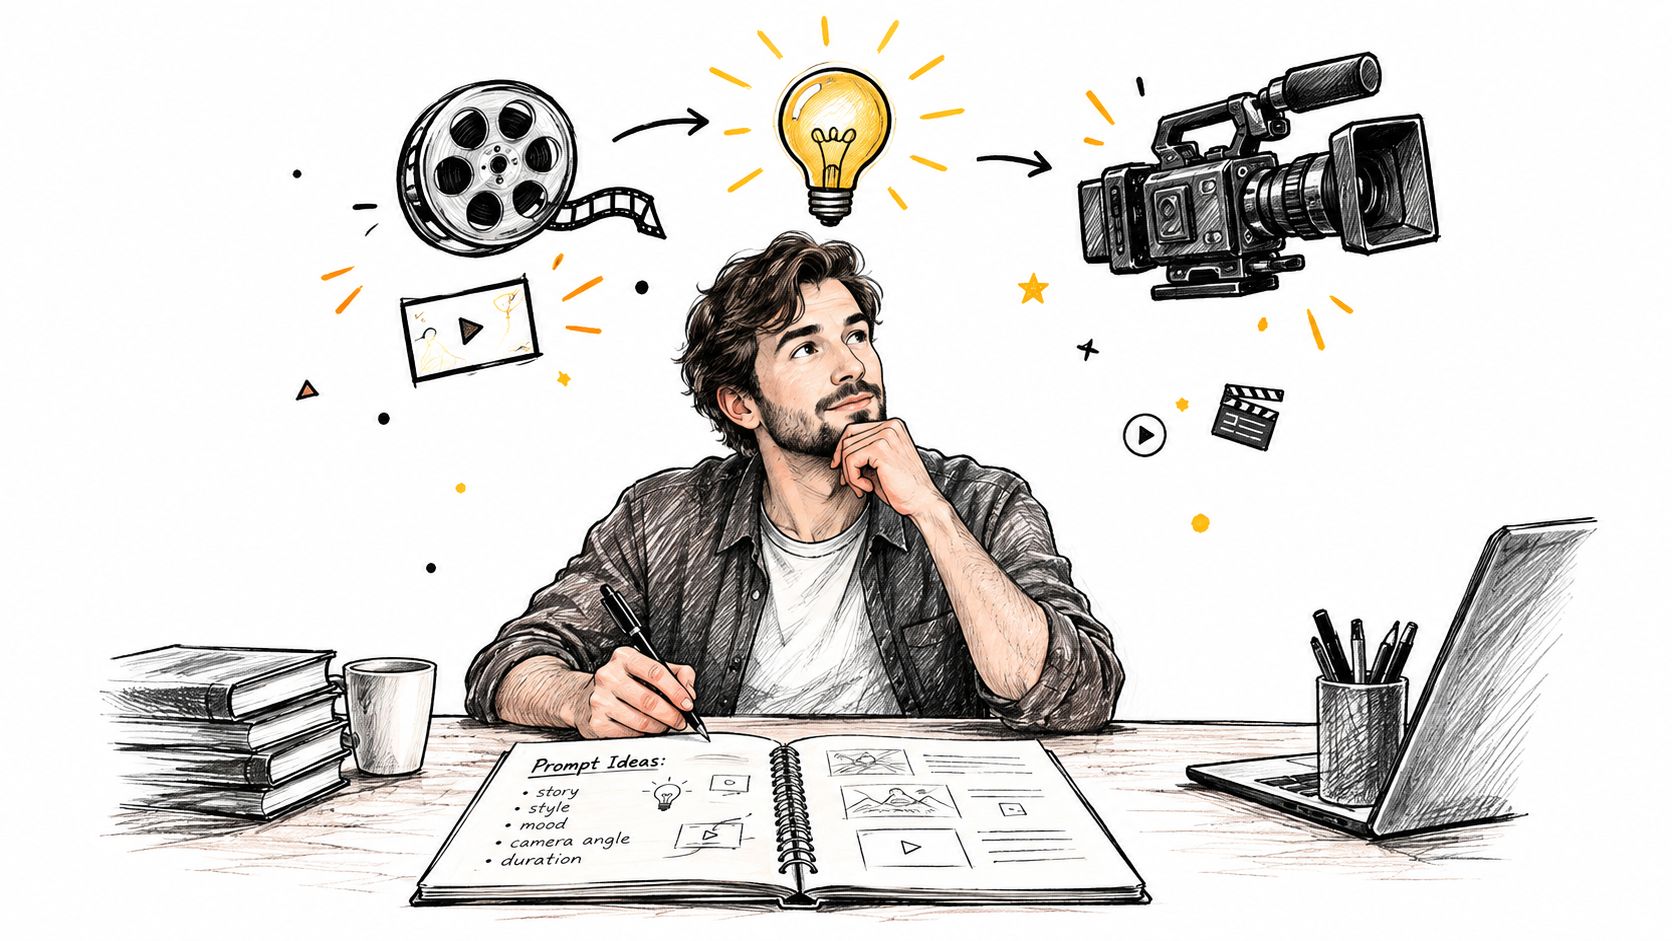
A prompt structure that holds up well is this: Subject action: what moves, and how. Camera behavior: push-in, pull-back, pan, or locked-off. Environment motion: only one small supporting change.
So instead of “make the scene cinematic and dynamic,” try, “The subject slowly turns toward camera while the camera performs a gentle push-in, hair moves slightly in the wind, preserve facial identity and background.” That kind of prompt gives the system an interpretable motion path and reduces the chance that it invents extra movement. Google's own prompting guidance points in this same direction, and the Gemini Omni reference image, video, and audio prompting guide is a useful internal reference if you want more examples of controlled phrasing.
Practical rule: if the prompt contains three actions, two camera moves, and a style request, it's probably too much for one clip.
Style still matters, but it should sit underneath motion control. Use style language to steer mood, pacing, or polish, not to fight the source image. A prompt like “soft natural light, restrained movement, documentary tone” supports the shot. A prompt like “epic, magical, explosive, dramatic, fast, surreal” often competes with the actual visual task.
When outputs miss, the problem is usually not the model “understanding” the prompt wrong. It's the prompt asking for too many simultaneous changes. I've had better results by tightening the prompt and simplifying the source image than by adding more adjectives. That's the counterintuitive part, better prompts are often shorter because they leave less room for interpretation.
<a id="choosing-between-animation-and-interpolation-modes"></a>
Choosing Between Animation and Interpolation Modes
There are two different creative problems here, and they shouldn't be solved the same way. Direct image animation is right when the single uploaded photo is already the frame you want to bring to life. First-and-last-frame interpolation is better when the ending composition matters as much as the starting one, like a product reveal, a logo transition, or a scene that needs to land on a specific final pose.
| Generation Mode Comparison | Best For | Input Requirements |
|---|---|---|
| Direct image animation | Social clips, animated portraits, quick ad concepts, scenes where the starting image already works as the hero frame | One high-quality source image and a motion prompt |
| First-and-last-frame interpolation | Product transitions, reveal shots, controlled camera moves, storyboarded endings | An opening image and a matching closing image |
| Reference-guided motion | Brand-consistent scenes, character continuity, object stability | One or more reference images plus a motion description |
Google's Veo 3.1 documentation says the model supports image-to-video, first-and-last-frame generation, video extension, and reference-image inputs. It also lists output lengths of 4, 6, or 8 seconds, while reference-image-to-video is limited to 8 seconds. The same documentation says up to three reference images can guide the content. Those options matter because they let you choose between “animate this still” and “generate the transition between two designed endpoints.” Veo 3.1 documentation lays out the supported modes plainly.
The interpolation path demands more preproduction discipline. The two endpoint images should match in subject scale, camera axis, lighting direction, and background geometry before generation. If the endpoints disagree on those basics, the model has to invent too much in the middle, and that's where morphing, flicker, and texture instability show up.
Practical rule: use one-image animation when the hero frame already exists. Use two-frame interpolation when the ending frame is non-negotiable.
A small decision check helps:
- Choose one image when you want speed, simplicity, and a shot that can “breathe” without changing composition.
- Choose two frames when a reveal, rotation, or final layout matters more than spontaneous motion.
- Avoid mixing goals when the project needs both loose atmosphere and exact endpoint control, because that usually creates compromise footage instead of strong footage.
<a id="optimizing-resolution-and-aspect-settings"></a>
Optimizing Resolution and Aspect Settings
Resolution changes the feel of the final clip, but only if the source is stable enough to support it. Google's Veo 3.1 documentation says outputs can be rendered in 720p, 1080p, or 4K, and those choices should be tied to where the clip will be used rather than chosen by habit. Lower settings are useful for iteration, while higher settings make more sense when the image is already clean and the motion is locked.
Aspect ratio is the other setting that people often treat as an afterthought. Vertical composition is usually the safer choice for mobile-first distribution, while horizontal framing suits web placements and many ad layouts. If you build the source image in the wrong orientation, the model can't fully rescue it later, because the composition itself is already biased toward the wrong end use.
The most practical way to think about settings is to separate drafting from publishing. Draft at the cheapest acceptable quality for testing motion ideas, then move to the sharper output only after the subject, camera path, and endpoint continuity are working. That saves time because you're not asking the model to polish a flawed concept.
This is also where Veo3 AI fits naturally as one option among several generation environments. It can be useful when you want a single place to upload an image, choose a motion style, and generate a clip in a matching format without bouncing between tools. The core principle is the same everywhere, though, the cleaner the source and the more deliberate the framing, the less the model has to improvise.
If you're choosing settings for short-form work, keep the crop centered on the subject's visual anchor. If you're building a product clip, leave room for the object to rotate or move without cutting into the frame edge. And if you're preparing multiple variants, keep the source image identical across tests so you can see whether the motion prompt or the aspect choice changed the output.
<a id="creative-use-cases-for-social-and-marketing"></a>
Creative Use Cases for Social and Marketing
The strongest use cases are the ones that need a fast visual idea, not a long edit timeline. A still portrait can become a social teaser. A product photo can become a motion concept for a landing page. A brand visual can turn into an ad sketch with synchronized sound, which matters because the clip feels more like a usable concept than a silent animated still.
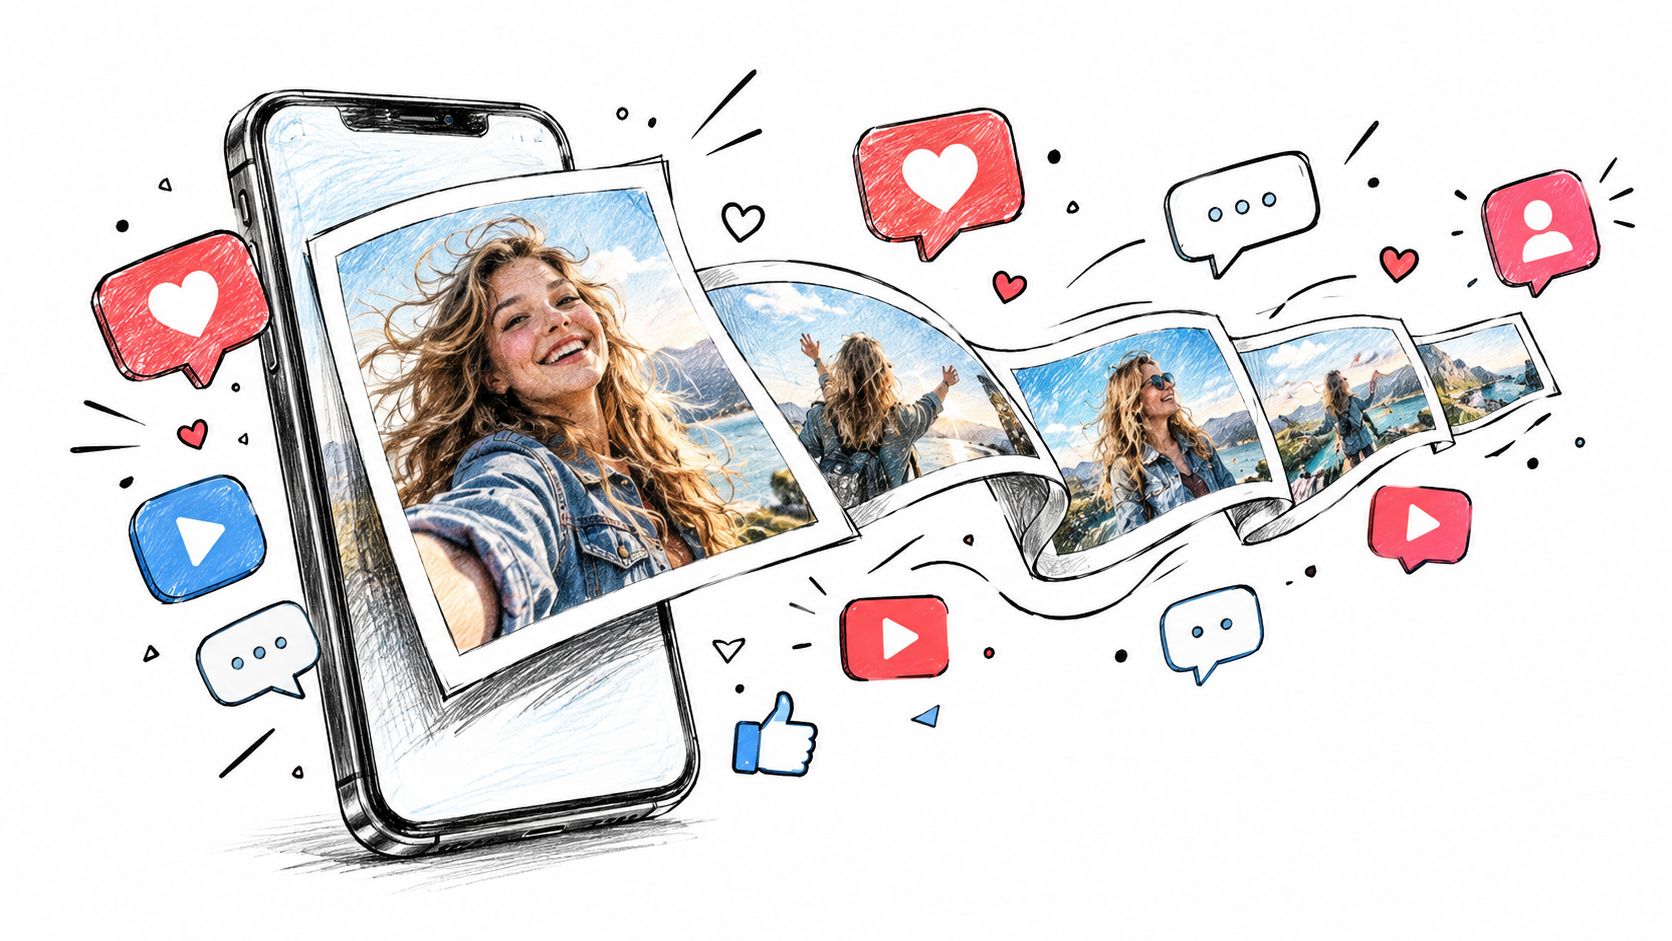
Short-form creators usually get the most value when they build repeatable formats. That might mean one portrait style used for weekly hooks, one product angle used for launch posts, or one recurring camera move that becomes part of the brand language. The point isn't novelty for its own sake, it's building a motion template that can be reused without starting from zero every time.
Marketers should treat these clips as pre-production assets as much as finished creative. A generated shot can help a team approve direction before committing to a full edit, and that's especially useful when the campaign still needs a visual test. For teams repurposing existing creative, the AI video editors for content repurposing overview is a useful way to compare how image-based generation fits into a wider repurposing workflow.
One practical workflow looks like this:
- Animate the hero image: use a single still for quick concepting or social testing.
- Make a second version with a different motion cue: compare whether a push-in or a subtle lateral move supports the message better.
- Keep the brand constraints tight: preserve typography, color, and product shape when those elements matter.
- Use sound deliberately: if the clip includes audio, make sure it supports the visual rather than distracting from it.
The biggest payoff comes from speed plus consistency. If a team can get to a good-enough moving concept early, it can spend more time deciding whether the idea is strong instead of spending the first half of the day assembling a rough cut.
<a id="troubleshooting-common-errors-and-fixes"></a>
Troubleshooting Common Errors and Fixes
Most failures trace back to one of two causes, the source image was too loose, or the prompt asked for too much. Identity drift, warped hands, background geometry shifts, accidental object insertion, and text changes are all signs that the model had to invent too many in-between details. The fix is usually not a more elaborate prompt, it's a narrower one.
Practical rule: if you want better continuity, reduce the number of moving parts before you try a second generation.
When a clip looks unstable, check it at 25%, 50%, and 75% of playback, not just at the beginning and end. That middle portion is where morphing, jitter, and texture breaks show up first, and those are easier to catch there than after you've already approved a nice-looking first frame. If the middle collapses, simplify the motion path, keep only one primary action, and remove any extra environmental effects.
The source image itself is often the core issue. A subject turned too far away, a cluttered background, a weak crop, or typography embedded in a busy area all increase the chance of distortion. I've had far better outcomes by swapping in a cleaner source frame than by rewriting the prompt five times.
A reliable recovery sequence is simple:
- Cut the motion load: keep one subject action and one camera move.
- Protect identity: explicitly ask to preserve facial features, object shape, and text where relevant.
- Reduce background change: don't request weather, time-of-day, and camera orbit in the same pass.
- Rebuild the source: use a cleaner or more centered image if the clip keeps bending the subject.
If the model keeps changing clothing, product geometry, or lettering, treat that as a sign that the endpoint is too far from the starting visual. Bring the inputs closer together, then try again. The clips that look effortless usually came from the least ambiguous setup.
If you want a faster way to turn clean source images into controlled motion, Veo3 AI gives you a simple place to upload an image, set the output format, and generate short video concepts without juggling multiple tools. It's a practical option for creators who want to test gemini omni image to video workflows, compare motion styles, and publish clips with less setup friction. Visit Veo3 AI and try it on a photo you already know should move.
Related Articles
Continue with more blog posts in the same locale.
Veo 3 Gratis: How to Access and Use Free AI Video
Learn how to access Veo 3 gratis and generate AI videos. This guide covers account setup, prompt strategies, rendering settings, and free tier limits.
Read article
10 Générateur De Vidéo Gratuit Tools Worth Trying
Compare 10 générateur de vidéo gratuit tools, including Veo3 AI, with features, free-tier limits, pros, cons, and picks for every use case.
Read article
Gemini Omni vs MiniMax H3: Which AI Video Model Wins?
Gemini Omni vs MiniMax H3: compare video quality, architecture, and costs. Find the best AI video model for your creative workflow.
Read article