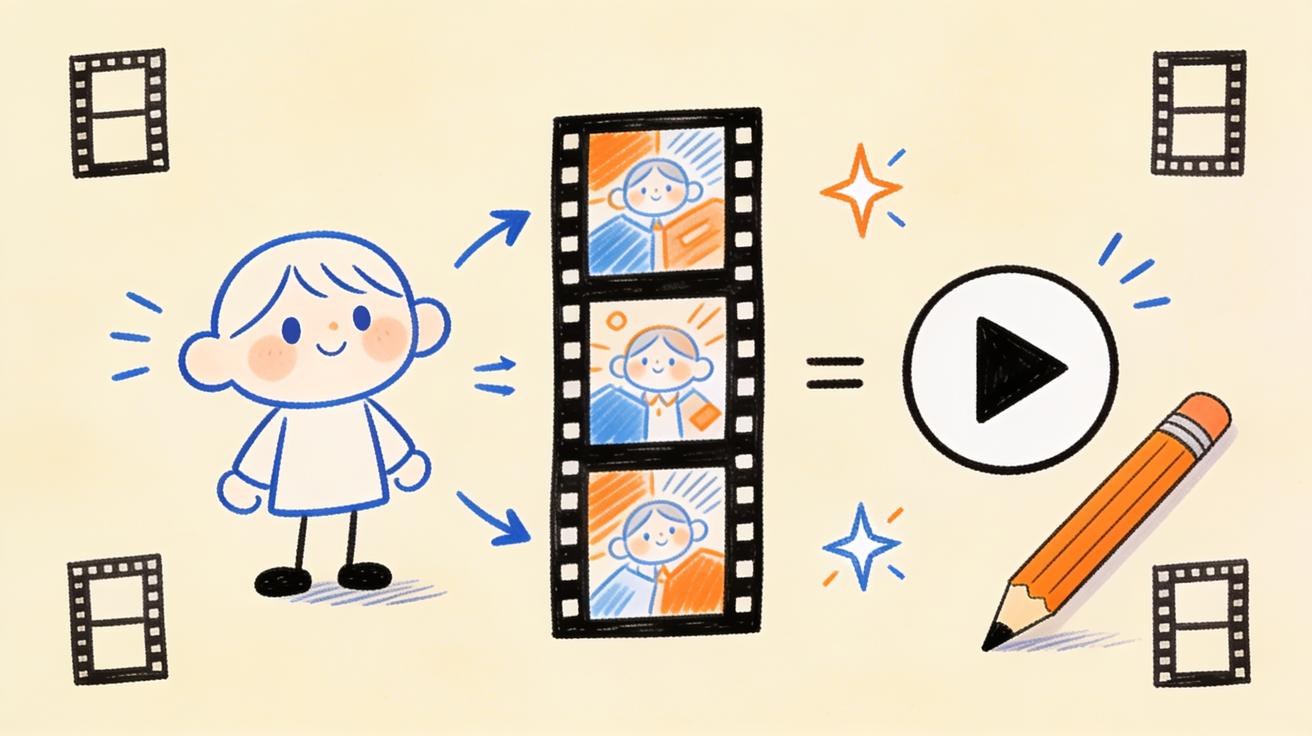
How to Turn a Drawing into a Video with Veo 3 (2026 Workflow)
Turn any drawing, sketch, or illustration into a video with Veo 3 while keeping your art style intact. Full image-to-video workflow, prompts, and fixes.
Emma Chen · 14 min read · Jun 26, 2026
Most "animate your art" tutorials end in disappointment. You upload a drawing, type "make it move," and the model either melts your linework into a soupy blur, redraws your character into a stranger, or adds motion so frantic the original art is unrecognizable. The drawing you spent hours on becomes a 5-second mess you'd never post.
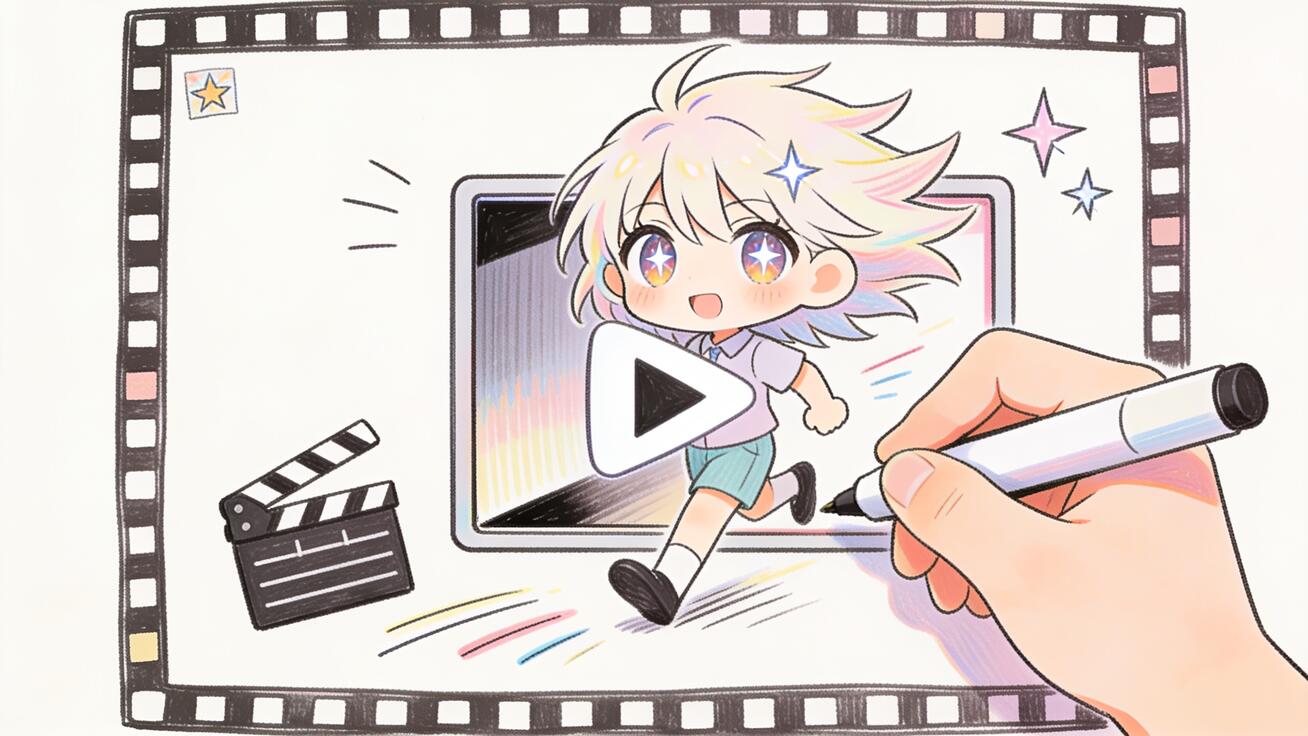
Turning a drawing into a video with Veo 3 works differently — but only if you treat it as a controlled image-to-video job, not a magic button. Veo 3 reads your image as a starting frame, then generates motion outward from it. That means the quality of your animation depends almost entirely on two things: how you prepare the drawing, and how precisely you describe the motion you want. Get those right and you can bring a sketch, a character illustration, a comic panel, or a children's-book scene to life while keeping the art style intact.
This guide is the full workflow: preparing your drawing, writing image-to-video prompts that respect your art, controlling motion and camera, fixing the failures everyone hits, and shipping clips that actually look like your drawing moving — not an AI's reinterpretation of it.
Why Drawings Are Harder to Animate Than Photos
Before the workflow, understand the core problem, because it explains every setting choice later.
Photos give an AI video model a huge amount of implied 3D information: real lighting, depth of field, texture, perspective, how fabric folds, how skin catches light. The model has seen millions of similar photos, so it can infer how the scene should move.
A drawing strips most of that away. Flat colors, outlines, stylized proportions, and "impossible" anatomy (big anime eyes, noodle limbs, exaggerated perspective) give the model far less to anchor on. So it does what under-constrained models always do: it hallucinates the missing information. That's where the melting, morphing, and style drift come from — the model is inventing 3D structure your flat art never specified.
The entire job, then, is reducing what the model has to guess. You do that with a clean source image and a prompt that describes only the motion, not a whole new scene. Veo 3's image-to-video mode is built for exactly this, which is why it holds a style better than text-to-video alone. If you want the broader foundations first, our Veo 3 image-to-video guide covers the general mechanics; this article goes deep on the drawing-specific problems.
Step 1: Prepare the Drawing Before You Animate Anything
Ninety percent of bad drawing-to-video results are caused at the upload stage, not the prompt stage. Spend two minutes here and you save twenty minutes of re-rolls.
Use the highest resolution you have. Export your drawing at 1280px on the long edge or larger. A small, soft thumbnail forces the model to invent detail, and invented detail is where style drift starts. If your original is tiny, upscale it first.
Match the aspect ratio to your target platform. Veo 3 will animate whatever shape you give it, but it composes motion to fill the frame. A square drawing animated into a 16:9 video means the model invents the left and right edges of your scene — new background, new objects, new opportunities to break style. Crop or extend your canvas before upload so the frame is already 16:9 for YouTube, 9:16 for Shorts and Reels, or 1:1 for feed posts. For vertical specifically, set up the canvas first rather than fixing it later.
Flatten and clean the image. Remove transparent backgrounds (fill them with a solid color or a simple painted backdrop), delete stray layers, and make sure the subject is clearly the focal point. Transparent PNGs frequently confuse image-to-video models into treating the checkerboard or void as something to "fill."
Decide what should move — on paper. Look at your drawing and pick one to three motion targets: hair drifting, eyes blinking, a cape rippling, steam rising, a slow zoom toward the face. Writing this down now stops you from over-prompting later. The single biggest cause of "my whole drawing morphed" is asking for too much motion at once.
Pick subjects that animate well. Some drawings are naturally animation-friendly; some fight you. Easy wins: a single character with clear edges, a landscape with obvious motion sources (water, clouds, fire, fog), a portrait for subtle "living photo" motion. Hard mode: dense multi-character group scenes, tiny intricate linework, text and logos inside the art, and busy backgrounds with no clear focal point.
Step 2: Write a Prompt That Protects Your Art Style
Here's the mental model that fixes most drawing animations: with image-to-video, your prompt should describe motion, not content. The drawing already supplies the content — the character, the colors, the composition, the style. If you re-describe all of that in the prompt, you're effectively telling Veo 3 to regenerate the scene, and it will drift toward its own interpretation.
Bad prompt (re-describes the scene, invites drift):
"A beautiful anime girl with long silver hair standing in a flower field at sunset, detailed illustration, soft lighting, she smiles and the wind blows."
Good prompt (describes only motion, preserves the source):
"Subtle natural motion. Her hair and the flowers sway gently in a soft breeze, left to right. She blinks slowly and her expression softens into a faint smile. Maintain the original illustration style, line art, and color palette. Camera holds completely still."
Notice the difference: the good prompt never re-describes the character or the setting. It assumes the drawing is the truth and only adds movement on top of it.
A reliable structure for drawing-to-video prompts:
- Motion intensity cue — "Subtle natural motion" / "Gentle ambient movement" / "Lively but controlled animation."
- Specific movements — name each one: what sways, what blinks, what drifts.
- Style-lock clause — "Maintain the original art style, linework, proportions, and color palette."
- Camera instruction — almost always "Camera holds still" for art preservation (more on this below).
- Negative guardrails — "No new objects, no style change, no morphing, no extra characters."
That style-lock clause is doing real work. It's an explicit instruction to treat the input as authoritative. For deeper prompt theory beyond drawings, the Veo 3 prompt guide and the negative prompt guide are worth bookmarking.
Step 3: Control the Camera (This Is Where Art Lives or Dies)
For photo animation, camera moves add cinematic polish. For drawing animation, camera moves are the number-one cause of style collapse — and almost nobody tells you this.
When Veo 3 pushes the camera into a flat drawing, it has to invent perspective and depth that the 2D art never had. A "slow dolly in" on a photo looks great. The same move on a flat illustration forces the model to fabricate 3D geometry, and that's when faces warp and backgrounds smear.
Rules that keep drawings intact:
- Default to a locked camera. "Camera holds completely still" lets all the motion come from the subject (hair, blink, breeze), which is exactly the "living illustration" look most people want.
- If you must move, move parallel, not into depth. A gentle horizontal pan or a very slow, slight zoom is survivable. A dramatic push-in, orbit, or dolly through the scene is not.
- Never combine heavy camera motion with heavy subject motion. Pick one source of movement. Two at once doubles what the model has to invent.
If you genuinely want cinematic camera language later, study the camera control prompts guide — but for preserving hand-drawn art, restraint wins almost every time.
Step 4: Keep a Recurring Character Consistent Across Clips
Animating one drawing is easy. Building a series — a webcomic, a story, a branded character across multiple videos — is where consistency becomes the whole game.
The trick is to stop relying on text descriptions of your character and start relying on the image itself. Every clip should begin from an actual reference frame of that character, not from a prompt trying to re-summon them. If you need them in a new pose or scene, generate or draw that new still first, then animate it. This keeps the face, outfit, and proportions stable because the source image — not the model's memory — is carrying the identity.
For multi-clip projects, our character consistency guide and the image reference workflow go further into locking a subject across an entire video set. The drawing-specific takeaway: treat each finished frame as the canonical reference for the next, and never let the model "freestyle" your character from words alone.
Step 5: Use First-and-Last-Frame for Precise Motion
Sometimes you don't just want ambient drift — you want your drawing to do a specific thing: a character turning their head, a flower blooming, a closed book opening. Prompt-only motion is unpredictable for these.
This is where first-and-last-frame control shines. You provide the starting drawing and an ending drawing (the same art, modified to the end pose), and Veo 3 generates the in-between motion. Because both ends are your art, the style stays locked and the motion goes exactly where you intend.
A practical recipe for drawing animation:
- Export your drawing as frame A (start pose).
- Duplicate it and edit the change you want — head turned, eyes closed, hand raised — as frame B (end pose).
- Feed both into Veo 3 with a prompt like: "Smooth natural transition from the first pose to the second. Maintain identical art style and colors throughout. No morphing of facial features."
The full mechanics of this mode are in the first-and-last-frame guide. For drawings, it's the single most reliable way to get intentional motion instead of random drift.
Prompt Recipes by Drawing Type
Copy-paste starting points. Adjust the specifics to your art.
Character illustration → living portrait
"Gentle ambient motion. The character blinks slowly and breathes softly; hair and clothing drift slightly as if in a faint breeze. Expression warms subtly. Maintain the exact original illustration style, linework, and color palette. Camera completely static. No new objects, no morphing, no style change."
Landscape / scenery drawing
"Cinematic ambient motion in a still painting. Clouds drift slowly across the sky, water ripples gently, distant trees sway. Foreground stays stable. Preserve the original painted art style and colors. Camera locked. No new elements added."
Comic / manga panel
"Bring this panel to life with subtle motion: the character's eyes shift, hair moves slightly, background speed lines pulse gently. Keep the inked comic art style, halftones, and bold linework intact. Camera holds still. No realism conversion, no added characters."
Fantasy creature / monster drawing
"The creature breathes, its eyes glow and flicker, smoke or mist curls around it slowly. Wings or limbs shift slightly with weight. Maintain the original concept-art style and palette. Slow, slight camera drift only. No anatomy changes, no morphing."
Children's-book / cute illustration
"Soft, playful ambient motion. The character bobs gently, eyes blink, small elements (leaves, stars, bubbles) float upward slowly. Keep the soft storybook illustration style and pastel colors. Static camera. No new characters, no style shift."
Real Use Cases People Actually Ship
This workflow isn't a toy. Here's where animated drawings earn their keep:
- Webcomic and manga creators add motion panels and animated covers to stand out on Instagram, Webtoon promos, and TikTok — without learning After Effects.
- Children's-book authors and educators turn book illustrations into read-along clips and classroom material.
- Indie game and TTRPG artists animate concept art, character splash screens, and card art for trailers and Kickstarter pages.
- Brand and mascot owners bring a static logo character or mascot illustration to life for social posts and ads (pair this with the product ads workflow).
- Illustrators building a portfolio post "process to motion" reels that get dramatically more engagement than static images.
- Tattoo and sticker artists animate flash sheets and designs as eye-catching shop promos.
The common thread: you already own art people like. Animation just makes it stop the scroll.
QA Checklist Before You Post
Run every clip through this before it goes live. Re-roll if it fails any line.
- Style held? Does the video still look like your drawing — same linework, same colors, same proportions? Or did it drift toward generic 3D/realism?
- Face stable? On characters, watch the eyes and mouth frame by frame. Subtle warping is the most common giveaway. If the face morphs, reduce motion and lock the camera.
- No invented objects? Check edges and background for new elements the model added. Tighten your negative guardrails if so.
- Motion intentional? Does the movement serve the art, or is it random jitter? Less is usually more.
- Loop-friendly? For social, motion that returns near its start point loops cleanly and looks intentional.
- Resolution clean? No flicker, no mushy edges, no compression haze on the linework.
If a clip fails, change one variable at a time — usually lower the motion intensity or lock the camera — rather than rewriting the whole prompt.
Troubleshooting the Five Most Common Failures
"My art style turned realistic / 3D." Your prompt is re-describing content, or your camera is pushing into depth. Strip the prompt down to motion-only, add an explicit "maintain original 2D art style" clause, and lock the camera.
"The face/character morphs." Too much motion plus camera movement. Lock the camera, ask only for a blink and slight breeze, and add "no morphing of facial features."
"It added objects/people I didn't draw." Weak negatives and an under-filled frame. Add "no new objects, no extra characters," and crop the canvas so there's no empty space inviting the model to invent.
"Barely anything moves." The opposite problem — over-cautious prompt or a drawing with no obvious motion source. Name specific movements and bump the intensity cue from "subtle" to "lively but controlled."
"Background moves but the character looks pasted-on." Common with cut-out subjects on flat backgrounds. Either animate the whole scene together or add a clause tying them: "character and background move together as one cohesive illustration."
How This Compares to Other Approaches
You can animate drawings with text-to-video by describing the whole scene from scratch — but you lose your actual art; the model just makes something stylistically similar. That defeats the purpose when you have a specific drawing you care about.
Dedicated "live2D" rigging tools give you frame-perfect control but require hours of manual rigging per character. Veo 3's image-to-video sits in the sweet spot: far more control over your specific art than text-to-video, and far faster than manual rigging. For a one-off social clip or a fast series, it's the highest-leverage option available right now. You can start from the image-to-video tool directly, or explore text-to-video when you don't have source art yet.
Frequently Asked Questions
Can Veo 3 animate any drawing style? Most styles work — anime, comic, watercolor, flat vector, concept art, children's illustration. Extremely intricate linework, dense group scenes, and art with embedded text are the hardest because they give the model the most to misinterpret.
Will it keep my exact colors? Largely yes, if you keep the prompt motion-only and add a "preserve original color palette" clause. Heavy camera moves and content re-description are what shift colors.
How long can the clip be? Veo 3 generates short clips per generation; for longer pieces, animate multiple frames and stitch them, or extend a clip — see extending video beyond 8 seconds.
Do I need to redraw anything? For ambient motion, no — one drawing is enough. For specific actions, prepare a start and end frame and use first-and-last-frame mode.
What resolution should I upload? As high as possible, at least 1280px on the long edge, already cropped to your target aspect ratio.
The Takeaway
Animating a drawing well comes down to a single principle: reduce what the model has to guess. Give Veo 3 a clean, high-resolution, correctly-cropped source image. Write prompts that describe motion only and explicitly lock your art style. Keep the camera still unless you have a strong reason not to. Add motion in small, intentional doses, and QA every clip for face stability and style drift.
Do that, and the drawing you spent hours on becomes a clip that looks like it was meant to move — your art, your style, now alive. Start with one favorite illustration, run it through this workflow, and you'll have a postable animated piece in minutes instead of the all-night rigging session the old way demanded.
Related Articles
Continue with more blog posts in the same locale.
How to Make Anime Videos with Veo 3 (2026 Prompts & Workflow)
A complete system for making anime and stylized-cartoon videos with Veo 3: prompt framework, copy-paste style vocabulary, five full prompt examples, character consistency workflow, audio direction, and a QA checklist.
Read article
Veo 3 Negative Prompts: How to Remove Unwanted Elements and Artifacts (2026)
Use Veo 3 negative prompts to remove watermarks, text, artifacts, and CGI drift. The phrasing rule that makes them work, where to put them, and a copy-paste exclusion library.
Read article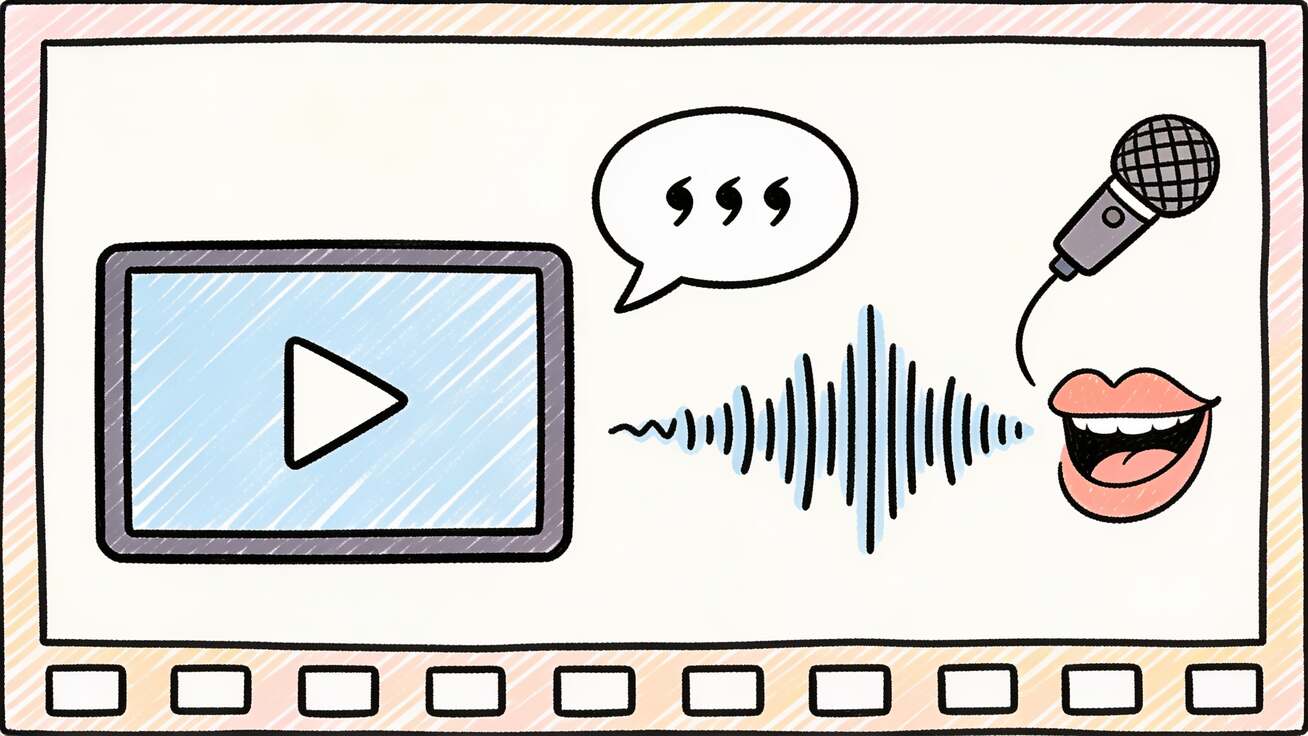
Veo 3 Text to Speech: How to Add Voiceover and Narration to Your Videos (2026)
Add spoken voiceover and narration to Veo 3 videos with text to speech: prompt structure, copy-paste examples, timing math, voice control, and a QA checklist.
Read article