Gerador de Vídeos de Prévia de Apps com Veo 3 2026: Crie Clipes para App Store e Produtos
Um fluxo prático de gerador de vídeos de prévia de apps com Veo 3 para clipes de app store, vídeos de lançamento de produtos, promos de apps móveis, capturas de tela, prompts e verificações de QA.
Emma Chen · 16 min read · May 2, 2026
A demanda de busca por trás de gerador de vídeos de prévia de app com Veo 3 é prática, não teórica. As pessoas não querem apenas saber se um modelo de vídeo com IA parece impressionante. Elas querem saber como obter acesso, o que podem criar com créditos limitados, quais prompts valem a pena testar e como evitar perder um dia em clipes que não podem ser editados ou publicados. Este guia foi escrito para fundadores de apps mobile, profissionais de marketing de produto, desenvolvedores independentes, equipes de ASO e agências que preparam materiais de lançamento e precisam de um fluxo de trabalho claro para 2026 voltado a prévias de app e clipes de lançamento de produto.
A forma mais segura de pensar sobre este tema é simples: use geração de vídeo com IA como um sistema de produção controlado. Um bom fluxo de trabalho define a tarefa, prepara referências, escreve prompts, testa resultados, revisa riscos e só então escala. Isso importa quer você esteja comparando ferramentas gratuitas, planejando um storyboard de formato longo ou criando clipes de prévia de app. A promessa deste guia é ajudar você a transformar telas aprovadas do app em clipes curtos que expliquem valor sem inventar alegações sobre o produto.
As palavras-chave alvo abordadas neste guia incluem gerador de vídeos de prévia de app com Veo 3, vídeo de prévia para App Store, clipes de lançamento de produto, vídeo promocional de app mobile. O artigo não inventa números privados de benchmark nem afirma que as regras de acesso são permanentes. Produtos de vídeo com IA mudam rapidamente, então a vantagem duradoura é um fluxo de trabalho que você pode repetir e verificar. Para métodos relacionados de produção com Veo 3, veja fluxo de trabalho com referência de imagem no Veo 3, prompts de controle de câmera no Veo 3, guia de prompts de áudio nativo no Veo 3.
Resposta rápida
Para prévias de app e clipes de lançamento de produto, a abordagem vencedora não é buscar o prompt mais longo nem o clipe único mais chamativo. A abordagem vencedora é definir uma tarefa de vídeo estreita, gerar cenas curtas e controladas, manter os fatos importantes fora do modelo quando a precisão for essencial e avaliar o resultado com base em uma checklist. Neste caso específico, o uso principal é rascunhar conceitos de prévia para App Store, clipes sociais de lançamento de produto, demonstrações de funcionalidades, testes de anúncios pagos e vídeos hero para sites. O principal risco é deixar um vídeo gerado criar UI imprecisa, recursos não suportados, avaliações falsas ou alegações que não estejam em conformidade com as plataformas.
Um primeiro teste útil tem cinco partes: um público, um objetivo, uma referência visual ou regra de estilo, uma instrução de movimento e um critério de revisão. Se o resultado não conseguir passar pelo critério de revisão, não escale o conceito. Reescreva o prompt, simplifique a cena ou altere o material de origem. Isso é mais lento do que clicar em gerar repetidamente, mas economiza créditos e cria materiais que sobrevivem à edição.
Tabela de decisão
| Ponto de decisão | Orientação prática | O que evitar |
|---|---|---|
| Fonte visual | Use screenshots ou mockups aprovados como âncora. | Evite pedir ao modelo para inventar telas exatas do app. |
| Foco da mensagem | Mostre um problema do usuário e uma ação do produto. | Evite um tour completo de recursos em um clipe curto de preview. |
| Adequação à plataforma | Prepare variantes em formato vertical, quadrado e horizontal conforme necessário. | Não presuma que uma única exportação funciona para todos os posicionamentos. |
| Compliance | Revise claims, veracidade da UI, privacidade e regras da loja. | Não inclua avaliações falsas, depoimentos falsos ou resultados sem suporte. |
| Melhor estilo de edição | Cenas curtas com legendas claras adicionadas na edição. | Não dependa de texto legível gerado para informações importantes. |
Use a tabela como um filtro de pré-produção. Se o projeto não tiver uma fonte clara de verdade, uma regra clara de revisão e um destino claro de exportação, pause antes de gerar. A maioria dos projetos fracos de vídeo com IA falha porque o prompt tenta resolver estratégia, direção criativa, precisão do produto e estrutura de edição ao mesmo tempo.
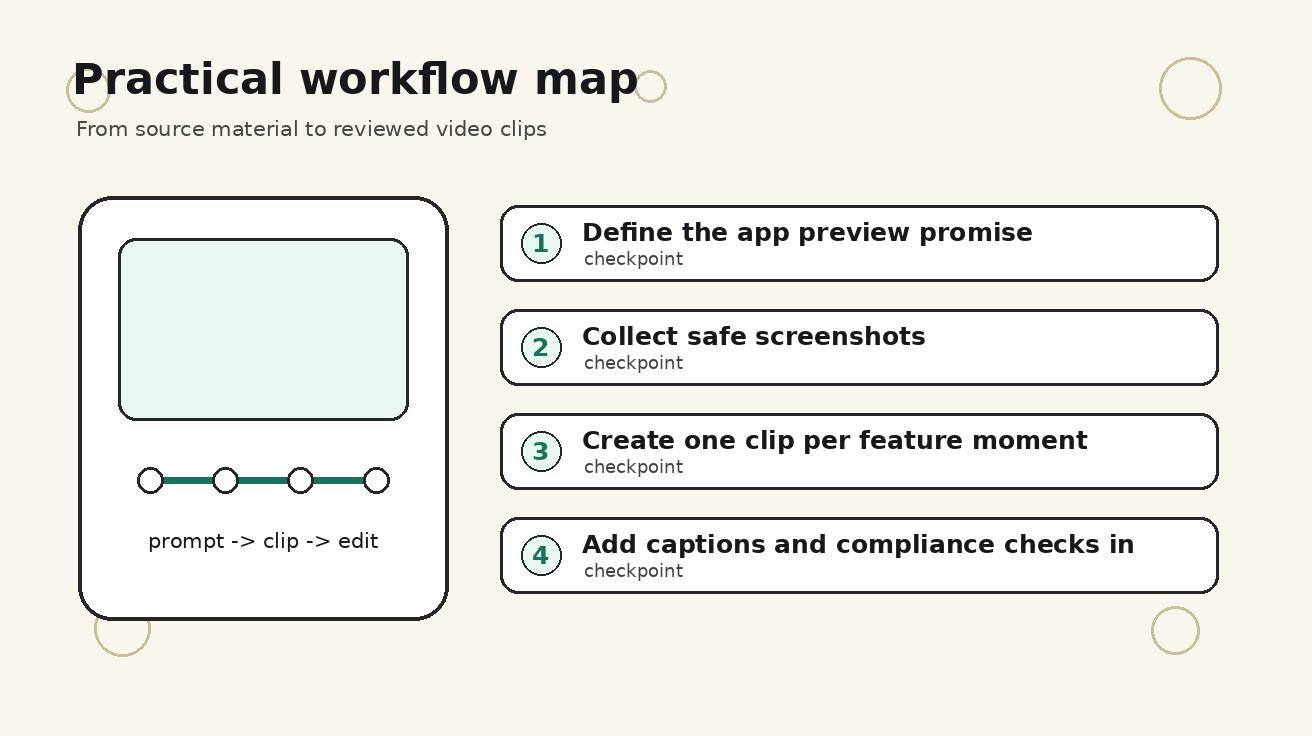
Workflow prático
- Defina a promessa do preview do app. Use isso como checkpoint antes de avançar para a próxima geração.
- Colete screenshots seguros. Use isso como checkpoint antes de avançar para a próxima geração.
- Crie um clipe por momento de recurso. Use isso como checkpoint antes de avançar para a próxima geração.
- Adicione legendas e verificações de compliance na edição. Use isso como checkpoint antes de avançar para a próxima geração.
- Exporte variantes para loja, página de lançamento e social. Use isso como checkpoint antes de avançar para a próxima geração.
Cada checkpoint deve produzir um pequeno artefato. Esse artefato pode ser um prompt, uma pasta de screenshots, um cartão de tomada, uma checklist de QA ou um plano simples de edição. O objetivo é tornar o workflow inspecionável. Se um colega entrar mais tarde, ele deve entender por que cada clipe existe e como ele apoia o vídeo final.
Passo 1: defina o trabalho do vídeo antes de abrir o gerador
Comece escrevendo uma declaração de trabalho em uma frase: 'Este vídeo ajuda [público] a entender [ação] para que possam [resultado].' Para veo 3 app preview video generator, essa frase impede que o projeto se desvie para uma vitrine geral de vídeo com IA. Quanto mais preciso for o trabalho, mais fácil será julgar se um clipe gerado é útil.
Uma boa declaração de trabalho inclui o canal. Um embed de blog, um hero de landing page de produto, um preview na app store, um teste de paid social, um modal de onboarding e um e-mail de customer success precisam de ritmos diferentes. Se as mesmas cenas-fonte forem reutilizadas em vários canais, planeje as variantes com antecedência. Deixe espaço visual suficiente para legendas, evite detalhes críticos na borda do frame e não dependa de texto gerado ser legível.
A declaração de trabalho também deve incluir uma condição de falha. Por exemplo: o clipe falha se a interface mudar de forma, se o claim do produto não puder ser comprovado, se a identidade do personagem mudar entre tomadas, se a mensagem de acesso gratuito sugerir uso ilimitado ou se a cena não puder ser cortada em uma edição limpa. Condições de falha tornam a revisão mais rápida porque a equipe não discute gosto quando o asset é factualmente inutilizável.
Etapa 2: prepare o material de origem e os limites
O vídeo com IA fica mais forte quando o material de entrada é específico. Prepare capturas de tela, referências de produto, cores de marca aprovadas, exemplos de legendas, notas de cena e exemplos de movimento que você gosta. Prepare também limites negativos: sem métricas falsas, sem UI inventada, sem logos aleatórios, sem afirmações ilegíveis, sem personagens extras, sem texto surpresa e sem alterações na tela do produto, a menos que o clipe seja apenas conceitual.
Para trabalhos baseados em referências, rotule os assets com nomes simples. Use nomes como start-screen, action-screen, success-screen, brand-style e forbidden-examples. Isso parece básico, mas ajuda na escrita do prompt porque cada cena pode se referir ao asset correto. Quando uma geração falha, você consegue isolar se o problema veio do prompt, da referência ou do movimento solicitado.
Se o projeto envolve um produto real, remova dados privados antes de usar capturas de tela. Substitua nomes de clientes, emails, tokens, números de receita, rótulos internos de roadmap e recursos ainda não lançados. Um clipe bonito não é utilizável se vazar informações ou mostrar um recurso que os usuários não conseguem acessar.
Etapa 3: use modelos de prompt em vez de improvisar
Modelo 1:
Anime esta captura de tela de app móvel para um vídeo de prévia do app. Mantenha a UI estável, preserve o layout e as cores, adicione um movimento suave do telefone e um gesto de toque em direção a [ação], sem texto inventado.
Modelo 2:
Um clipe de lançamento de produto para um app móvel que ajuda [público] a alcançar [resultado]. Mostre um telefone realista na mão, fundo limpo, tom prático, sem avaliações falsas ou afirmações sem suporte.
Modelo 3:
Cena de momento de recurso: o usuário conclui [ação] em [categoria do app], o resultado do app aparece claramente, enquadramento estável do dispositivo, estilo moderno de marketing de produto, as legendas serão adicionadas depois.
Esses modelos são intencionalmente restritos. Eles não pedem uma campanha inteira em uma única instrução. Eles pedem uma cena que possa ser revisada. Quando uma cena funcionar, crie variações alterando uma variável por vez: movimento de câmera, iluminação, ação do sujeito, duração da cena ou imagem de referência. Se você mudar tudo de uma vez, perde a capacidade de aprender com o resultado.
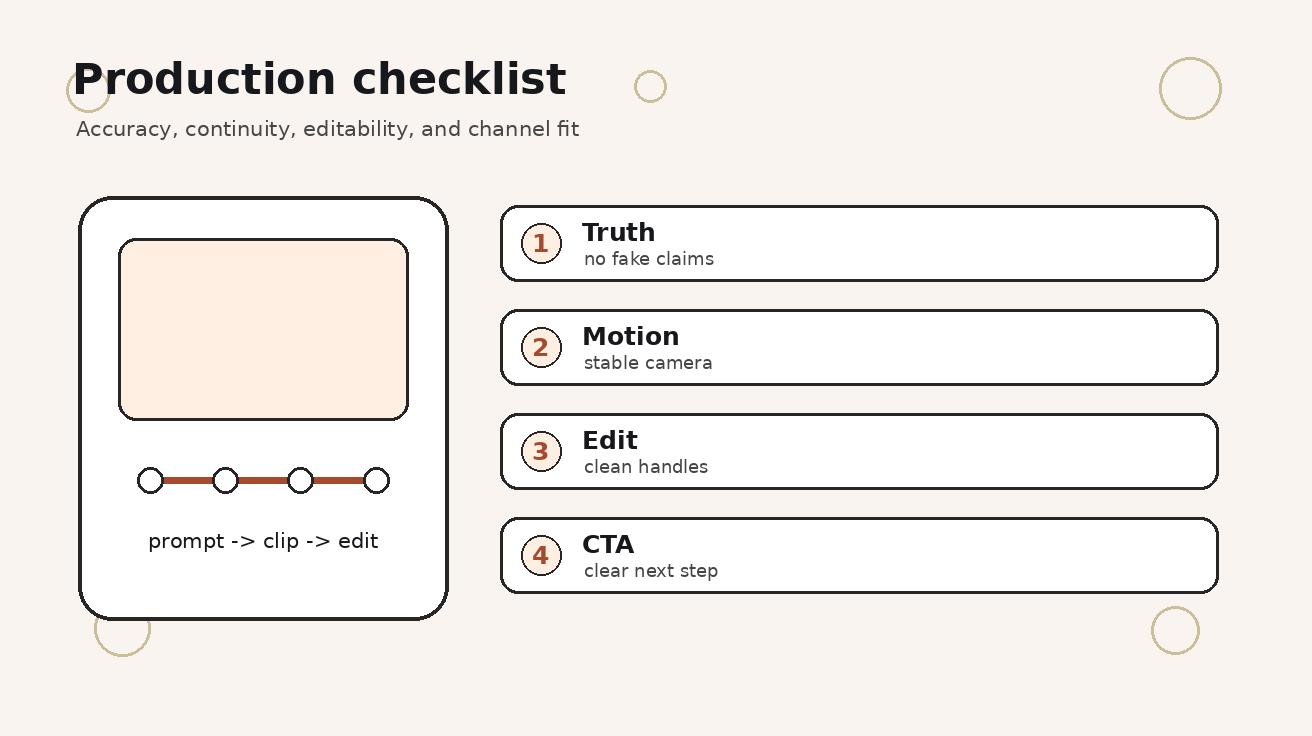
Etapa 4: crie uma tabela de comparação ou checklist de pontuação
Uma tabela de pontuação transforma o gerador de vídeos de prévia de apps do Veo 3 de um experimento subjetivo em uma decisão de produção. Avalie cada geração em uma escala simples de um a cinco para correspondência ao prompt, clareza visual, continuidade, editabilidade, precisão do produto, segurança da marca e adequação ao canal. Não avalie apenas a beleza. O clipe mais bonito ainda pode falhar se criar problemas de edição ou representar o produto de forma incorreta.
Aqui está um checklist prático que você pode copiar para uma planilha:
-
O clipe corresponde à tarefa de uma frase?
-
O assunto principal está claro nos primeiros dois segundos?
-
As telas do produto, logos e objetos estão estáveis o suficiente para o caso de uso?
-
O clipe evita dados falsos, afirmações falsas ou resultados sem suporte?
-
O editor consegue cortar o início e o fim sem perder o significado?
-
Há espaço para legendas, chamadas de UI ou subtitles?
-
A cena se conecta naturalmente ao take anterior e ao próximo?
-
Um espectador de primeira viagem entenderia qual ação tomar em seguida?
Etapa 5: revise a primeira geração como um editor
A primeira geração não é o asset final. Revise-a como um editor montando uma timeline. Procure o primeiro frame utilizável, o último frame utilizável, o momento de movimento mais forte e qualquer parte que possa confundir um espectador. Salve notas sempre no mesmo idioma: manter, cortar, regenerar ou rejeitar. Rótulos consistentes tornam o trabalho em lote mais rápido.
Quando um clipe estiver próximo do ideal, mas ainda não utilizável, evite reescrever o prompt inteiro. Identifique a falha exata. Se a câmera se moveu demais, reduza a instrução de câmera. Se a interface mudou, enfatize layout estável e nenhum elemento inventado. Se o clipe parecer genérico, adicione uma referência de origem mais forte ou contexto de usuário. Se a cena estiver movimentada demais, remova ações secundárias.
Para projetos com múltiplos takes, verifique a sequência de edição a cada dois ou três clipes. Não espere até vinte clipes serem gerados para descobrir que nada se encaixa na montagem. A continuidade em vídeos de IA é mais fácil de proteger quando cada novo take é julgado em relação à timeline, não em relação a uma janela de prévia isolada.
Variações de prompt para testes de produção
Crie variações controladas em torno da mesma ideia. Abaixo estão tipos práticos de variação que funcionam em projetos de comparação, storyboard e prévia de app:
- Variação de câmera: tripé estático, aproximação lenta, sensação de documentário com câmera na mão, tracking no nível da tela ou take superior de mesa de trabalho.
- Variação de ritmo: ação imediata, configuração de um segundo, revelação antes e depois ou abertura mostrando primeiro o resultado.
- Variação de referência: baseada em screenshot, baseada em foto de produto, baseada em referência de personagem ou baseada em moodboard.
- Variação de canal: corte vertical para social, embed horizontal para blog, prévia de anúncio quadrada ou enquadramento de dispositivo seguro para App Store.
- Variação de risco: precisão rigorosa do produto, apenas atmosfera conceitual, nenhum texto legível ou espaço em branco pronto para legendas.
A melhor versão geralmente é a versão mais controlada, não a mais dramática. Se o objetivo é educação, onboarding ou confiança no produto, os espectadores precisam de clareza antes do espetáculo. Use movimento cinematográfico apenas quando ele apoiar a mensagem.
Links internos e próximos passos
Se o seu próximo gargalo for o movimento de câmera, leia o fluxo de trabalho de referência de imagem do Veo 3 em /blog/veo-3-image-reference-workflow-2026. Se o seu próximo gargalo for a consistência de referência, leia os prompts de controle de câmera do Veo 3 em /blog/veo-3-camera-control-prompts-2026. Se o seu próximo gargalo for áudio, diálogo ou design de som, leia o guia de prompts de áudio nativo do Veo 3 em /blog/veo-3-native-audio-prompt-guide-2026.
O próximo passo prático é criar um pequeno pacote de teste: três prompts, três clipes gerados, um scorecard e um rascunho editado. Isso é suficiente para decidir se vale a pena escalar o fluxo de trabalho. Se o pacote de teste falhar, corrija o fluxo de trabalho antes de aumentar o volume.
Erros comuns
Erro 1: tratar acesso gratuito ou de teste como garantia de produção
Acesso, créditos, velocidade da fila, regras de exportação e termos comerciais podem mudar. Sempre verifique a página atual do produto e o estado da conta antes de prometer um prazo a um cliente ou equipe.
Erro 2: pedir cenas demais em um único prompt
Um prompt grande pode produzir algo impressionante, mas é mais difícil de corrigir. Prompts de cenas curtas são mais fáceis de comparar, regenerar e editar em uma sequência coerente.
Erro 3: confiar em texto legível gerado
Legendas importantes, preços, nomes de produtos, avisos legais e chamadas para ação devem ser adicionados na edição. O texto gerado costuma ser pouco confiável e pode criar problemas de conformidade.
Erro 4: pular o checklist de revisão
Sem um checklist, as equipes aprovam o clipe que parece mais novo, em vez do clipe que resolve a tarefa. Mantenha o scorecard próximo ao prompt e atualize-o após cada geração.
FAQ
O Veo 3 pode gerar vídeos de prévia para App Store?
O Veo 3 pode ajudar a criar clipes no estilo de prévia de app quando você usa capturas de tela aprovadas, prompts claros e edição cuidadosa. Sempre revise o asset final de acordo com as regras da loja ou do canal onde ele será exibido.
Devo deixar a AI inventar a interface do meu app?
Não. Use capturas de tela reais ou mockups aprovados para cenas de interface. UI gerada pode ser útil para moodboards, mas os clipes finais do produto devem refletir o app real.
Qual é a melhor duração para um clipe de prévia de app?
Mantenha a maioria dos clipes de produto curtos e focados. A duração certa depende da plataforma, mas os primeiros segundos devem mostrar imediatamente o valor do app e a ação do usuário.
Posso usar o mesmo vídeo para App Store, site e anúncios?
Use as mesmas cenas de origem, mas crie edições diferentes. Pré-visualizações da App Store, páginas de lançamento e anúncios pagos geralmente precisam de proporções, ritmo, legendas e revisões de conformidade diferentes.
Como evito afirmações enganosas em pré-visualizações de app?
Mostre apenas recursos compatíveis, evite métricas fabricadas e alinhe a promessa do vídeo ao app atual. Coloque o texto crítico no editor, onde ele possa ser revisado.
Quais screenshots devo preparar primeiro?
Prepare a primeira tela de valor, a tela da ação principal, a tela de resultado e qualquer tela que comprove o resultado do app sem expor dados privados do usuário.
Recomendação final
Para veo 3 app preview video generator, crie um pequeno workflow controlado antes de escalar. Defina o trabalho, prepare referências, use templates de prompt com restrições, avalie os resultados e mantenha a edição final honesta. Os criadores que vencerem com vídeo de IA em 2026 não serão as pessoas que geram mais clipes. Serão as pessoas que transformam a geração em um sistema de produção repetível.
Notas de produção para equipes
Crie uma pasta compartilhada para cada projeto. Coloque prompts, imagens de origem, clipes gerados, clipes rejeitados, scorecards, exportações finais e notas em subpastas separadas. Isso evita a reutilização acidental de gerações fracas e torna possível a otimização posterior.
Nomeie cada clipe gerado com a data, o número da cena, a versão do prompt e o status de revisão. Um nome simples como scene-03-v02-keep é mais útil do que um título aleatório de download. Quando um stakeholder pergunta por que um clipe foi escolhido, o sistema de nomes fornece uma trilha de auditoria.
Mantenha um changelog de prompts. Escreva uma linha após cada variação explicando o que mudou e o que melhorou ou quebrou. Com o tempo, isso se torna uma biblioteca privada de prompts mais valiosa do que listas genéricas de prompts, porque reflete exatamente seu público, produto e restrições de canal.
Separe a revisão criativa da revisão factual. Um designer pode revisar clima, movimento e composição. Um product owner deve revisar a veracidade da interface. Um profissional de marketing deve revisar a afirmação e o CTA. Um revisor jurídico ou de políticas pode ser necessário para setores regulados. Não peça a uma única pessoa que identifique todos os riscos.
Exporte um rascunho em baixa resolução antes de gastar tempo no polimento. O rascunho revela se a história realmente funciona. Se a sequência fica confusa na qualidade de rascunho, cores melhores, imagens mais nítidas ou movimentos mais dramáticos não resolverão o problema estratégico.
Depois de publicar, continue medindo. Para um artigo de blog, monitore impressões, cliques e correspondência de consultas. Para um vídeo de produto, monitore taxa de visualização, click-through, ativação ou tickets de suporte. Um vídeo de IA não está finalizado quando parece bom; está finalizado quando cumpre o trabalho para o qual foi criado.
Quando o primeiro rascunho estiver próximo de ser utilizável, melhore-o com uma segunda passagem focada em vez de começar de novo. Mantenha a ordem de cenas aprovada, preserve o melhor frame e altere apenas a variável fraca. Esse hábito protege a continuidade, reduz a fadiga de revisão e dá à equipe um registro mais claro do que realmente melhorou a performance.
Documente o motivo final para publicar ou rejeitar cada clipe. Uma breve nota de decisão, como aprovado pela clareza, rejeitado por desvio de interface ou mantido para um futuro corte vertical, transforma o trabalho criativo em conhecimento operacional reutilizável. A próxima campanha então começa a partir de evidências, em vez de memória.
Mantenha o loop de revisão humana visível. A geração por IA pode acelerar a produção, mas não deve substituir o julgamento sobre verdade, contexto, adequação ao público, acessibilidade e segurança da marca. As equipes mais fortes usam o modelo para criar opções e usam um sistema editorial claro para decidir qual opção merece distribuição.
Related Articles
Continue with more blog posts in the same locale.
O Gemini Omni é gratuito? Planos, limites e acesso
O Gemini Omni é gratuito? Entenda o que o Google diz oficialmente sobre acesso ao Gemini Omni, planos Google AI, créditos do Flow, implementação no YouTube, limites e pontos ainda
Read article
Preço do Gemini Omni: é gratuito ou pago?
Preço do Gemini Omni explicado: acesso sem custo, planos Google AI Plus, Pro e Ultra, créditos do Flow, limites e o que ainda não está oficialmente confirmado.
Read article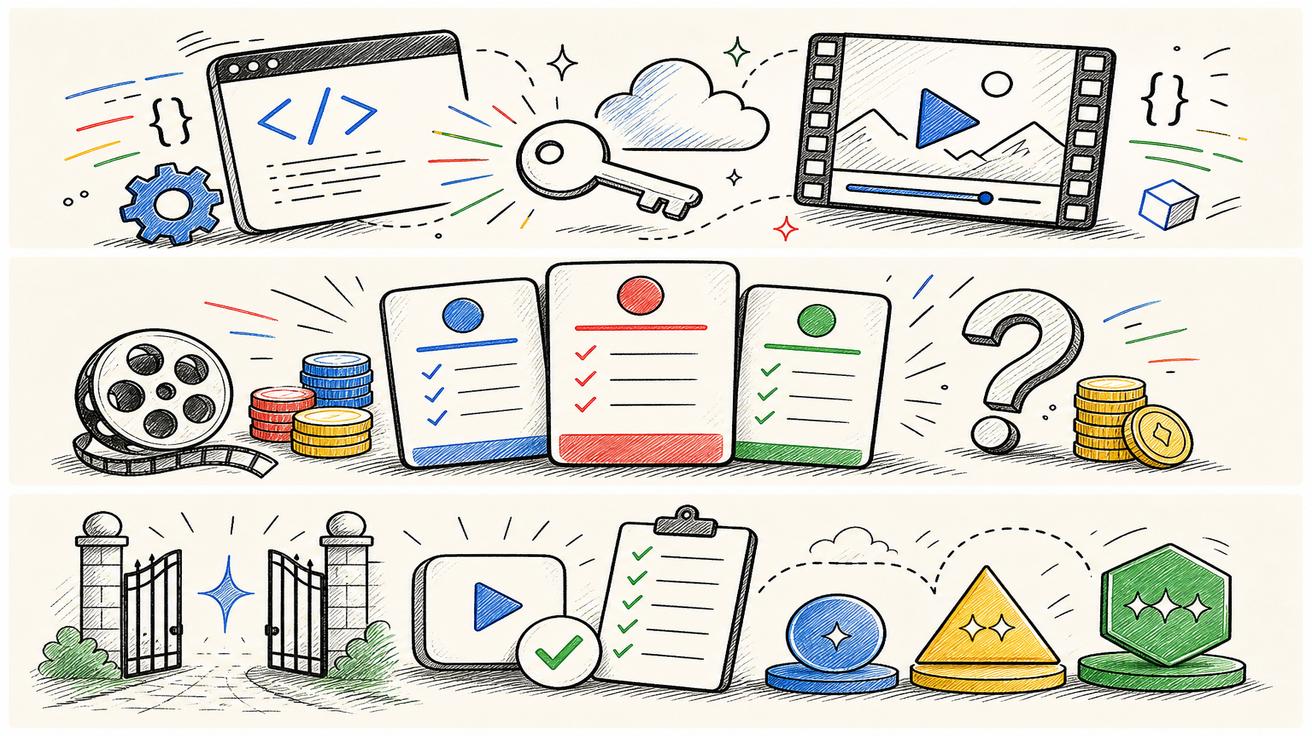
API do Gemini Omni: disponibilidade, preço e acesso para desenvolvedores
Disponibilidade da API do Gemini Omni explicada: o que o Google confirmou oficialmente, o que ainda é desconhecido, sinais de preço, acesso para desenvolvedores e etapas seguras de
Read article