
How to Make an Animatic: A Beginner's AI Guide
Learn how to make an animatic from scratch. This guide covers storyboarding, timing, and using Veo3 AI to turn text or images into animated video clips.
Veo3 AI · 15 min read · Jun 13, 2026

You've probably got the same problem most creators hit at some point. The idea is clear in your head, the script sounds decent when you read it aloud, and the storyboard frames look fine on their own. Then you try to imagine the full sequence and everything gets fuzzy. Where does the pause land? Is that cut too fast? Does the joke arrive early or late? Does the product reveal feel earned or abrupt?
That's where an animatic stops being a “nice to have” and becomes the thing that keeps a project from drifting. It gives your idea time, rhythm, and sequence before you spend real effort on final animation, motion design, or editing.
Your Idea Needs More Than a Storyboard
A storyboard tells you what each shot might look like. An animatic tells you whether those shots work together.
That distinction matters more than beginners expect. A frame can be strong on its own and still fail once it sits between the shots before and after it. Good visual storytelling depends on timing as much as composition. You're not just checking drawings. You're checking flow.
Adobe describes an animatic as a rough draft of a sequence or film, and in practice it's an animated storyboard used for pre-visualization. Their workflow also recommends starting with a 1920 × 1080 document so the rough version already matches a standard delivery format from the beginning, which is useful when your final piece is headed toward modern video platforms (Adobe animatic workflow guide).
Practical rule: If you can't judge pacing yet, you're still planning. Once you can press play and feel where the story drags or rushes, you've started making an animatic.
This is why animatics have stayed useful across film, ads, training videos, short-form social content, and internal brand work. They let you test the expensive decisions early. Shot order. Pause length. Camera intent. Dialogue rhythm. Emotional beats.
What's changed is how fast you can get from static boards to something that moves.
The traditional process still works. Sketch the boards, cut them together, add rough sound, then revise. But tools that generate motion from text prompts or static images have opened a faster middle ground. You no longer need to choose between frozen frames and full production. You can create rough moving shots, compare options, and assemble them into a clearer pre-vis pass before anyone commits to polishing.
That's the useful way to think about AI in this workflow. Not as a replacement for planning. As a bridge between planning and timing.
The Blueprint Planning Your Story and Shots
Before you open any software, break the project into shots. Not scenes. Shots.
A scene might be “founder enters office and notices the problem.” That's too broad for an animatic. A workable breakdown looks more like this: wide shot of office, medium shot of founder entering, close-up on cluttered desk, insert of phone notification, reaction shot. Once you think at that level, your animatic starts to become buildable.
Start with story beats, not visuals
Most weak animatics start from random cool images. Strong ones start from intent.
Write down the sequence in plain language first:
- Opening beat: What does the audience need to understand immediately?
- Turn: What changes in the scene?
- Emphasis: Which moment deserves a hold, a close-up, or a pause?
- Exit: What visual moves the audience into the next shot cleanly?
If you can't state the beat of a shot in one sentence, the shot probably isn't ready.
That's also the easiest way to keep AI output under control later. A vague plan produces vague motion. A clear beat produces a usable clip.
Storyboards don't need to be pretty
Beginners often lose time polishing frames that should remain rough.
You don't need finished art. You need enough information to answer basic production questions:
- Who is in frame
- Where the camera is placed
- What changes during the shot
- What the audience should notice
Stick figures, rough shapes, screenshots, reference photos, and simple arrows can all work. In early animatics, readability beats style.

If you want a separate walkthrough on panel construction, shot continuity, and board organization, this guide on how to storyboard a video is a useful companion before you start generating motion.
Use basic shot language on purpose
A lot of animatics improve immediately once the creator stops thinking in “interesting image” terms and starts thinking in camera language.
Here's a simple working table:
| Shot type | What it does well | When to use it |
|---|---|---|
| Wide shot | Establishes space and geography | Openings, location setup, group action |
| Medium shot | Balances action and expression | Dialogue, product demos, presenter moments |
| Close-up | Directs attention and emotion | Reactions, key details, reveals |
| Insert shot | Clarifies a specific object or action | Buttons, screens, hands, product detail |
| Over-the-shoulder | Adds viewpoint and context | Conversations, tutorials, device interaction |
Don't use close-ups just because they feel cinematic. Use them when the audience must read emotion or detail. Don't default to wide shots either. Wide shots often slow things down unless the space itself matters.
A useful board note isn't “camera moves dramatically.” It's “slow push in as the character realizes the message is wrong.”
Write notes that can become prompts later
Each panel should include a short note that describes motion, mood, and camera behavior. At this point, planning and AI generation connect cleanly.
Weak note:
- Person in office looking stressed
Stronger note:
- Medium shot of tired office worker at messy desk, early morning light through blinds, phone vibrates, worker looks down and freezes, subtle push-in, muted corporate tone
That second version gives you more than description. It gives you direction.
A reliable panel note usually includes:
-
Subject
Who or what is the focus? -
Setting
Where does this happen? -
Action
What changes inside the shot? -
Camera behavior
Static, pan, zoom, push-in, handheld feel, overhead, low angle -
Tone or style
Playful, tense, minimal, polished, documentary-like
You don't need a paragraph for every frame. You do need enough detail that somebody else could interpret the shot without asking what you meant.
Name every panel clearly before you move on. Numbering matters. So does consistency. A messy folder full of “shot-final-final-new” files creates confusion fast once you start assembling clips.
From Static to Dynamic with Veo3 AI
Once the boards are planned, generate motion one shot at a time. Don't try to create the whole sequence in one prompt. That usually produces clips that look flashy but don't cut together.
The practical target is simple. You want a short moving version of each planned shot that preserves the board's intent.

One option for this stage is creating AI videos with a platform that accepts either text prompts or static image inputs. That matters because animatic work usually splits into two real-world cases. Sometimes you've only got written shot notes. Sometimes you've already drawn rough boards and want motion added to them.
Use text-to-video when the shot idea is clear
Text-to-video works best when your board note already contains camera intent and a single readable action.
A weak prompt usually sounds like this:
- stressed worker in office cinematic
It's too broad. There's no shot size, no action, no light, no camera behavior, no timing feel.
A stronger prompt sounds more like this:
- medium shot of an office worker alone at a cluttered desk, cool morning light through blinds, laptop open, phone buzzes on the desk, worker glances down and slowly tightens expression, subtle push-in, realistic corporate ad tone
That kind of prompt gives the generator constraints. Constraints help.
Use this structure if you want dependable output:
- Subject and appearance
- Environment
- Visible action
- Camera movement
- Mood or style
- What should stay simple
That last point matters. If you ask for too many simultaneous actions, the clip often becomes noisy. In an animatic, clean blocking beats spectacle.
Use image-to-video when the board already solves composition
If your storyboard panel already has the framing you want, image-to-video is often the better move.
Upload the rough frame and ask for modest motion:
- slow pan right across office floor
- gentle push-in toward character
- light head turn and hand movement
- screen glow flicker
- subtle parallax between foreground and background
This preserves your shot design while giving it enough movement to test pacing.
Field note: The more finished your storyboard composition is, the less you should ask the generator to invent. Let it animate. Don't let it redesign the shot unless the board itself isn't working.
That's especially useful for ads, explainer pieces, and training content where layout clarity matters as much as style.
Keep clips rough on purpose
An animatic doesn't need final lip sync, final textures, or perfect continuity from shot to shot. In fact, chasing that too early usually slows the process and hides the actual problem, which is often timing.
A lean workflow works better:
- Generate one clip per board panel: Even if some clips are only simple moves on a still image.
- Favor clear screen direction: If a character exits frame right in one shot, think about how the next shot receives that movement.
- Save alternates: If a beat feels uncertain, generate two versions with different camera energy.
- Label every output immediately: Shot numbers, version letters, and short descriptions save time in the edit.
Here's a practical comparison:
| Prompt style | What happens |
|---|---|
| Broad and decorative | Attractive but inconsistent clips |
| Specific and shot-based | Easier edits and stronger sequence logic |
| Overloaded with actions | Confusing motion and unclear focus |
| Minimal with one clear event | Better timing control |
The goal here isn't to prove that the generated clip could pass for final animation. The goal is to create a usable visual placeholder with motion. If the shot communicates story, energy, and camera intent, it has done its job.
Breathing Life into Scenes with Timing and Pacing
The edit is where the animatic becomes honest.
A folder of good-looking clips can still produce a bad sequence. Timing exposes every weak assumption. That dramatic pause you imagined might feel dead. The quick reveal might need room to land. A reaction shot might carry more weight than the line that follows it.
Start by reviewing your generated clips in order. Don't trim for polish first. Just ask whether the sequence reads.

Build the timeline before you finesse transitions
Import your storyboard frames or AI-generated clips into any basic editor you're comfortable with. Premiere Pro, DaVinci Resolve, CapCut, Final Cut Pro, or even simpler editors can handle this stage. What matters is that you can trim clips, move them around, and add temporary sound.
A commonly taught animatic workflow is to place the images or clips into a video timeline and drag each frame's endpoint so the sequence forms a staircase pattern. The endpoint of the last visible frame determines the animatic's duration, and adding scratch dialogue early helps establish the actual rhythm of the piece (animatic timing tutorial on YouTube).
That staircase idea is more useful than it sounds. It forces you to think in visible duration, not just in shot order.
Add scratch dialogue early
If there's dialogue, record it now. Don't wait for talent, clean audio, or final sound design.
Even a rough phone recording is enough to answer vital timing questions:
- Does the line fit the shot length
- Does the reaction need to begin before the line ends
- Is the silence after the line too short
- Does the visual action interrupt the read
This is one area where people overcomplicate the process. You are not making the final soundtrack. You are testing dramatic timing.
For readers working with generated visuals and placeholder voice, a guide on how to sync audio to video can help if your clips and dialogue keep drifting apart in the timeline.
Record the dialogue before you obsess over visual polish. Audio often reveals pacing problems faster than the picture does.
Here's a useful embedded reference if you want to study the rhythm of rough pre-vis and timing in motion: <iframe width="100%" style="aspect-ratio: 16 / 9;" src="https://www.youtube.com/embed/yaQqg3VtrUo" frameborder="0" allow="autoplay; encrypted-media" allowfullscreen></iframe>
Treat pacing as emotional control
Shot duration is not just a technical edit decision. It tells the audience how to feel.
A few practical patterns show up constantly:
- Hold longer on recognition moments: When a character understands something, the audience usually needs a beat with them.
- Cut faster through obvious actions: If the information is simple, don't overstay the shot.
- Let reactions earn their space: A well-timed reaction often carries more story than extra dialogue.
- Trim entrances and exits aggressively: Many rough animatics start shots too early and end them too late.
If a sequence feels slow, don't immediately assume every shot is too long. Sometimes one unclear shot causes hesitation and makes the rest feel slower than it is.
Use a rough pass, then a rhythm pass
I like to think of animatic editing in two passes:
| Pass | Focus |
|---|---|
| Rough assembly | Correct order, basic readability, obvious timing errors |
| Rhythm pass | Emotional pauses, line spacing, visual emphasis, reaction timing |
That separation helps because beginners often try to solve rhythm while they're still solving continuity. Get the sequence understandable first. Then shape how it breathes.
A clean animatic doesn't feel smooth because every shot is fancy. It feels smooth because every shot arrives, stays, and leaves at the right moment.
Refining and Exporting Your Final Animatic
Once the timing works, tighten clarity.
This stage isn't about making the animatic prettier. It's about making it more useful for whoever sees it next, whether that's a client, director, editor, animator, or your future self.
Add what the visuals still can't communicate
Rough motion won't always show everything. That's normal.
Use on-screen text when needed for:
- Camera direction: slow pan right, handheld shake, fast whip left
- Performance intent: pause before answer, deadpan reaction, delayed glance
- Production notes: replace with product render, temp background, final logo reveal here
These notes prevent confusion during review. They also stop people from giving feedback on something that was never meant to be final.

Clean naming and review matter more than fancy exports
One of the most common practical problems in animatics is timing ambiguity caused by unclear organization and weak review habits. Professional workflows put a lot of emphasis on frame-by-frame timing adjustments, then sharing a clean MP4 through links so collaborators can leave notes before final production starts (Boords animatic workflow).
That advice holds up in real work. If people can't tell which version they're watching, or if they have to download weird files just to review it, feedback quality drops fast.
A usable final package usually includes:
- Title card: Project name and version date
- Clear shot sequence: No mystery slugs or unlabeled gaps
- Temp audio balanced enough to understand: Dialogue shouldn't disappear under temp music
- MP4 export: Easy to open and easy to share
- Review context: A short message telling viewers what kind of notes you want
Ask for the right kind of feedback
Bad review questions produce bad notes.
Don't ask, “What do you think?” Ask narrower questions:
- Does the story read without explanation?
- Which shot feels too long?
- Is the product reveal clear?
- Does the emotional turn land?
- Did any transition confuse you?
Review filter: If someone comments on polish before they comment on timing, bring them back to the story problem you're trying to solve.
That keeps the animatic in its proper role. It's a planning tool, not a final deliverable pretending to be finished work.
Export for access, not prestige
Keep the export straightforward. A standard MP4 is usually the right call because everyone can open it, review it, and pass it around without friction.
If your project was built in a widescreen format, keep that consistency in export. If your next phase is full animation, this file becomes your timing map. If your next phase is a live-action shoot, it becomes your shot communication tool. In both cases, the animatic only helps if other people can use it.
Your Story Is Ready to Be Told
A good animatic does something a storyboard can't. It forces the idea to exist in time.
That's why the process matters so much. You sketch the sequence. You define the shots. You generate or animate rough motion. You cut it together. You add temporary sound. Then you find out what the project really is, not what you hoped it might feel like in your head.
Learning how to make an animatic is less about mastering a piece of software and more about building a habit of testing decisions early. That habit saves rework, protects the story, and makes production less chaotic. It also gives solo creators and small teams a way to think like directors before they have a full pipeline.
AI has made that middle stage much more accessible. You can move from a rough board to a moving shot without waiting on final production resources, and that changes who gets to use animatics well. Marketers can pre-visualize ad sequences. educators can rough out lesson visuals. Indie filmmakers can test scenes before committing to animation or a shoot. Short-form creators can check whether their hook lands before publishing.
The useful mindset is simple. Keep the animatic rough. Keep it readable. Keep it honest. If a shot isn't working, find out now while the fix is still cheap.
If you've got a script, a few rough frames, or even just a sequence of shot notes, try Veo3 AI to turn that plan into moving clips you can cut into an animatic today. It's a practical way to test pacing, camera ideas, and story flow before you commit to final production.
Related Articles
Continue with more blog posts in the same locale.
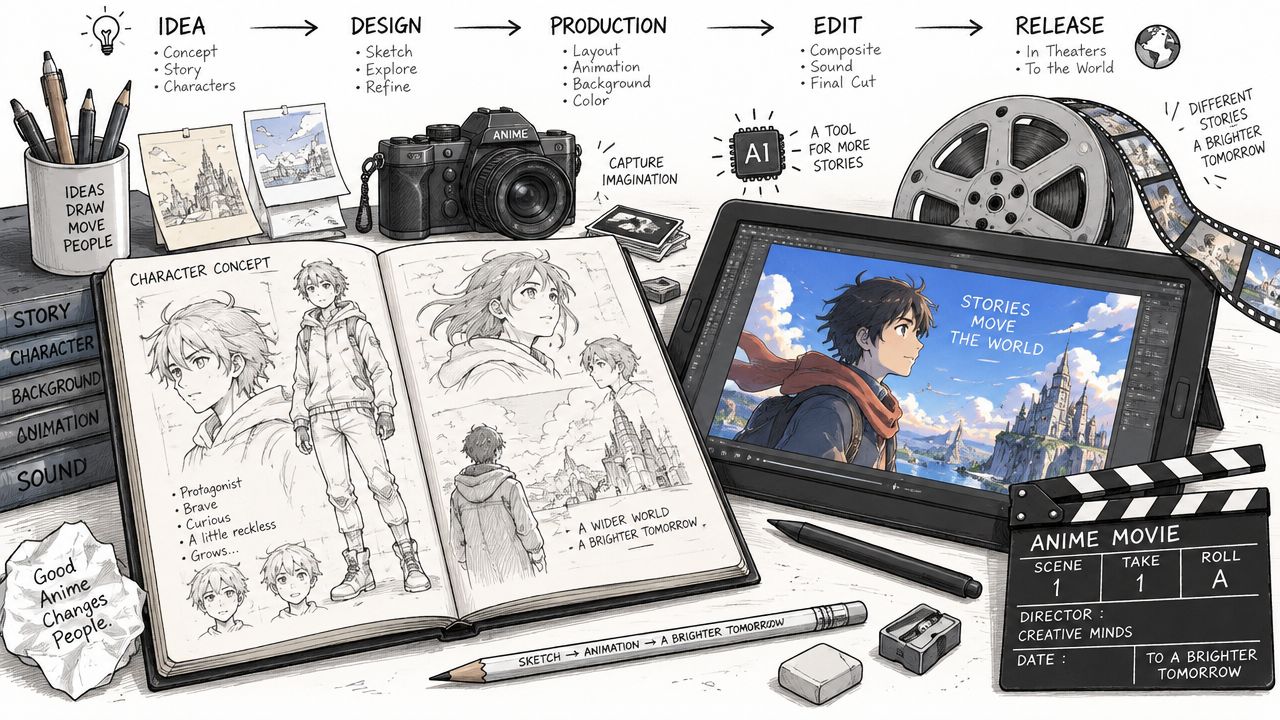
How to Make Anime Movies from Idea to Release
Learn how to make anime movies from concept to distribution with AI workflows, Veo3 prompts, and pro pipeline tips for indie creators.
Read article
Best Time to Upload Video on YouTube: A Data-Driven Guide
Discover the best time to upload video on YouTube. Learn how to read analytics, run timing experiments, and schedule uploads for maximum reach.
Read article
How to Change the Lighting in Photos and Video Fast
Learn how to change the lighting in photos and video with Veo3 AI prompts, color controls, and relighting tips for natural, cinematic results.
Read article